How to make an old wreath new.
 Hey friends, today I am going to show you how I took an old wreath, and made it new and again. Follow along to see how I did it.This was a wreath that had been hanging on my back porch for several years, and needed a face lift. It was really bad, dusty, droopy and still wearing it’s Christmas ribbons from last year.
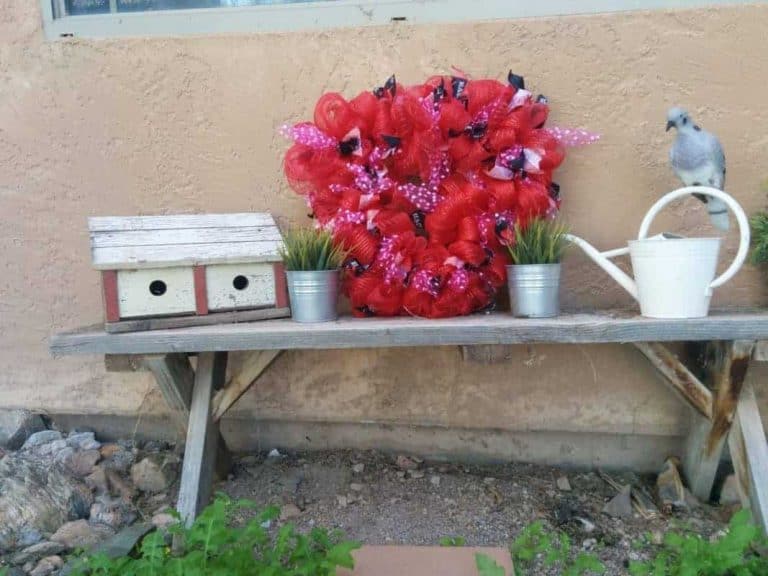
This old wreath.
This is what it looked like after I took the ribbons off. Pretty sad. If you don’t have an old wreath in need of an update, I made this one, using the push through method, which can be found here. It works for both mesh and burlap. 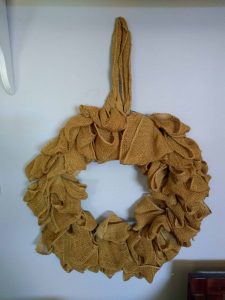
What you will need:
- Wired Ribbon, for the wreath and bow you will need 19 feet each, of 3 kinds of 2.5″ ribbon, and 2 kinds of 1.5″. This does not include making the wreath itself. This wreath is on an 18″ frame. You will need more or less if you use a different size wreath. You will also have some left over depending on how you match them together on your wreath. Just make sure you like your combination of the ribbons together. If you get your ribbon at Michael’s or Joann, shop a sale, and wait for a 20% off your total purchase if you can. I usually buy when the season goes on clearance for the next years decorating.
- Tinsel Ties, or Pipe Cleaners, I used 16 in this wreath, but you also will need 1 for the bow.
- Scissors
Let’s Get Started.
Before you do anything, please read through this tutorial to make sure you understand all the steps before you start.
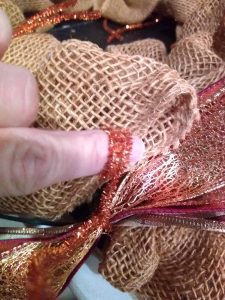
The first thing is to fix any tucked in spots that have come out. The piece I hung this from was one of those, and you can see in the picture there is another one to the right at the top. Just push them back through.
Prepare the frame.
Add the tinsel ties to the wreath. I used 8 on both the inside and the outside rings of the frame. Space them so that you have about 1/4 of the frame with no ties, this is where the bow will go, and it would waste ribbon to put it under the bow. Wrap the tinsel ties around the wire and give it a twist. Now turn the wreath over, and pull the ties to the front. 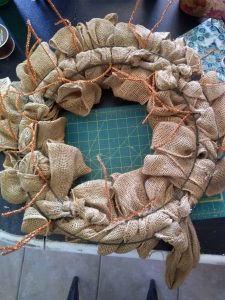

Cut the ribbon.
Now Cut your ribbons. They should be 12″ each. For this part of the wreath you will need a total of 32 cuts of the 2.5″ ribbon, and 32 cuts of the 1.5″ ribbon. You will be making groups of 4 ribbons with 2- 2.5″ and 2 -1.5″, for each of the 16 ties. I like to do all my cuts and then make the tails. You make the tails by folding the ribbon in half then cutting a notch starting at the folded side down to the end. Start the cut about an inch from the end of the ribbon. You can see a photo of this here. The 2 wider go together on the bottom, and the 2 narrow stack on top. 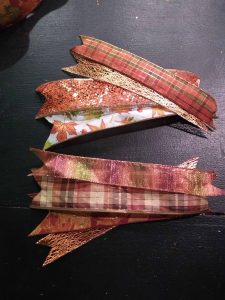
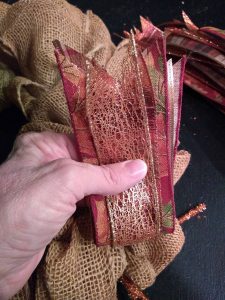
Attach the ribbon bundles.
Now we will attach these to the front of the wreath. Start by folding your bundle in half lengthwise to find the center. Pinch the center together. now grab one of the tinsel ties from the frame and attach the ribbons. I like to go all the way around the outside frame wire first , then the inside. Careful if you are using an alternating pattern of ribbon that you don’t miss any of the ties. (um maybe experience here?) They like to hide back down in the burlap or on the back side of the wreath. On mine I picked 2 groups and alternated them around the outside, and then the same on the inside but I started with the second group around the inside.


And then open them.
Now start to open up your bundles . Curl the Tinsel Ties to get them out of your way. You can wrap them around your finger, or use a pencil. I just find it easier to use my finger. Remember I am Lazy Lady, and I don’t have to go find a pencil if I use my finger. Now make an x by pulling the bottom ribbon to the side . Then make another x in the spaces of the first one with the narrow ribbons.

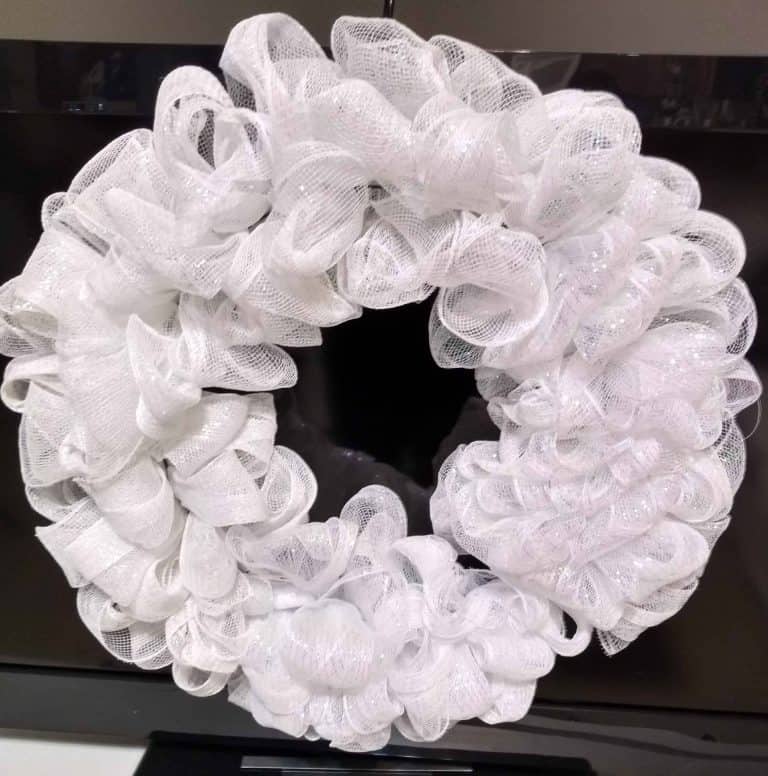
This is what it should look like after you bundle is open and your curly tie done. It reminds me of a flower. Do this for all 16 of the bundles.

All done!
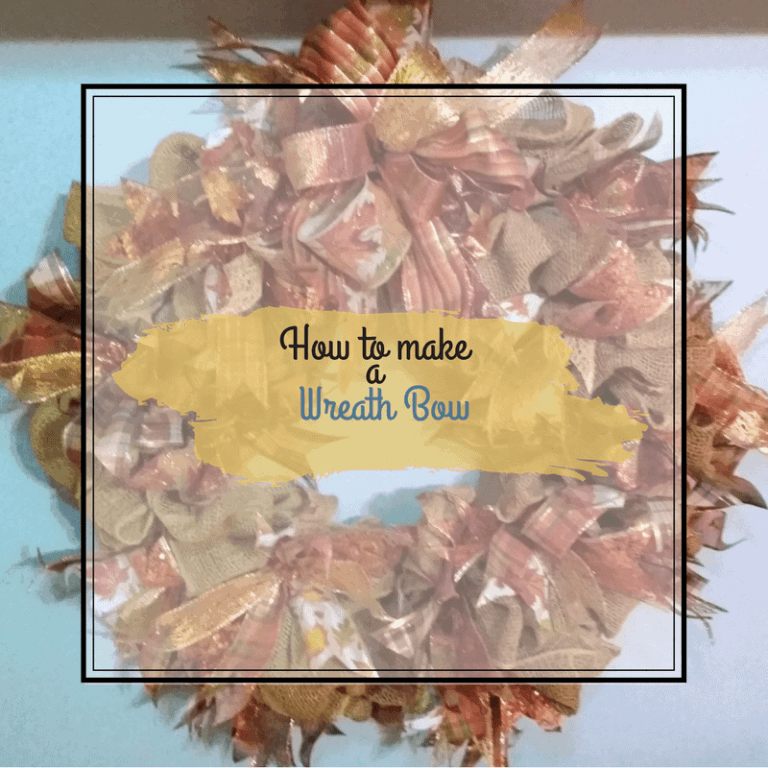
This is the finished wreath, so much better than what I started with. Find the tutorial for how to make, and attach the bow here. Wasn’t that fun? It’s amazing what adding a little ribbon will do. Remember that is is another skill you can use for all seasons. You will probably see this wreath again dressed for Christmas, or who knows what season it will be used for again. Now all you have to do is pour that coffee and relax.
Till next time…