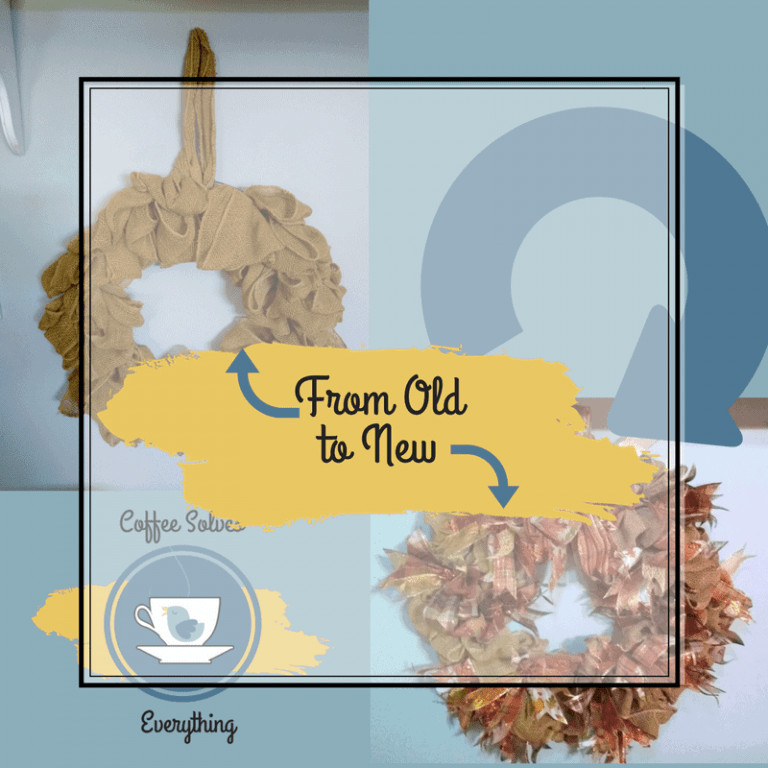
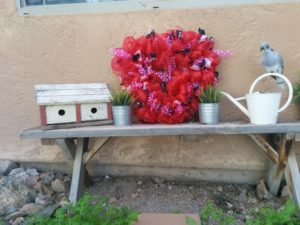
The Secret to a Beautiful Valentine Deco-Mesh Wreath
How to make a Deco-Mesh Wreath
This post contains affiliate links for your convenience, when you purchase through them I may be paid a small commission, but you will never pay more than the regular site price. This helps to pay for my costs. For more information see my full disclosure here.
You have seen these everywhere, and you have to have one for every season, but they can be expensive. Want to learn how to make your own beautiful Deco- Mesh Wreath? This is just one of several ways to make a wreath that I will be teaching you to do. I love to decorate with these.
This wreath is Valentine themed, but once you know the method, you can make them for any season. Just as a note I would not use tulle and Deco Mesh together again, 3 ribbons would have been a lot easier. The Mesh grabbed the tulle and it was frustrating to have to keep pulling them apart.
What you will need. (Supplies link is at the bottom of the post.)
- Wire Frame, you can get them at the Dollar store, or Walmart, Joann or Michaels (don’t forget to use a coupon)
- Pipe Cleaners
- Scissors and a roller cutter
- Deco Mesh, I used 3 rolls of 10″ by 18 feet that I bought on Christmas clearance at Walmart . Paper Mart online has this, but be careful about the width when you buy from them. I have accidentally bought 21″ and I have no idea what I am going to do with it.
- Ribbon, again how much depends on the size you are making, I used 2 rolls of 12 feet, and one roll of Tulle for this. Make sure you get wired ribbon. I really wish I had used more ribbon in this, and will probably add more ribbons to it next year.
To begin pinch the end of the mesh and attach it to the wreath with a pipe cleaner. Start with the inside part of the frame.
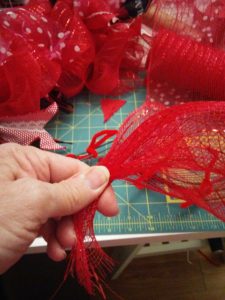
Then you make a half circle with the Mesh. I used the inside of my hand to make sure they were all the same size. Next use a pipe cleaner to attach it next to the one you just made by attaching the starting point of the Mesh. You should have started on the inside, so this one gets attached to the outside. They alternate every other one. See the pictures below:


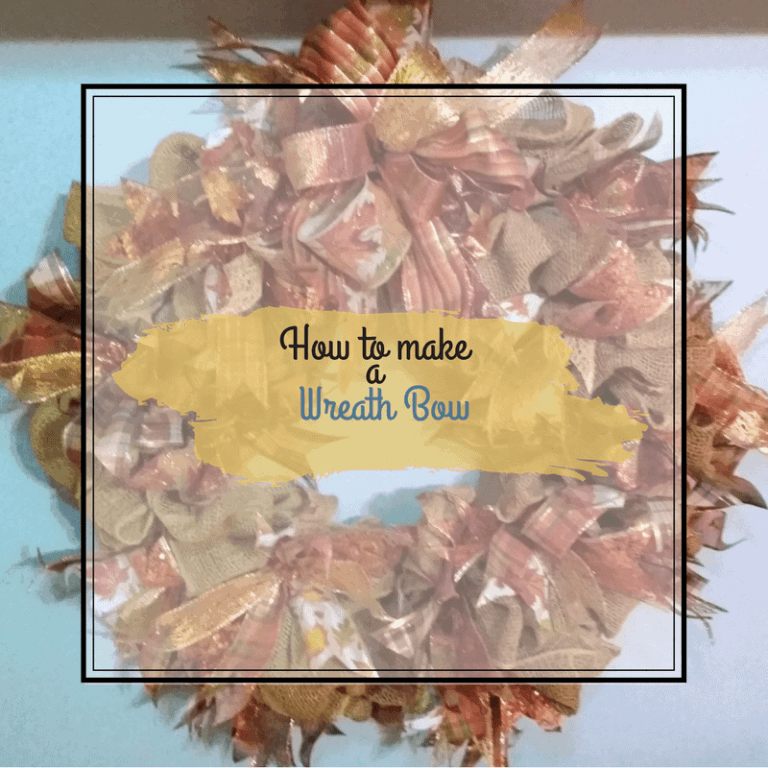
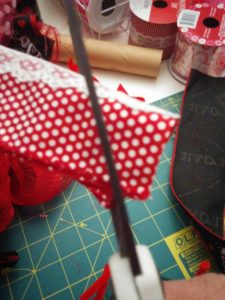
I put in a ribbon after every 4th loop. Then I cut the ribbons (one from each of the two colors/patterns) to 10″ long, and then cut “tails” on them, by folding them in half and then cutting a notch out of the end. It was easier to use the roller cutter for this than scissors, but if you don’t have any scissors will work. I cut the Tulle pieces to 12″ each. Then pinch the ribbons in the middle and tie the pinch with the Tulle. I actually stopped here and cut a bunch of ribbons with tails and tulle so I could just grab them as needed. If you are using 3 ribbons instead of 2 ribbons and tulle, just pinch the middles and wrap a pipe cleaner around them, and secure to the frame as in the next step.

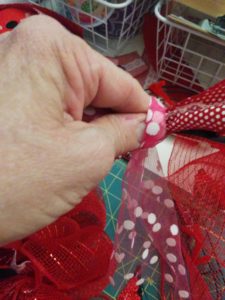
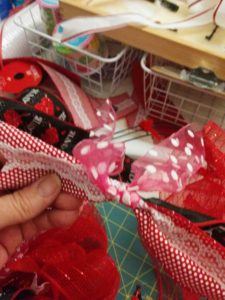
Finally you attach the ribbon to the frame with a pipe cleaner. I found the easiest way for me was to wrap the pipe cleaner around the ribbon bundle and then around the frame.

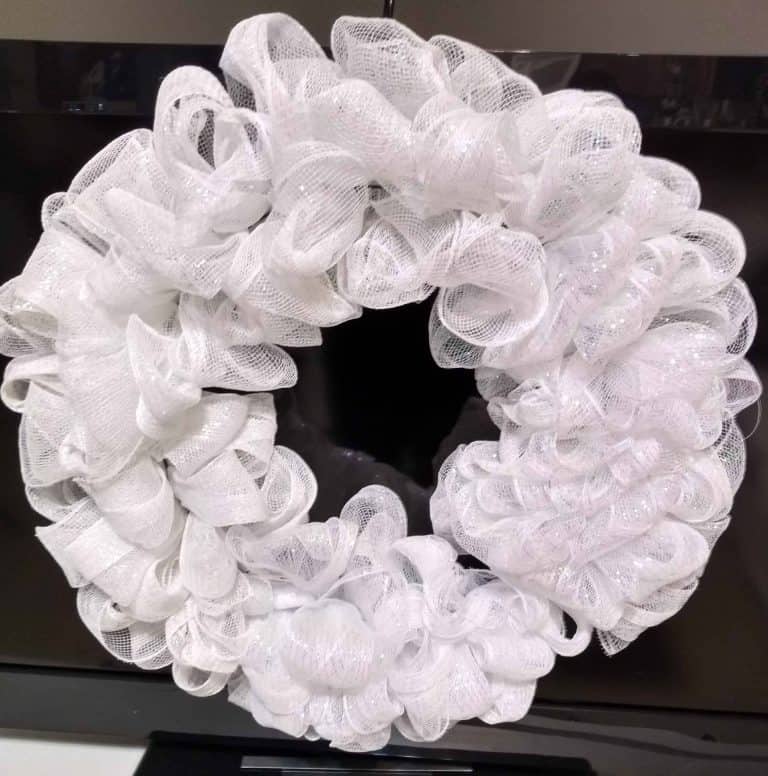
After the ribbons you continue to make the loops, and a place a ribbon every 4th loop. I had to push mine really tight together to keep the frame from showing. When you run out of Mesh on a roll just use a pipe cleaner to secure the end to the back. Keep on going with loops and ribbons, until you have made it all the way around. Once you are all the way around start pulling on the sides of the Mesh to open it up. Take the ribbons and pull the ends in opposite directions to separate them. You can bend them to go where you want them, this is the beauty of wired ribbon. Unlike Teenagers it does what you tell it to.
The last step is to make a small loop from the mesh, tied with knots to the back side of the frame to hang it up. Now just enjoy all the compliments. Oh, and get yourself a cup of coffee.
Till next time…