Pegboard An Easy DIY for Organizing Everything
Pegboard An Easy DIY for Organizing Everything
I just put pegboards in my laundry room, and now I am in love. Pegboard, an easy DIY for organizing everything. Every single storage problem in my house from bedrooms to the garage could benefit from having a pegboard. This is just one DIY idea I put into my redesigned laundry room. I am so in love with the organization it provides while looking super cute.
So how do we put these little wonders on our walls?
There are 2 ways and I will talk about both of them. First, you need to understand how the pegs work. They require that you have some room between the peg and the wall to hold the hook into the board. Usually, a space as small as 1/2 inch will work as you just need enough to get the hooks into the holes. These boards come in both 1/4 ” or 1/8″. The 1/4 inch boards are much easier to find accessories for. They carry lots of baskets and hooks for them on Amazon and in hardware stores.
Method One The Pegboard Kit
The first way I tried was with a pegboard kit that I bought on Amazon.

![]()
You will also need:
A drill (this is what I have)
A Level (a good basic tool)
A Stud Finder ( here’s mine)
A pegboard (I got it at Home Depot)
Pegboard at Home Depot is sold in 2 feet by 4 feet sections. You can have it cut for free in the store if you need a smaller piece.
The first thing you do with this kit is to find and mark the studs with a stud finder like this. It is easy to use, just watch this quick video and you ready.
After you have marked your studs the kit says to put the screws through the board where there are studs. If your studs are 16″ apart that would be every 16″ across whatever edge you are using as the top. Put a washer on one of the screws and put it through the board into the spacer on the back. Do this about every 6″ down each row from the top to the bottom of the board.
![]()
This Was a Pegboard Fail
Before I say this system was a total fail I need to say that maybe with 2 people working on it it could have worked. There also was a lot of electrical in the wall so every screw was in danger of hitting a wire. The next step was to take the pegboard with the screws in it drill one screw into the wall, then using a level on the top put in the screw in the other side on the top. Now you can put in all the other screws since your board is level.
I don’t have pictures of any farther along with this method because I decided not to use it. The risk was just too great because of all the electric wires in the wall.
Method Two
Materials:
A drill (this is what I have)
A Level (a good basic tool)
A Stud Finder ( here’s mine)
A pegboard (I got it at Home Depot) Pegboard at Home Depot is sold in 2 feet by 4 feet sections. You can have it cut for free in the store if you need a smaller piece.
1 x 2 boards cut to the length of your pegboard
Wood screws (like this)
So Much Easier
This is how I have always seen pegboards hung and was a lot easier to do working solo. Again the first thing you have to do is to find the studs in your wall. Pro tip, use a piece of painters tape across the wall and mark on the tape instead of right on the wall.
Take your 1 x 2 wood strip and drill a pilot hole. This is just a hole that goes all the way through the board to keep it from splitting. You will need 3 holes, one at each end and one in the middle. Take one of the boards and hold it at the height you want the top to be, and on a mark where there is a stud. Secure the board to the stud with a wood screw.
Now use your level next to the board to make sure it is straight up and down. Secure the bottom of the board. next put in the screw in the middle. I only needed two 1 X 2 for my pegboard because my studs are 16 inches apart and I was attaching my board with the 24-inch side at the top. Make sure you put a 1×2 on every stud that is going to be under the pegboard.
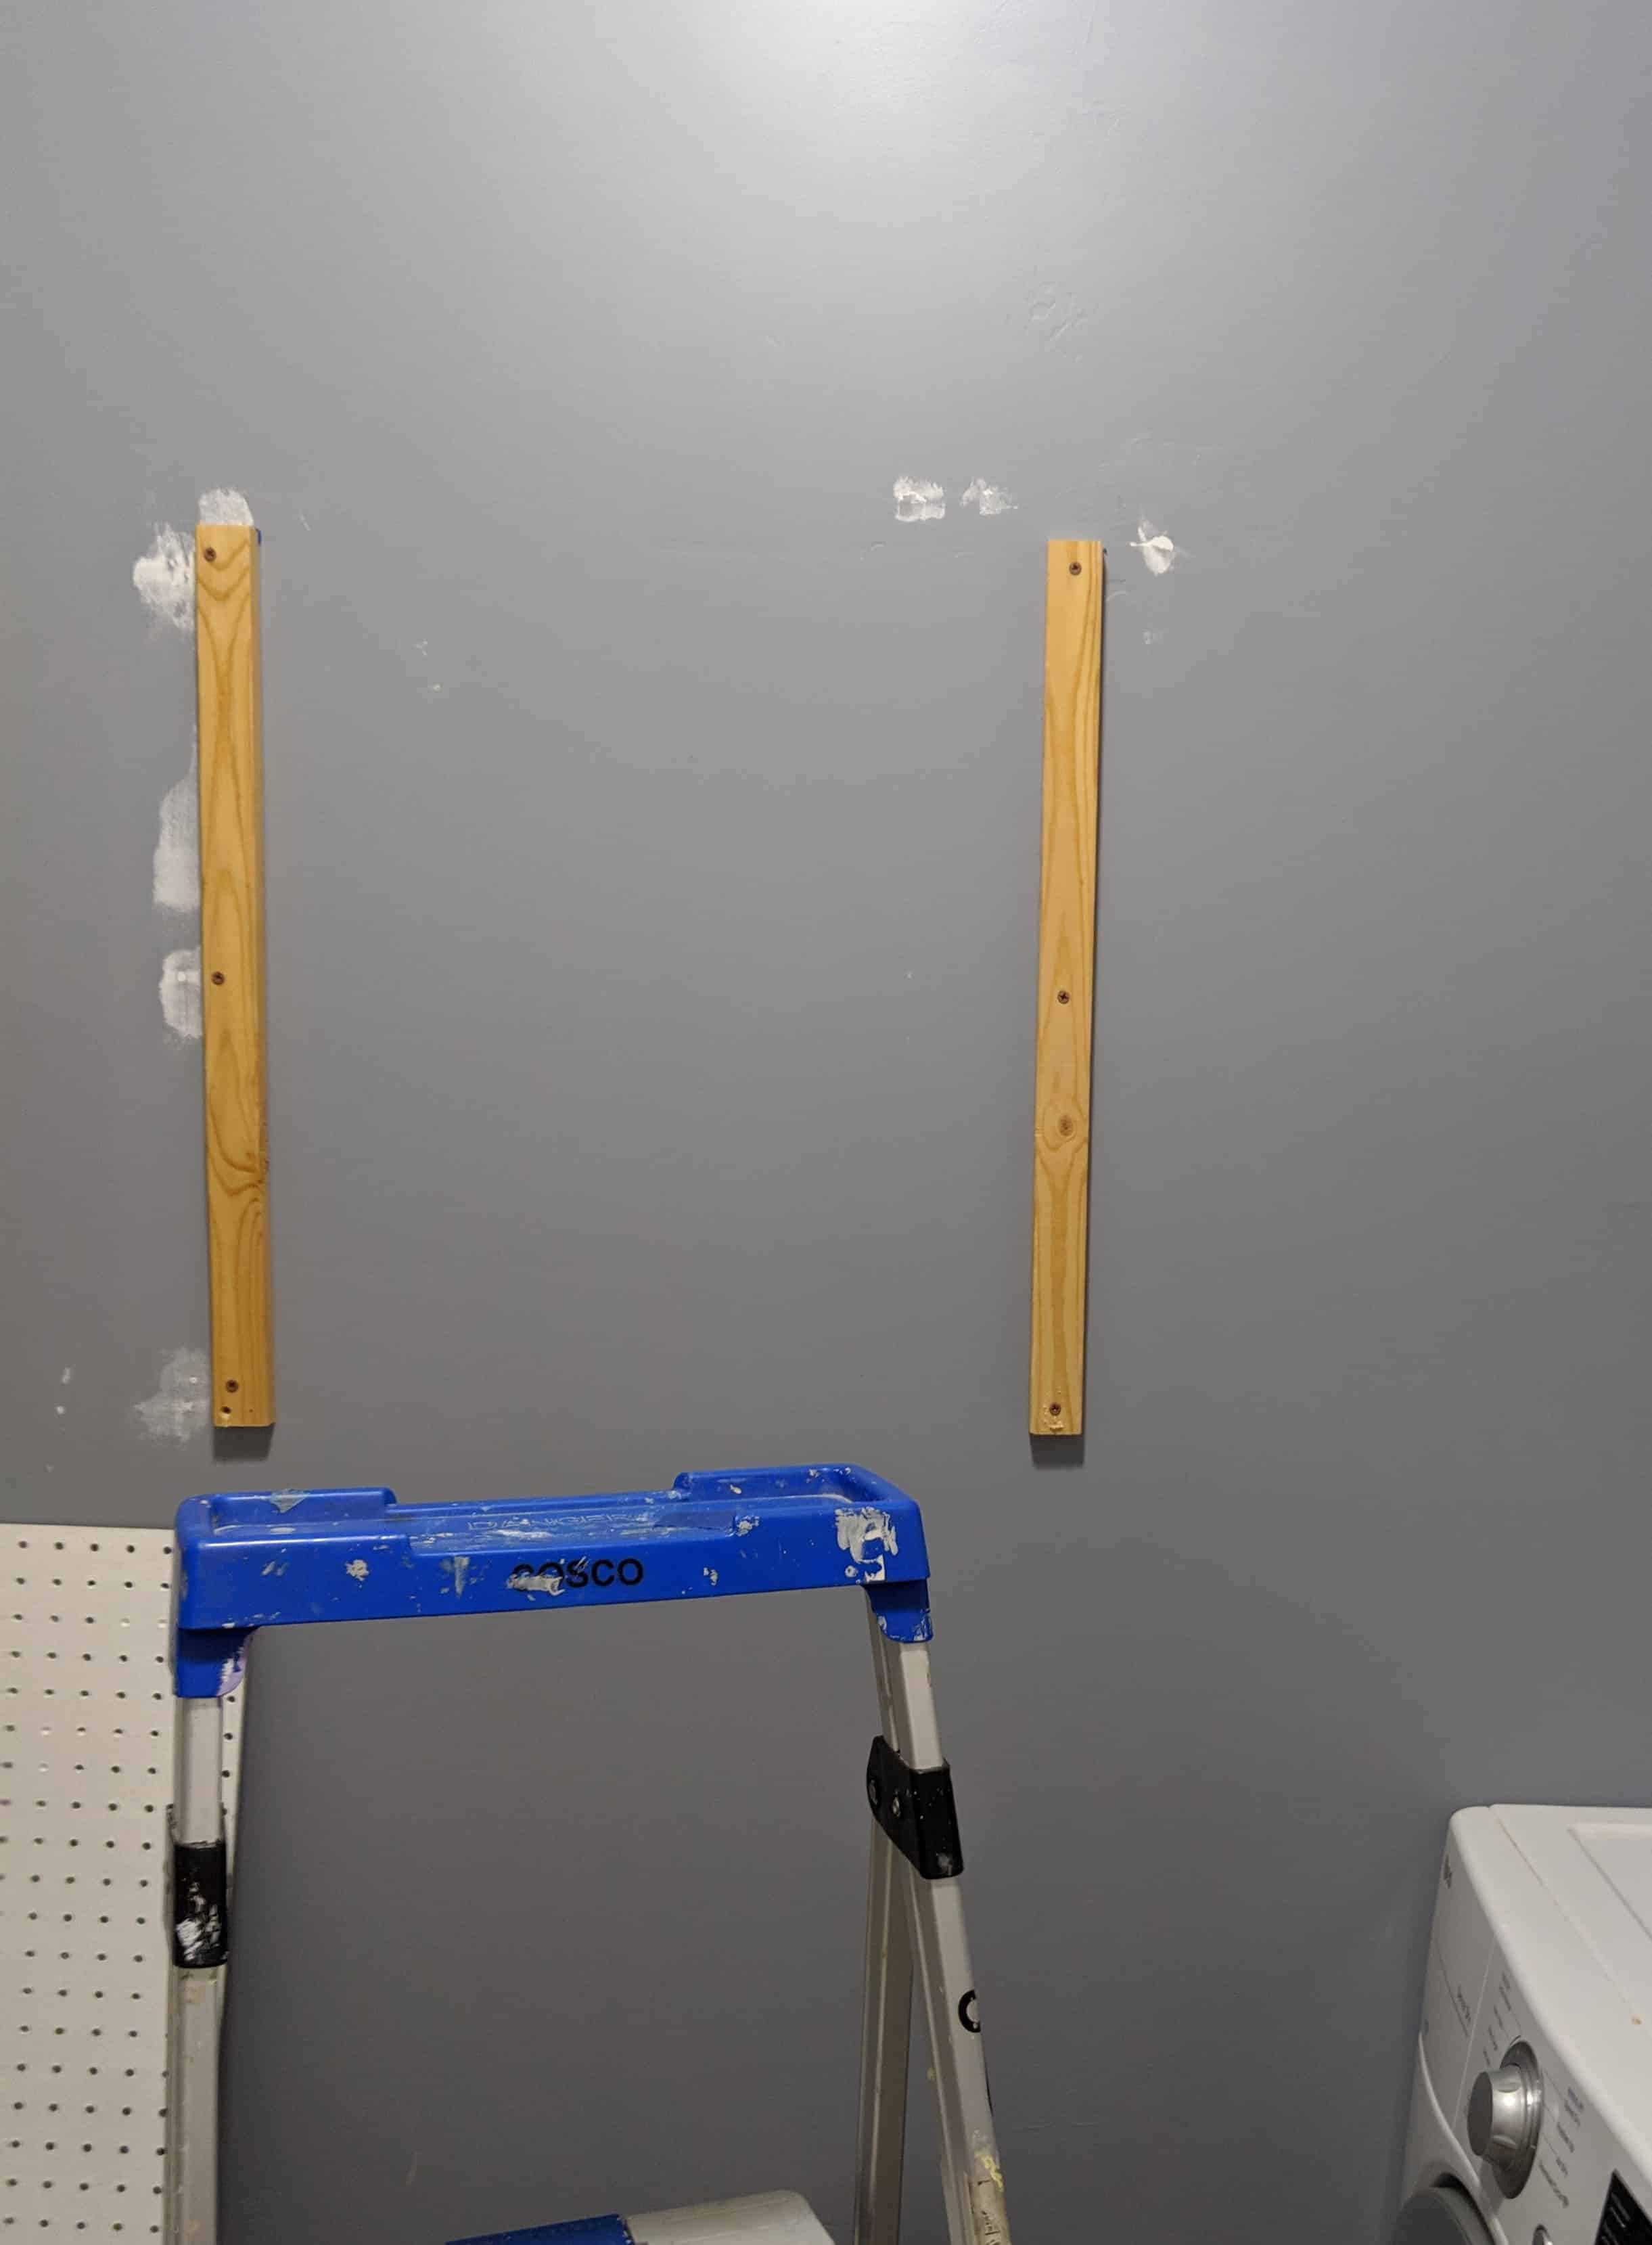
After step 1
Here is what it looked like. It appears that the board on the right is crooked, but that’s the camera angle. I promise I leveled it and it was straight. I did paint it the same color as the wall in case it showed through.
Now all you have to do is to decide where you want the pegboard to hang. I decided to just go in 4 inches from the side. Place a screw through the board into the 1 x 2, through the drywall and into the stud. You will need a 2-inch screw, and 2 1/2 would be better. If the 1×2 wood splits some with these screws it’s ok, its only acting as a spacer between the wall and the pegboard at this point. Use your level and put in a top screw on the other side of the board at the spot where the board is level Now put in the rest of the screws, I put one in about every 5th hole all the way down the board on every 1×2.
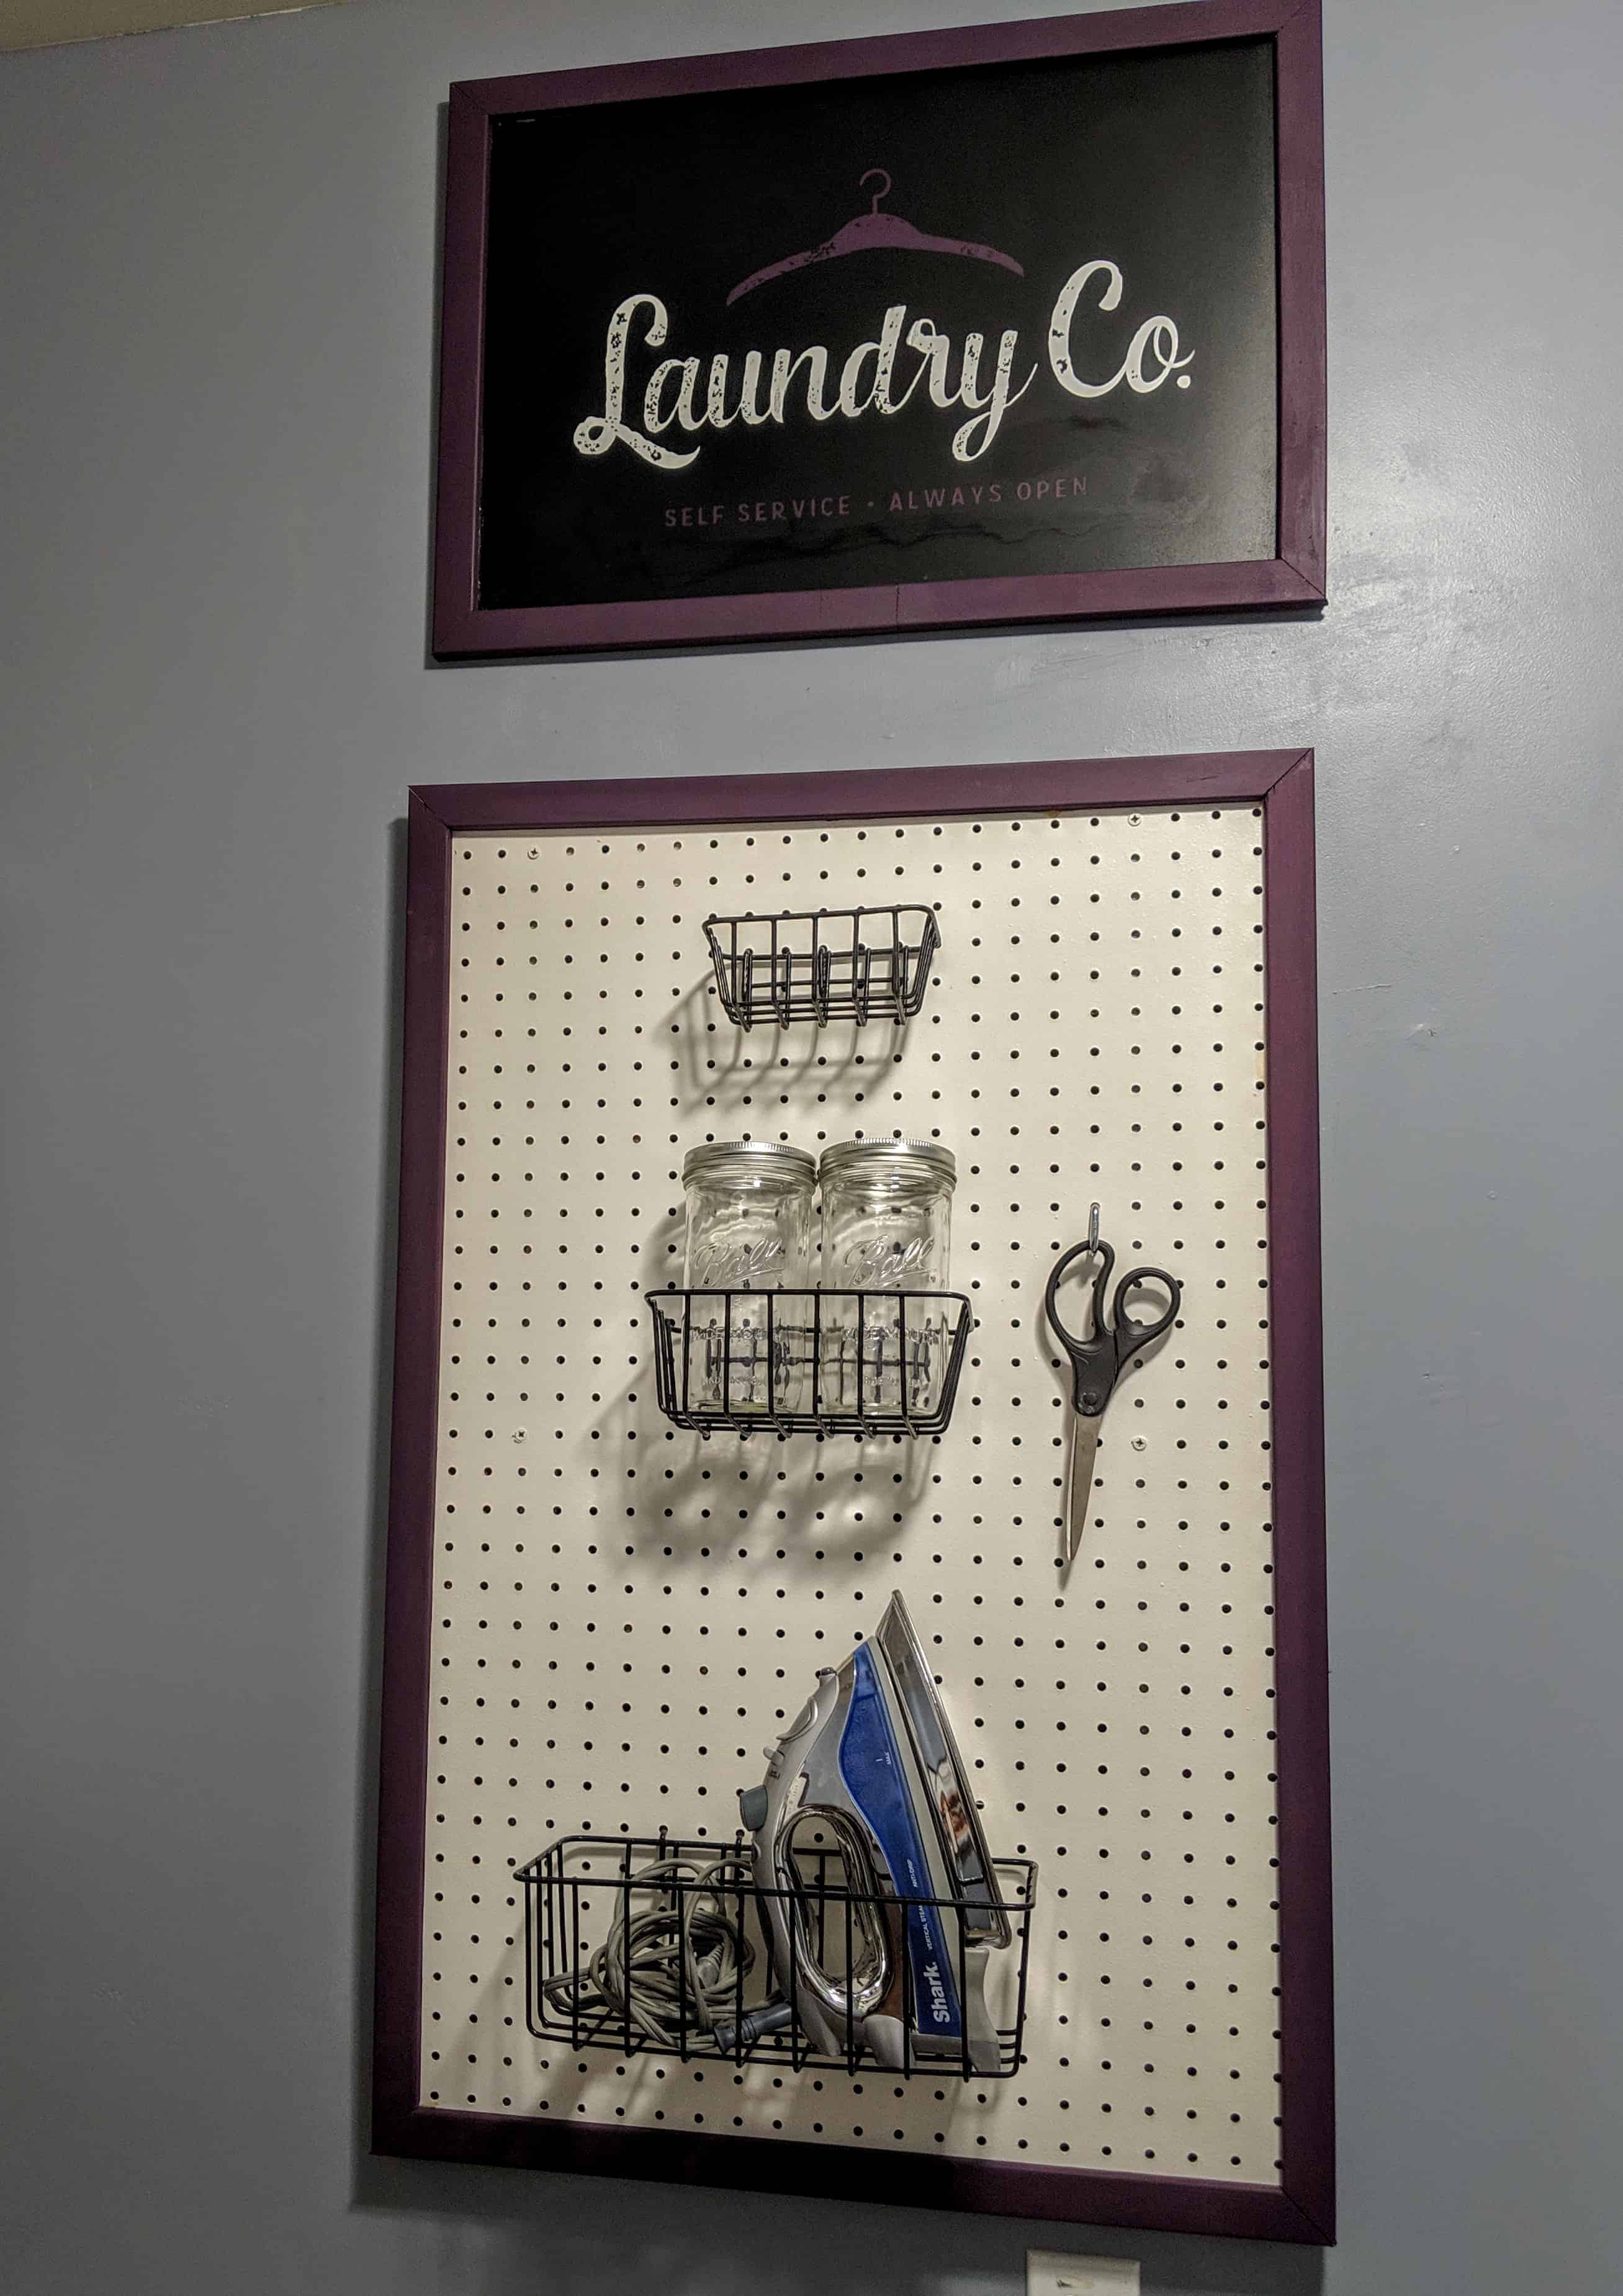
And That’s All, such an easy DIY

That’s all there is to it. Want to make it have a pretty frame like this one? Watch for a post coming up on how to make the frame.
This was an easy and fun DIY, in fact, I just put up another one in my garage in less than an hour. Once you have the method down it goes pretty quickly. I promise you will love using pegboard as an easy DIY for organizing everything in your home. You can display anything you need to on them. Another benefit is the things you put on them are in easy reach and just as easy to put away. I know you will get tons of satisfaction and enjoyment from this one little project.
Want to see how the rest of the room turned out? Check it out here.