Make a Patio Coffee Table/Party Beverage Tub
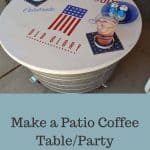
Make a Patio Coffee Table/Party Beverage Tub
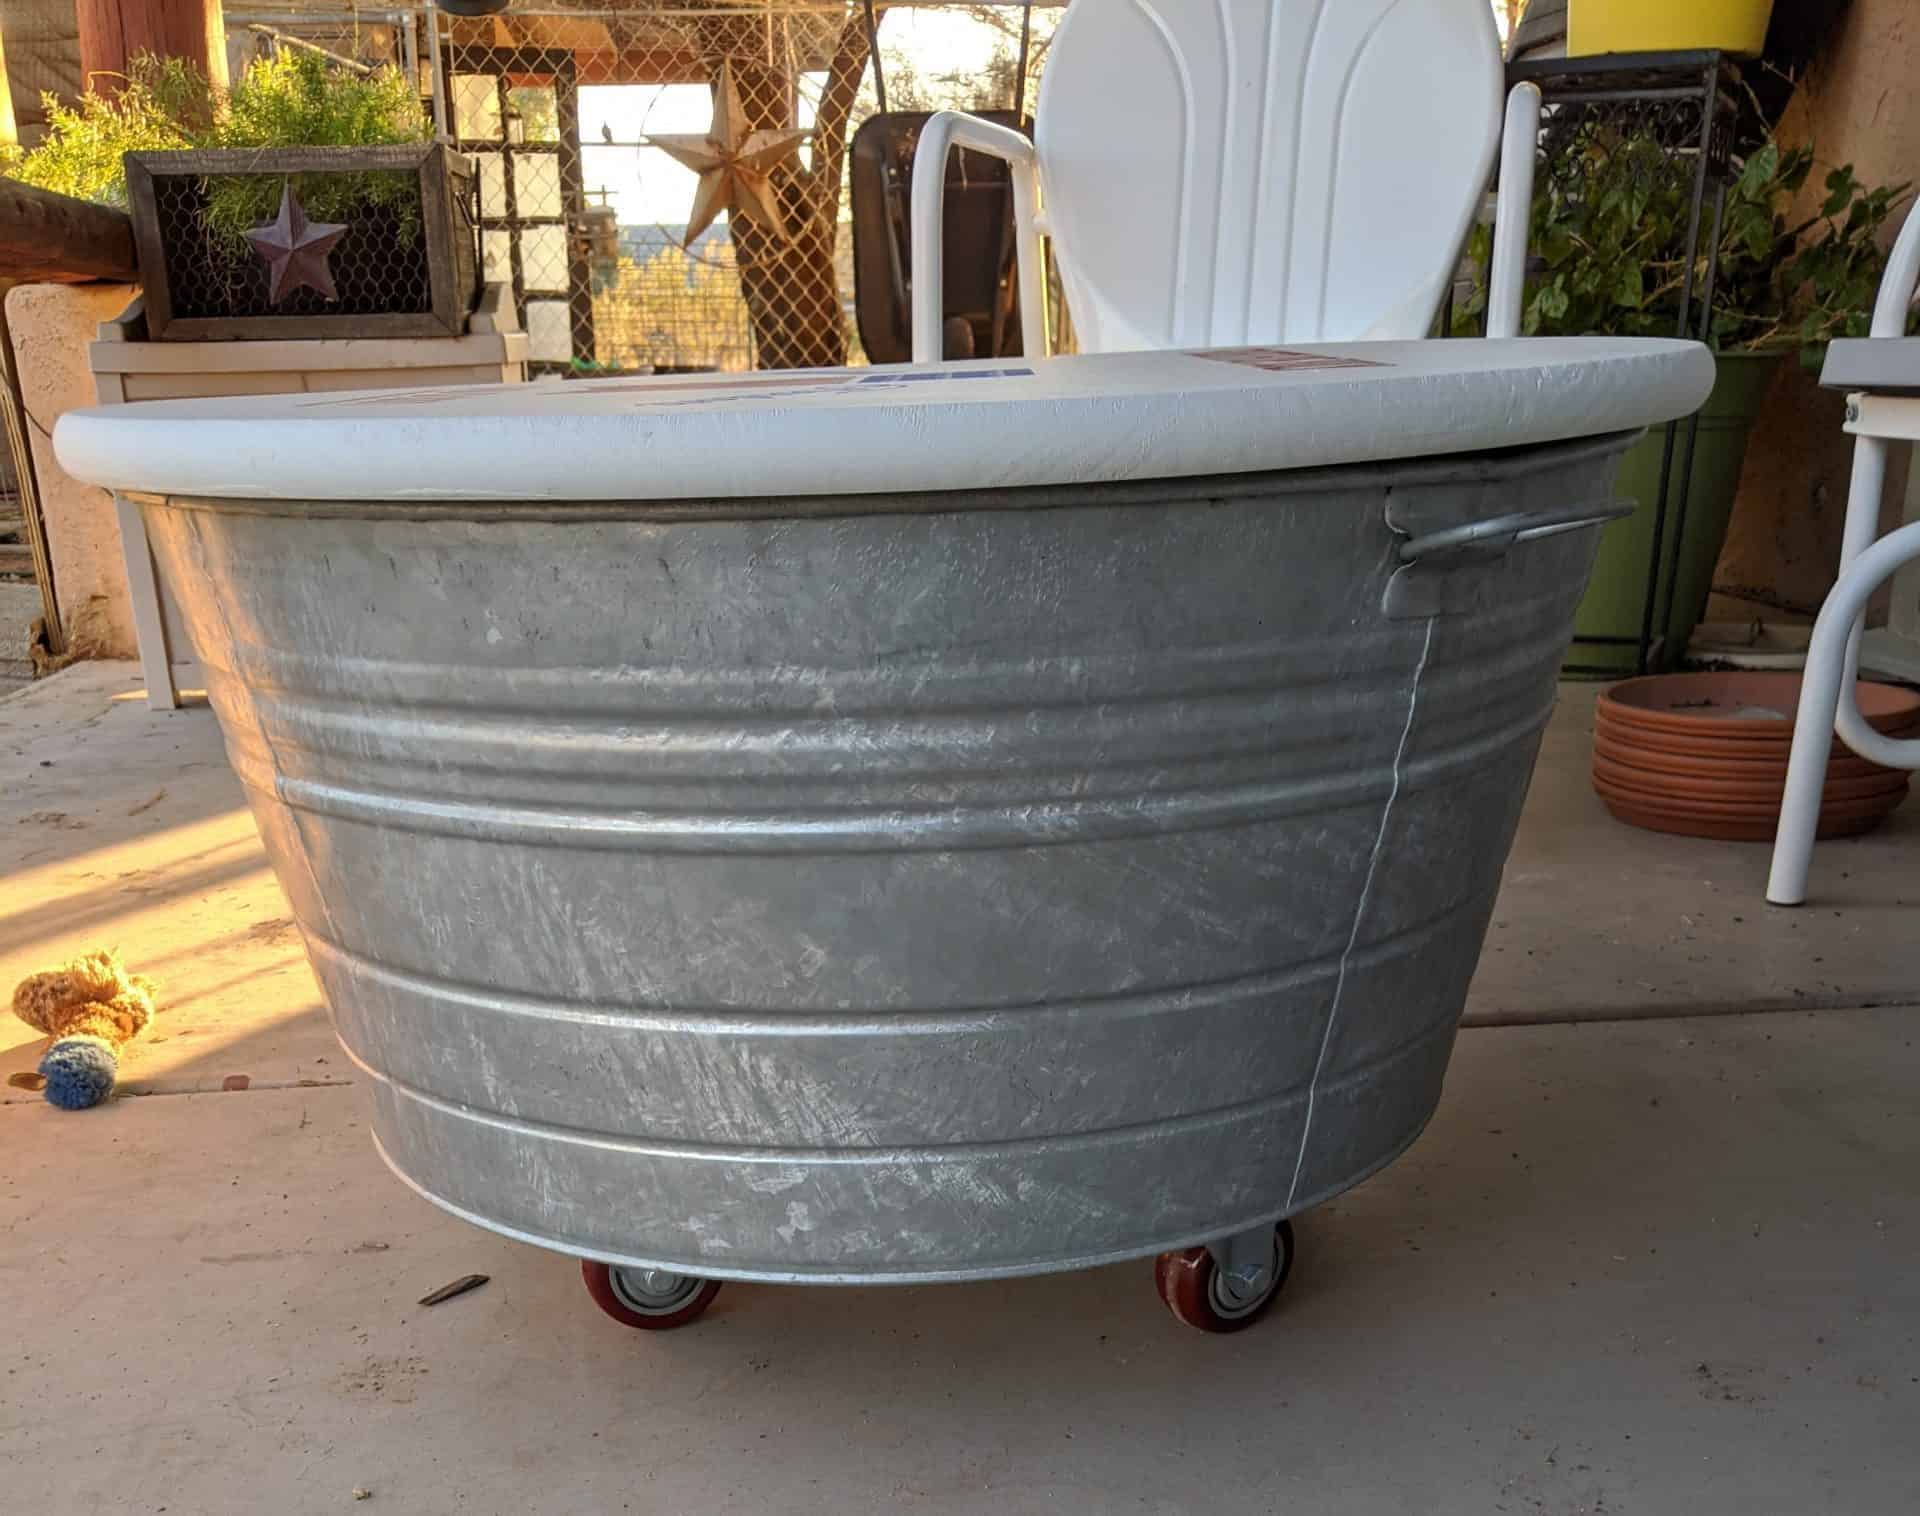
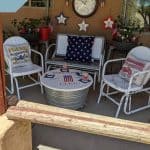
 Make a Patio Coffee Table that can also be a party beverage tub. I was working on decorating my porch for the 4th of July and sort of stumbled on this idea. I used this galvanized tub before as a coffee table, but I just turned it upside and sat it up on bricks. This year’s idea was so much better.
Here’s what you need:
Exterior White Paint and Primer
28 Gallon Tub If there is not a Tractor Supply near you check other Farm Stores
Make the Art Work for the Top
The first thing I had to do was to paint the round top. I used Kilz outdoor primer and did 2 coats. It was put it on with a roller so there would not be brush marks. I did both sides so that I could flip it over to the white side for after the 4th.
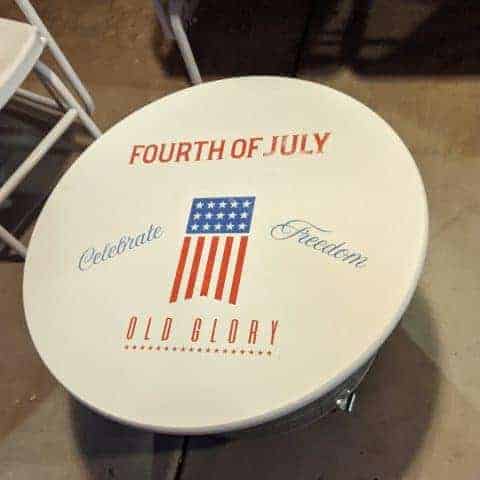
Next was to do the design on the top. I used 2 different Chalk Couture Transfers. From the Home of the Brave transfer were the flag, the 4th of July, and the Old Glory with the stars. The Celebrate Freedom was from last years Club Couture transfer for July.
When doing Chalk Couture on wood the first thing you need to do is to wax the wood. I used the Chalk Couture wax and just rubbed some on the wood and spread it out over the whole top with a rag. For a complete tutorial on doing Chalk Couture look here.
The next thing is to “fuzz” the transfer which is just sticking it to a towel so that it picks up some lint and becomes less sticky. 
Now place it on the surface, and apply the Chalk Paste over the screen.

Pull the Transfer off and you have a finished project! Just that easy.
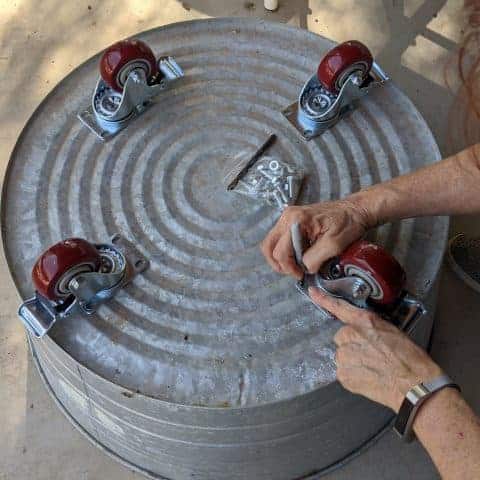
Mark Where to Drill the Holes
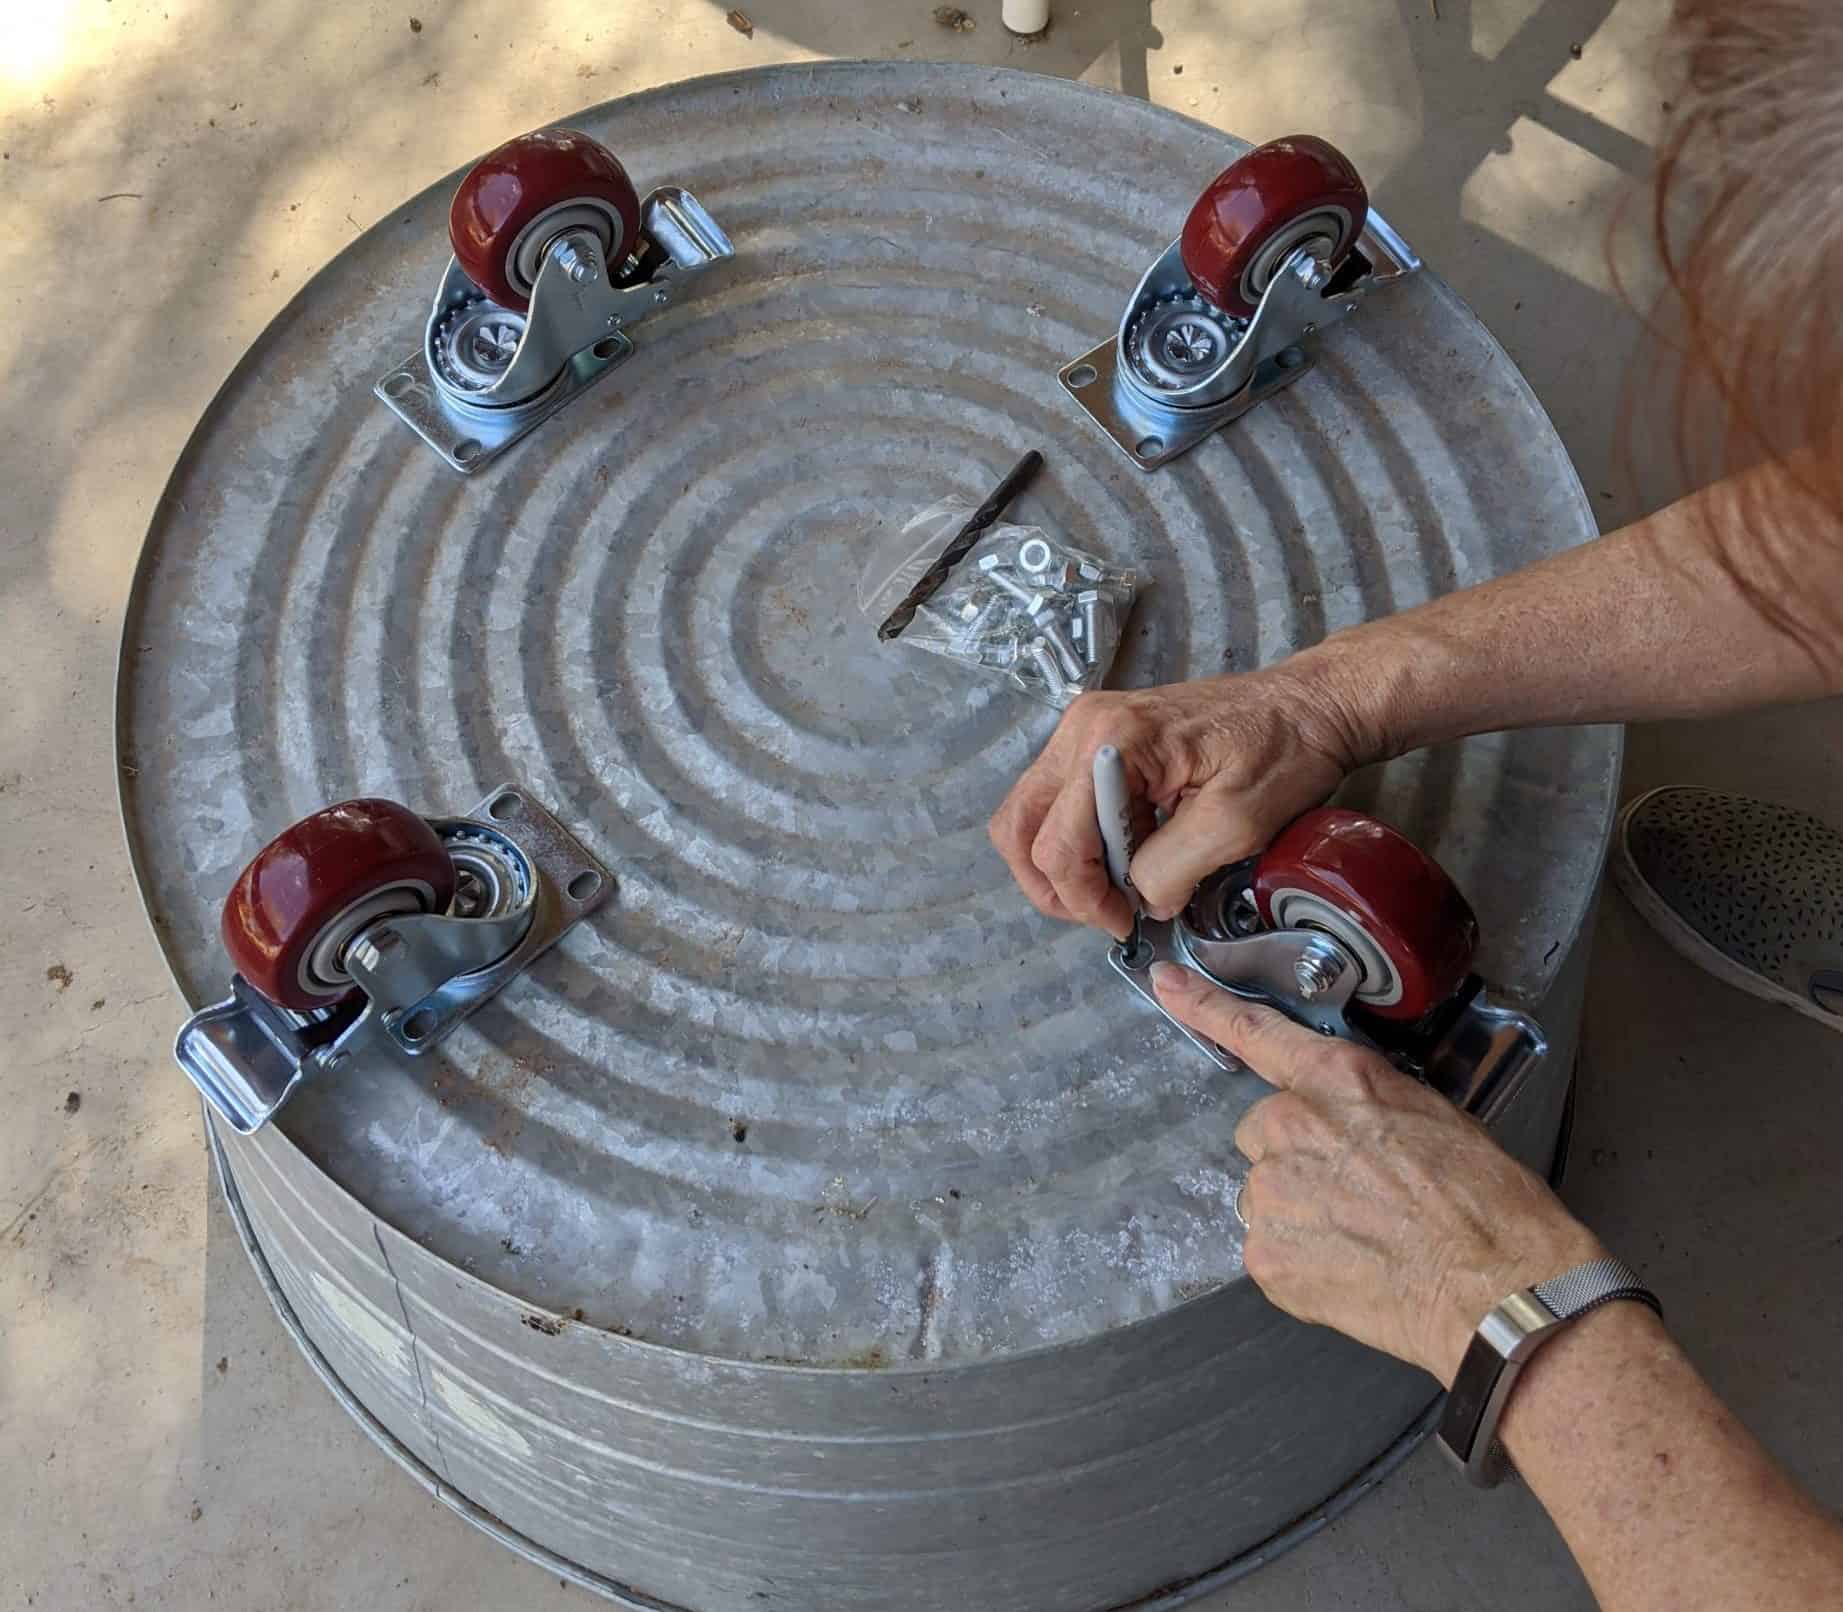
Now you have the top done. The next step is to add casters. I decided to use 4-inch swivel casters with locks because I wanted this to be able to be moved easily. By this point I was thinking Hey, this could also be a Party Beverage Tub. so the casters were a must because of the weight of the ice and beverages if it had to be moved. To do this I put one of the casters on the bottom and marked the holes with a Sharpie.
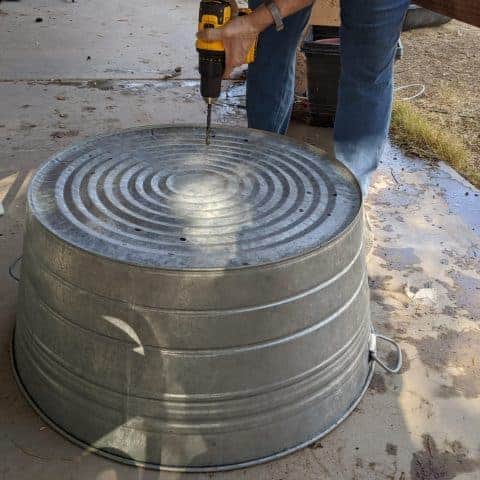
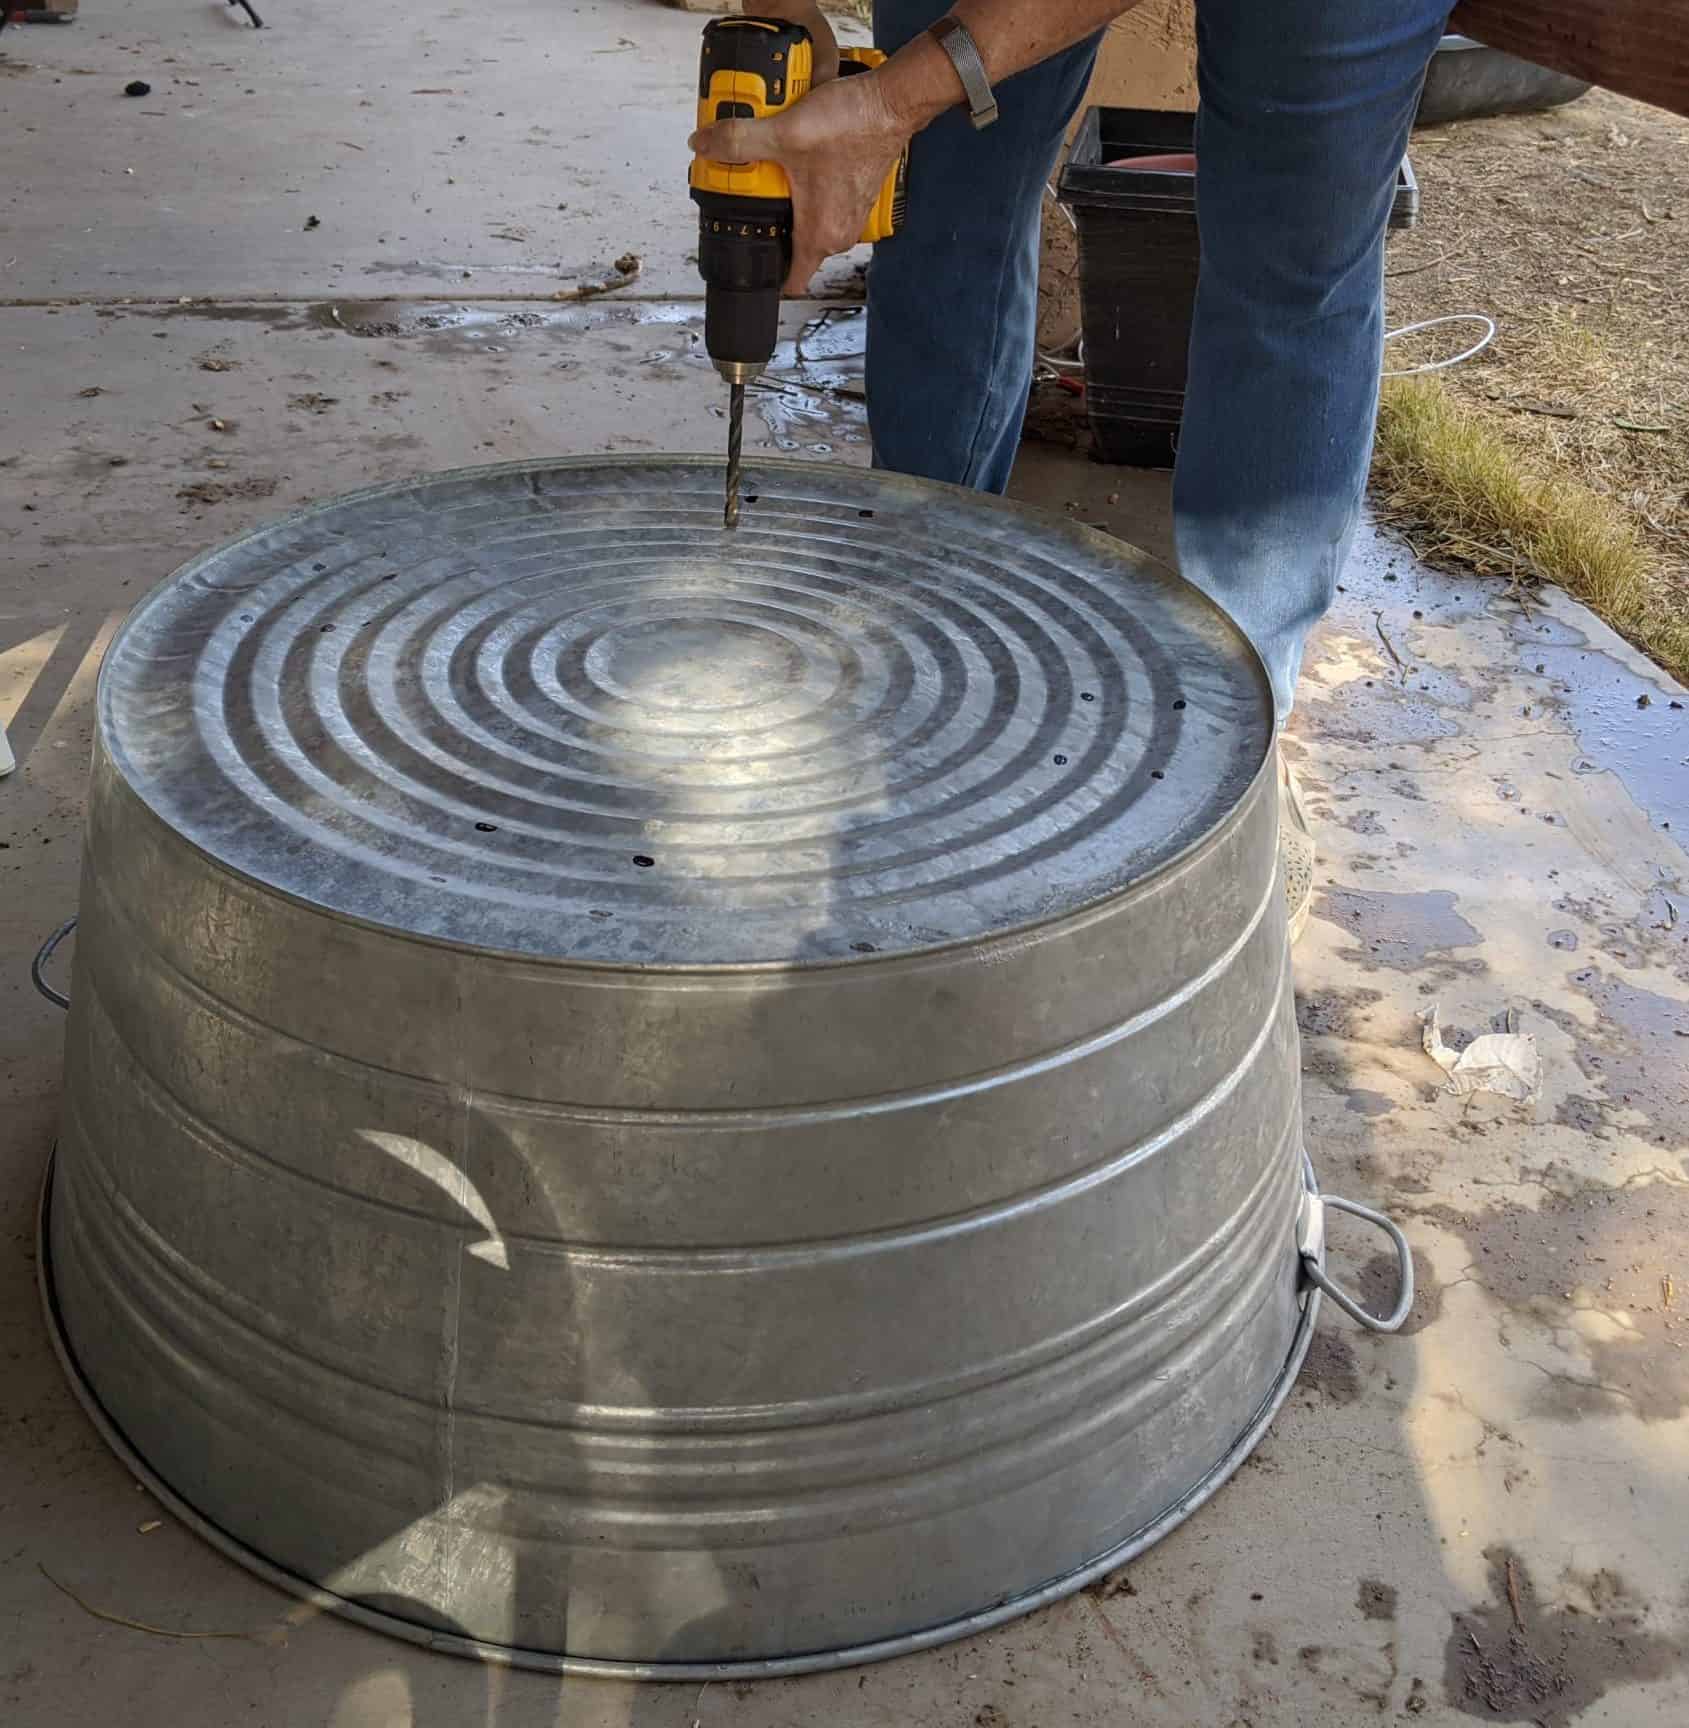
Drill
Then I drilled holes. The bit was the same size as the shank on the bolt.
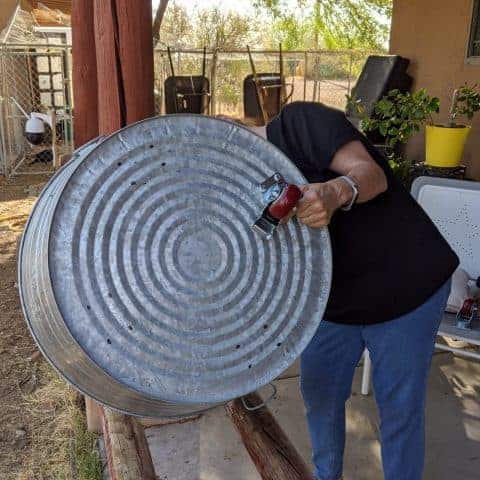
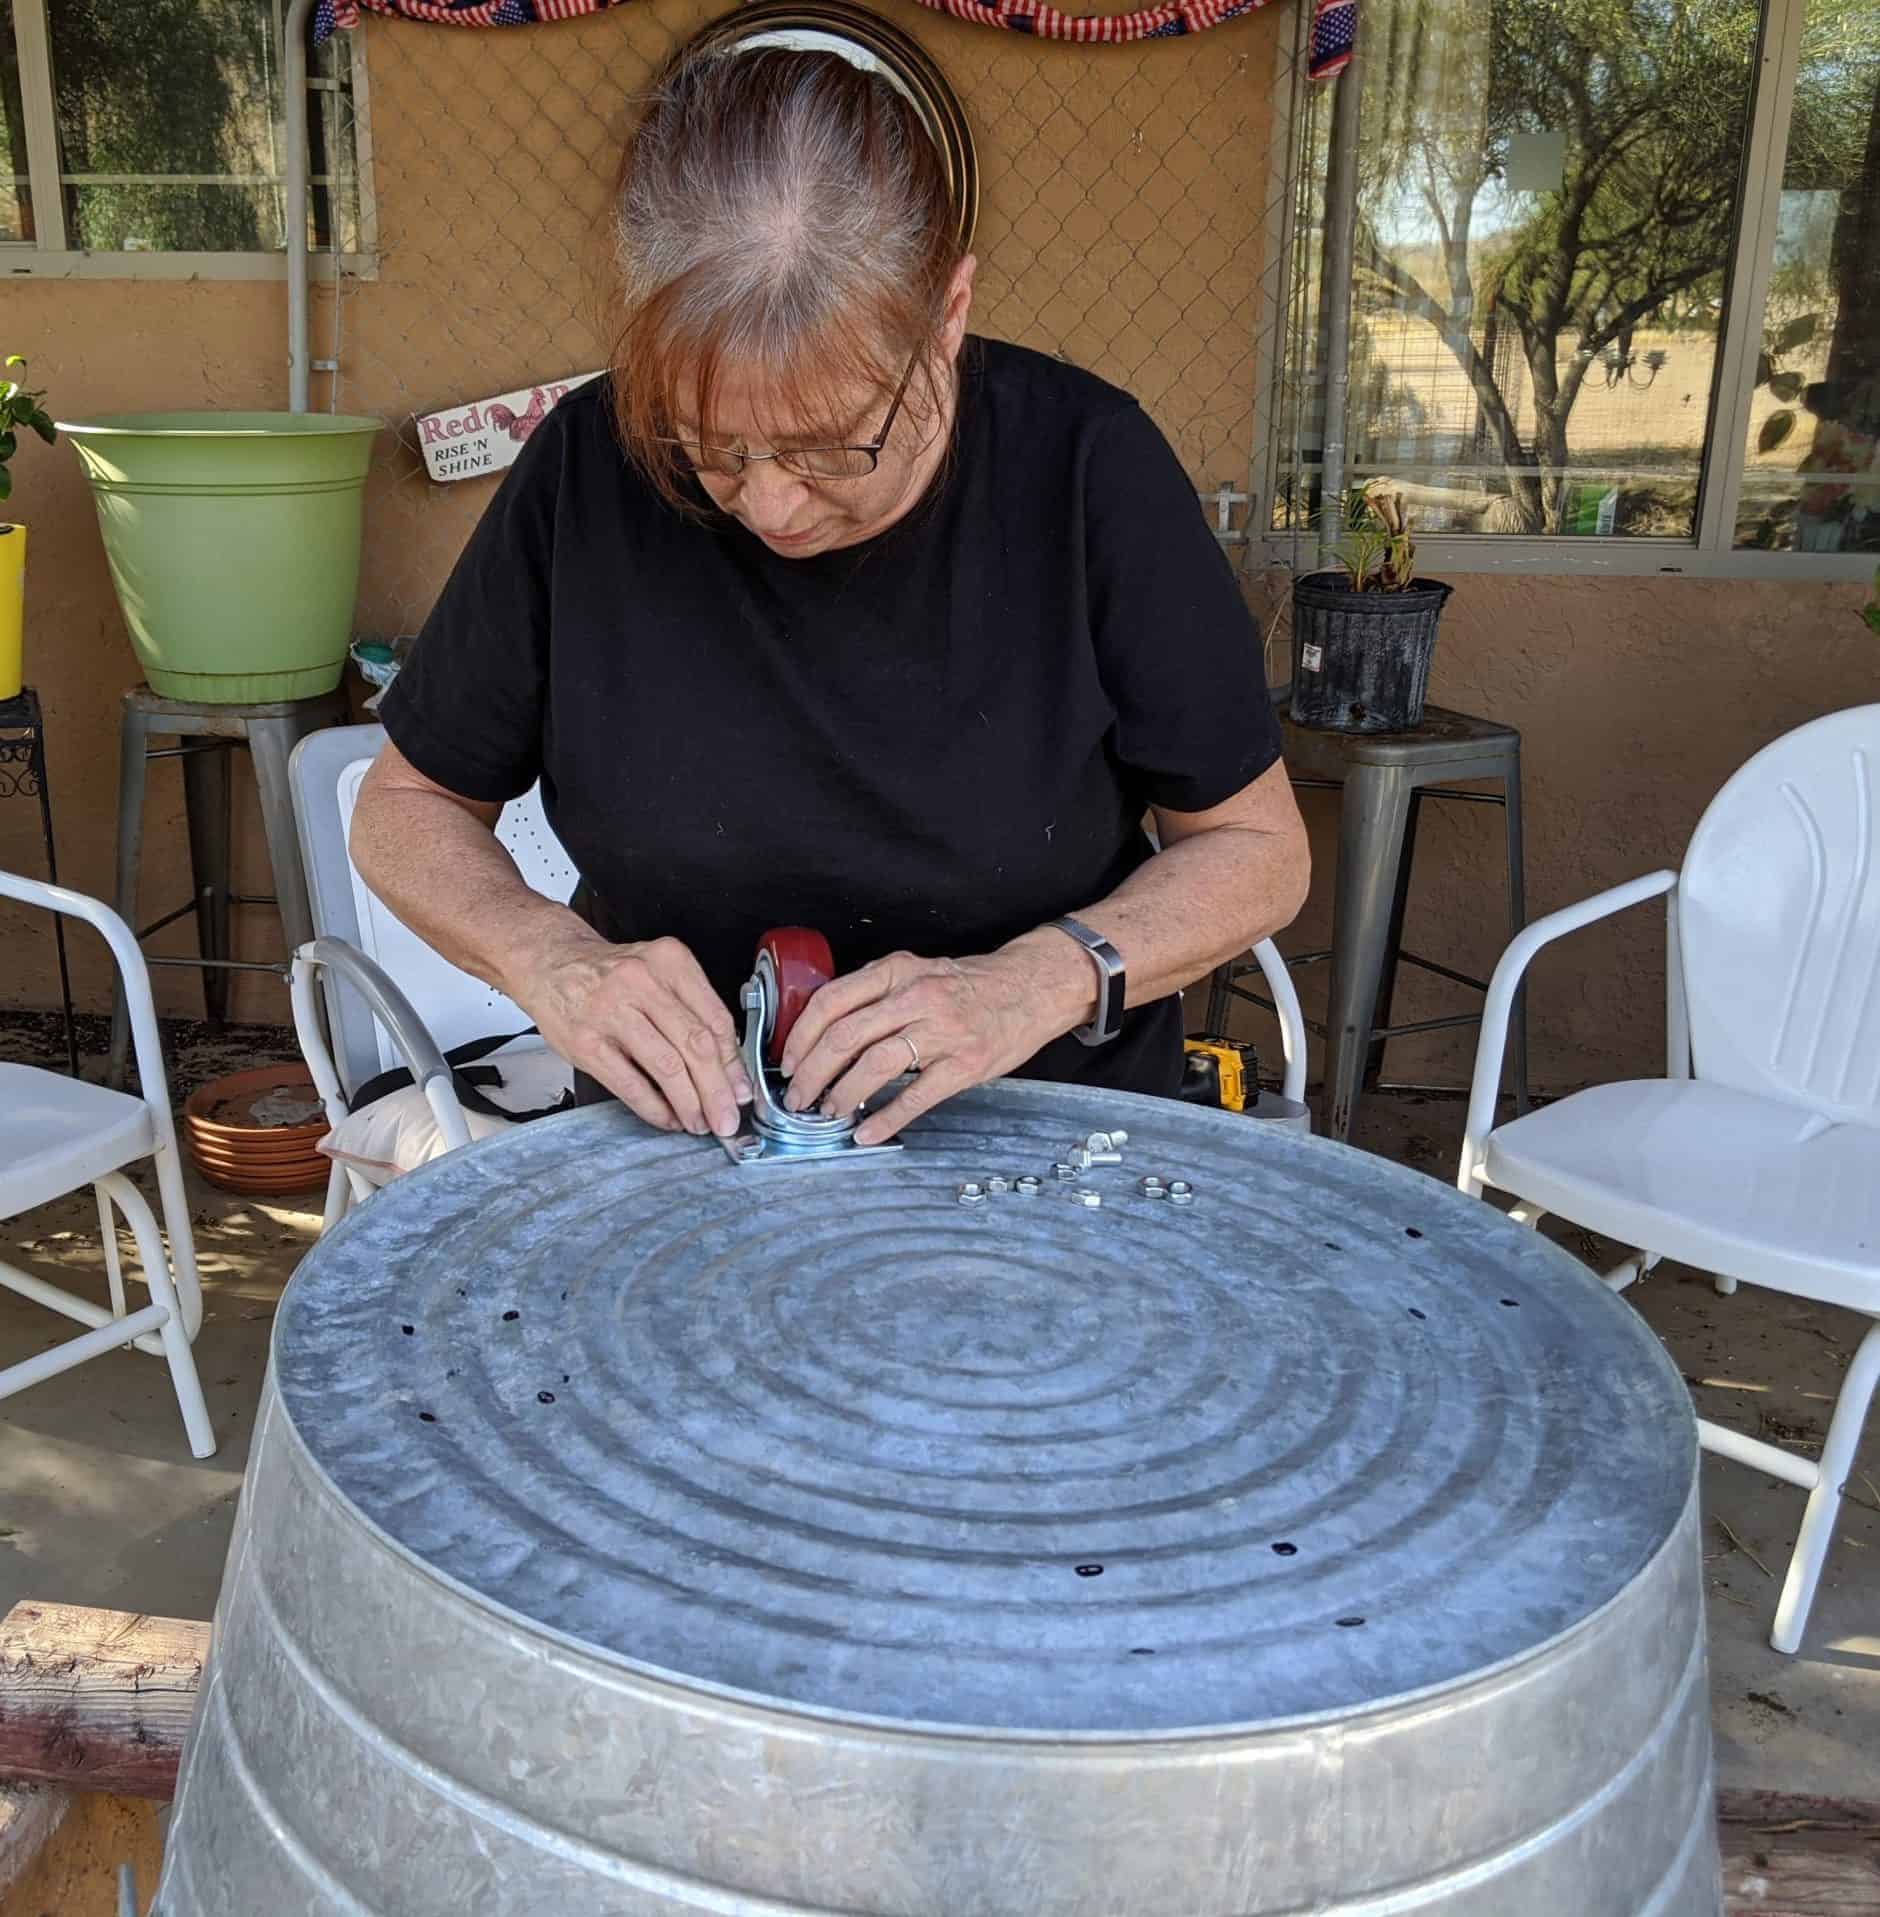
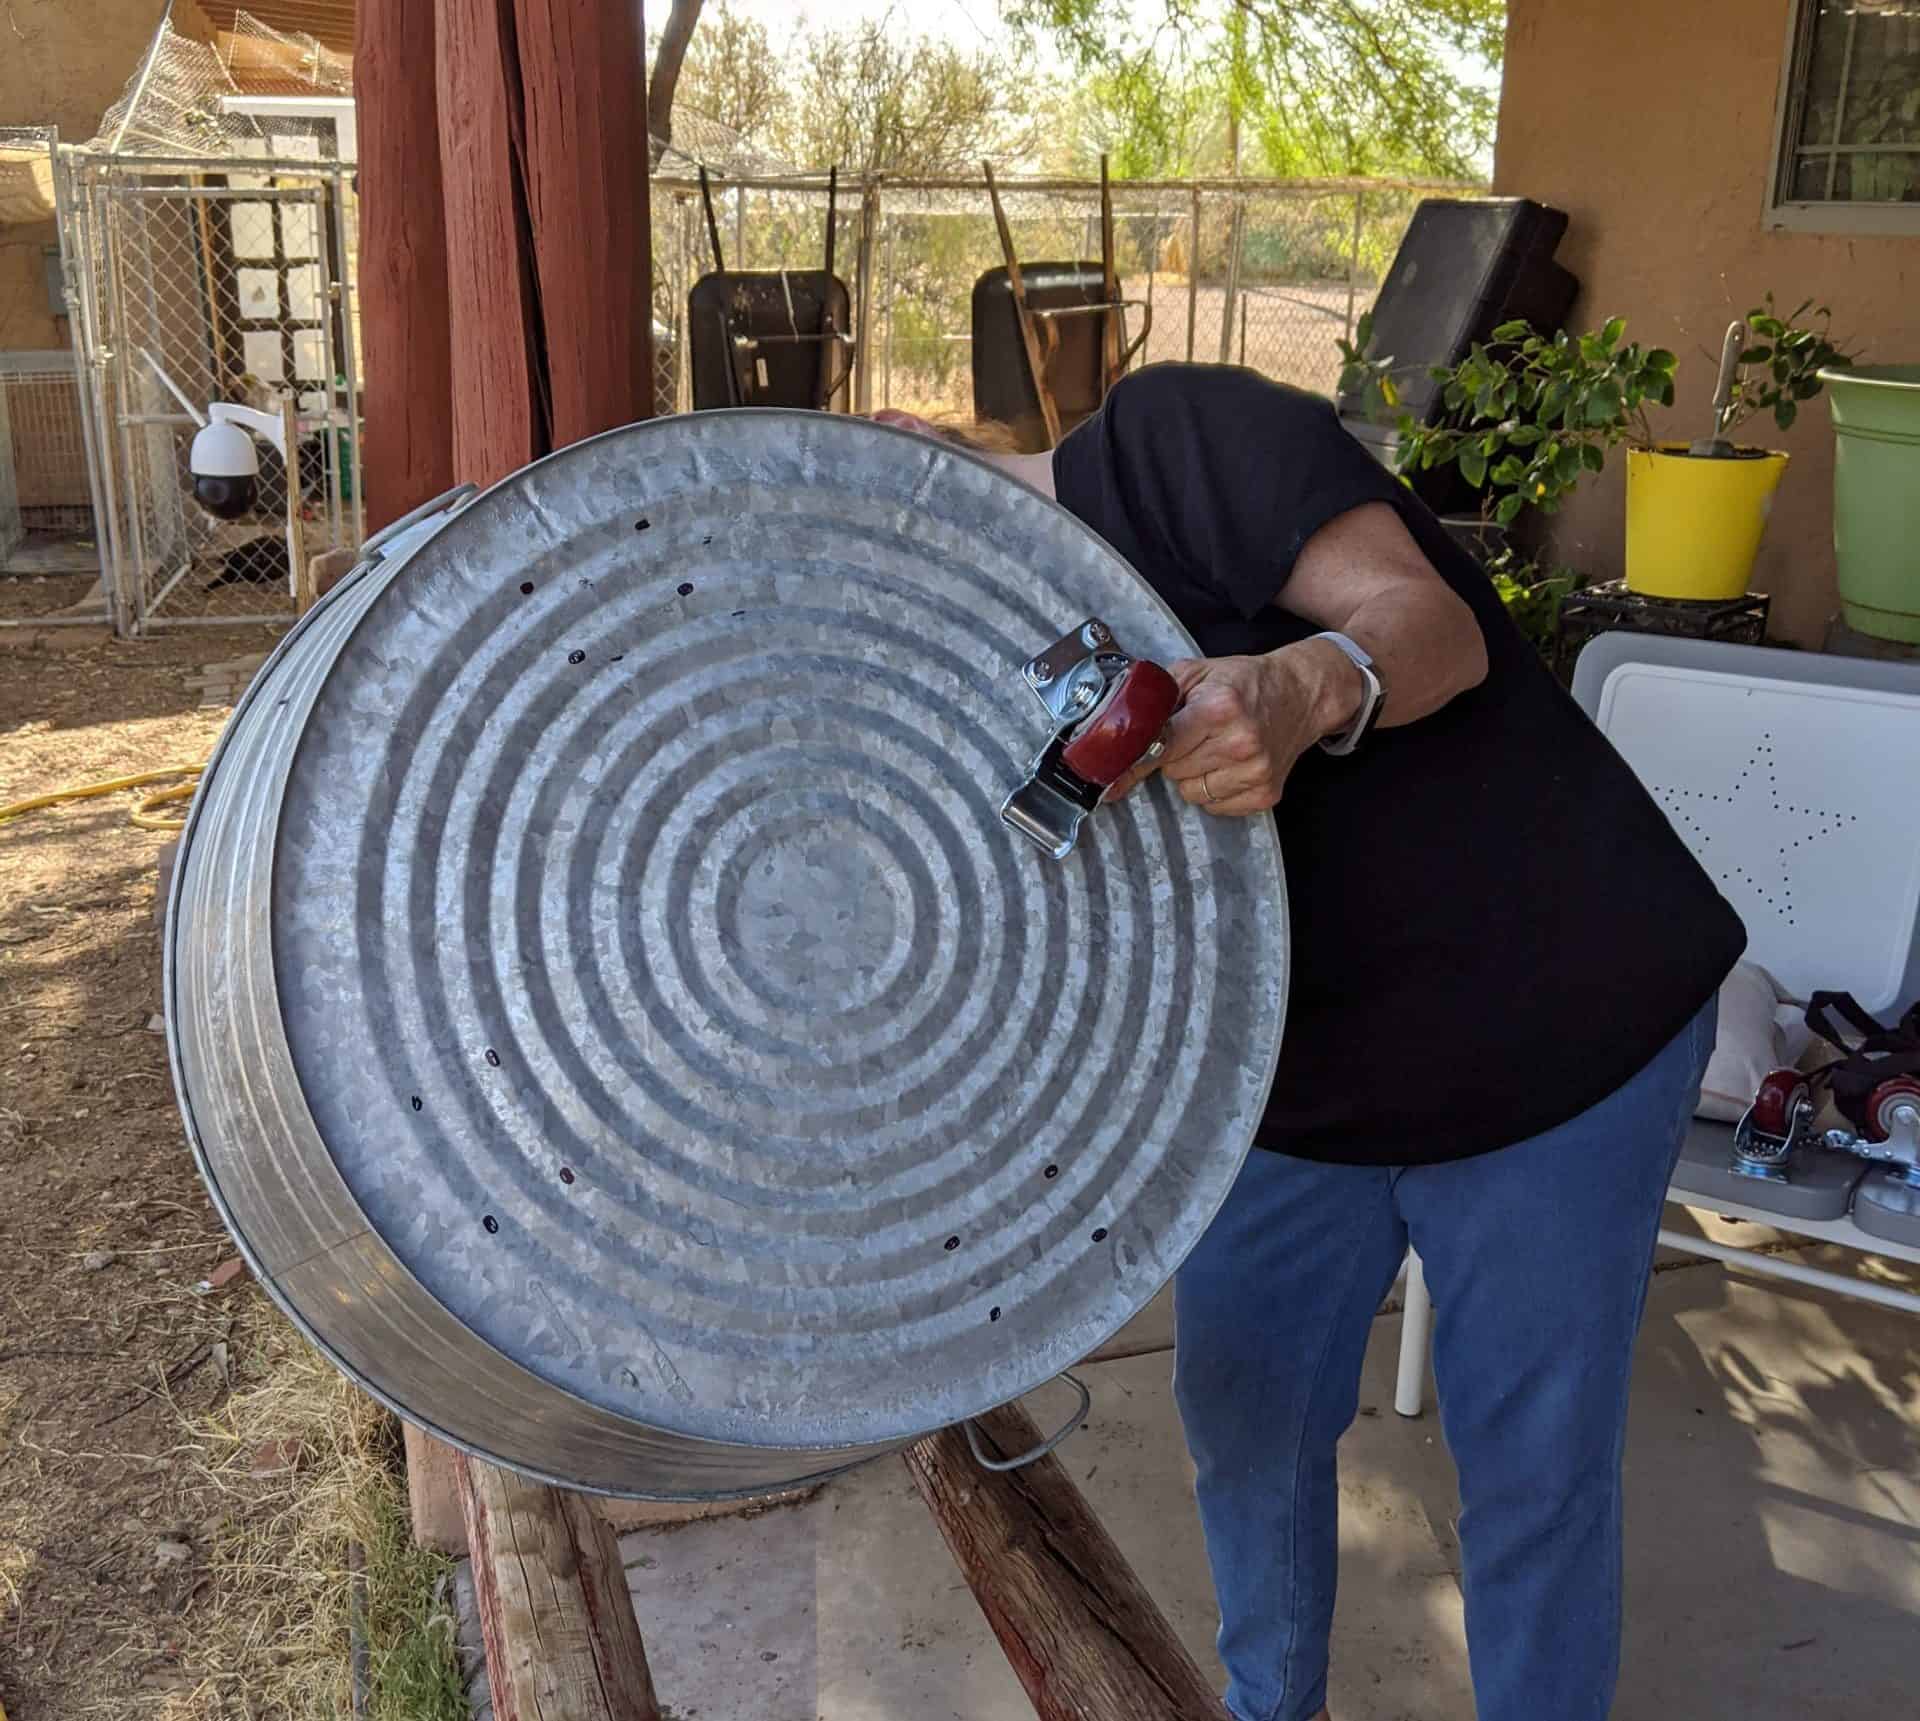
Attach the Casters with Bolts
After all the holes were drilled I bolted the casters on. Most of them went on just fine, but one I had to redrill the hole larger to get the bolt to lay flush.

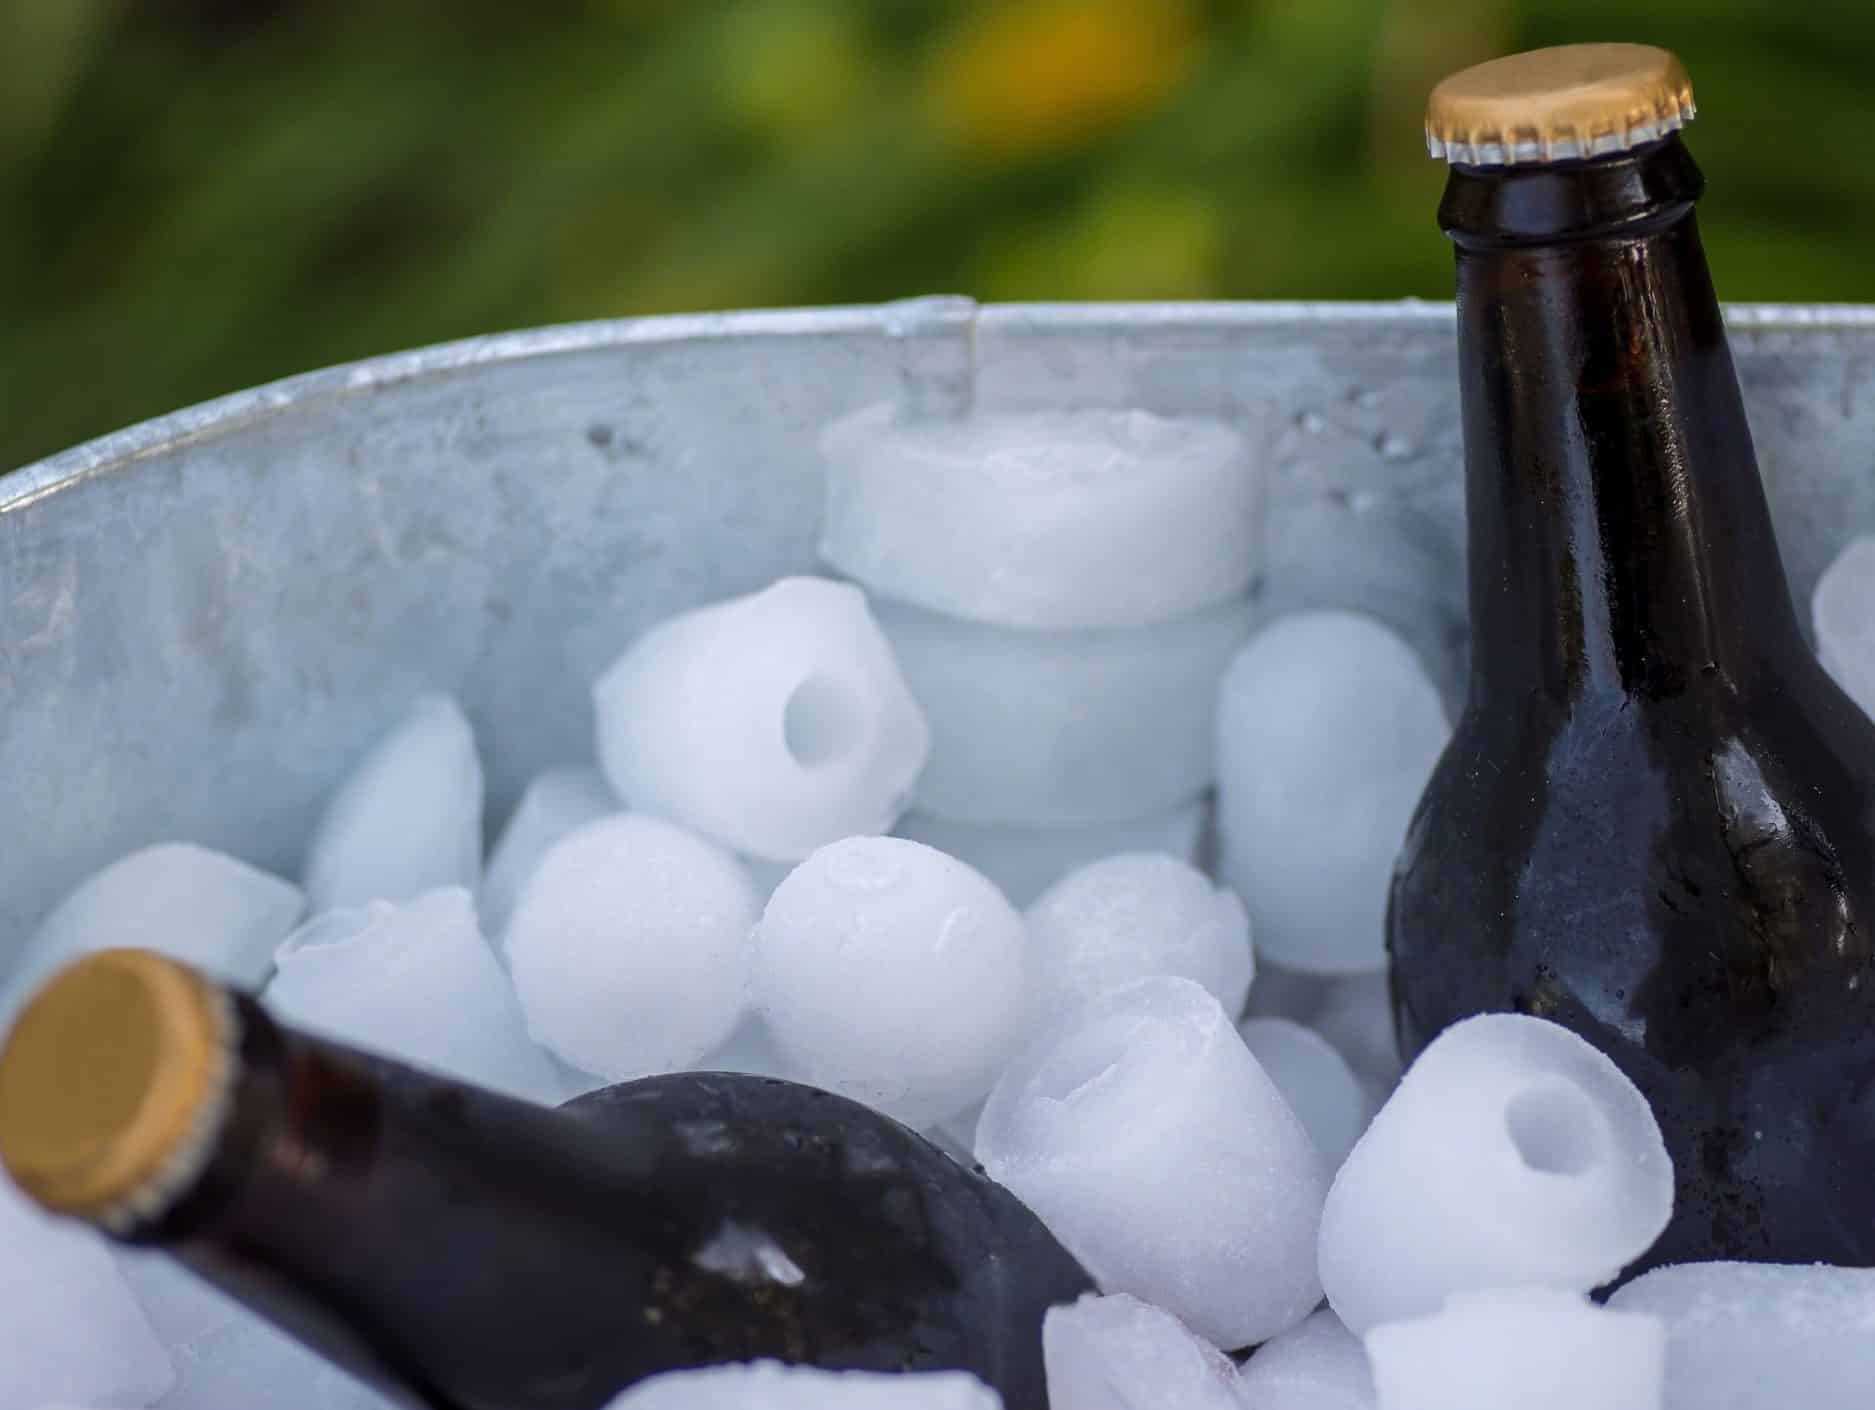
If you are planning on using this for beverages and it makes a difference if it drips, you will need to seal around the bolts with Silicone Sealer. You could also put in a layer of styrofoam on the bottom. Fill it up with ice and drinks, it holds enough for a really large party.

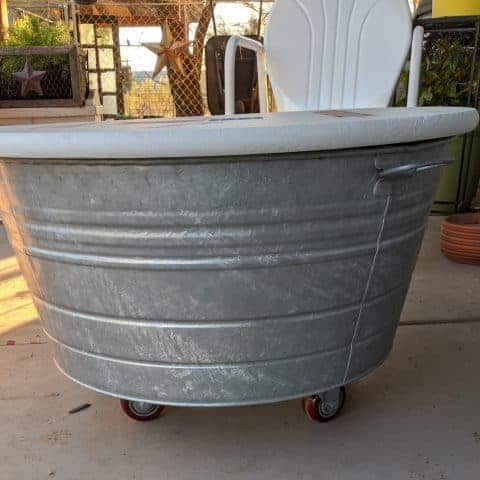
Now flip it over onto the casters, put on the top and you have yourself the perfect Patio Coffee Table / Beverage Tub. Fun and easy to make, and even more fun to use.
If you have enjoyed this post on How to Make a Patio Coffee Table/Party Beverage Tub please share it on Pinterest. Don’t forget to subscribe to our Newsletter, like us on Facebook, and follow us on Instagram, or check out my YouTube Channel.
Till Next Time…
Make a Patio Coffee Table/Party Beverage Tub

Make this Patio Table /Beverage Tub in an afternoon.
Materials
Instructions
Make the artwork for the top.
The first thing I had to do was to paint the round top. I used Kilz outdoor primer and did 2 coats. It was put it on with a roller so there would not be brush marks. I did both sides so that I could flip it over to the white side for after the 4th.
Next was to do the design on the top. I used 2 different Chalk Couture Transfers. From the Home of the Brave transfer was the flag, the 4th of July, and the Old Glory with the stars. The Celebrate Freedom was from last years Club Couture transfer for July.
When doing Chalk Couture on wood the first thing you need to do is to wax the wood. I used the Chalk Couture wax and just rubbed some on the wood and spread it out over the whole top with a rag. For a complete tutorial on doing Chalk Couture look here.
The next thing is to "fuzz" the transfer which is just sticking it to a towel so that it picks up some lint and becomes less sticky.

Apply and Paste
Now place it on the surface, and apply the Chalk Paste over the screen.

Pull the Transfer off and you have a finished project! Just that easy.
Mark Where to Drill the Holes
Now you have the top done. The next step is to add casters. I decided to use 4-inch swivel casters with locks because I wanted this to be able to be moved easily. By this point I was thinking Hey, this could also be a Party Beverage Tub. so the casters were a must because of the weight of the ice and beverages if it had to be moved. To do this I put one of the casters on the bottom and marked the holes with a Sharpie.
Drill
Then I drilled holes. The bit was the same size as the shank on the bolt.
Attach the Casters with Bolts
After all the holes were drilled I bolted the casters on. Most of them went on just fine, but one I had to redrill the hole larger to get the bolt to lay flush.
If you are planning on using this for beverages and it makes a difference if it drips, you will need to seal around the bolts with Silicone Sealer. You could also put in a layer of styrofoam on the bottom. Fill it up with ice and drinks, it holds enough for a really large party.
Now flip it over onto the casters, put on the top and you have yourself the perfect Patio Coffee Table / Beverage Tub. Fun and easy to make, and even more fun to use.