Chalk Couture Market Collection Sheep ideas

Hello friends. Today I am going to show you how I used the Chalk Couture Market Collection Sheep transfer in both my spring porch and my table 3 ways post. It’s just 4 super easy steps. I love that these transfers can be reused. I did a lot of different projects with this one transfer.
What you will need :
Full disclosure I am sending you to my Chalk Couture store, so I will be credited for the sales and generate income from your purchase. Chalk Couture likes to keep the inventory fresh and relevant, so transfers can be retired at any time.
- Market Collection Chicken Transfer. Chickens are on page 9, pastes and tools (accessories) can be found in the tabs on the left.
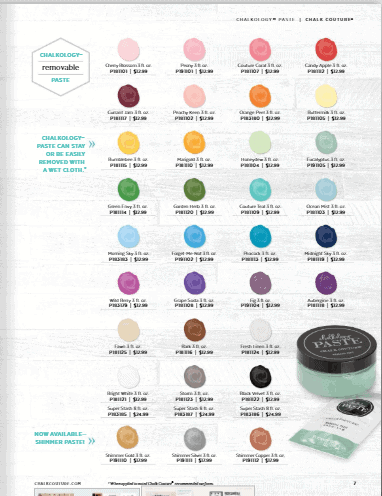
- Chalk Couture Paste in the color of your choice.
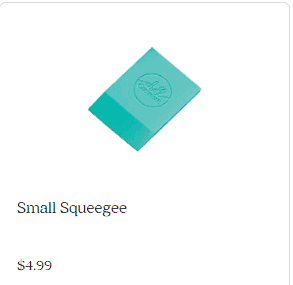
- You will also need a small squeegee from the accessories tab.
- clear matte spray paint sealer.
- painters tape
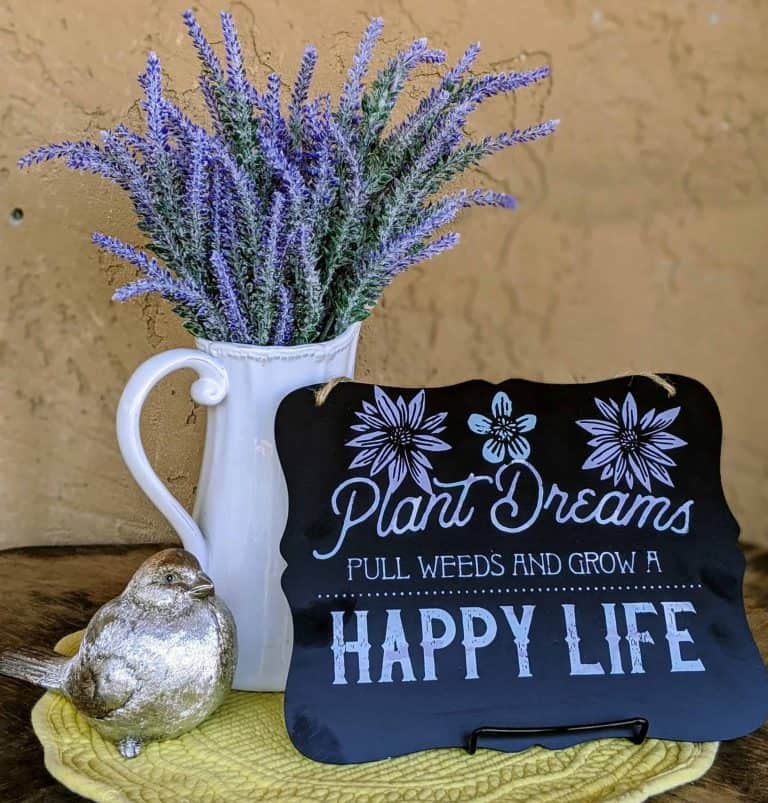
- Surface to decorate, I used a flower pot, a terra cotta plant tray, and a pillow cover in my porch post. In the One Table 3 ways post I used the terra cotta plant tray. Today I will be showing you the flower pot.
A word about using transfers.
With a new transfer before you use it for the first time, you need to “fuzz” it. Just peel the transfer off the backing and stick it onto a towel. These transfers are incredibly sticky so to make sure it will come off your project fuzz it first.
Another tip, if you are new to using Chalk Couture transfers, is to know that these transfers have a bias like fabric, in reality, they are silk screens. This means that you should never pull them from a corner. If you pull too hard you can cause the transfer to loose shape. When you are removing the transfer from the backer or a project you can start from a corner to get it loose, but peel from a side.
If the transfer should get stuck on itself just place it into a sink of cool water and gently pull it apart.
For this project.
I used the sheep transfer, but the sheep was too big to fit onto the terra cotta tray, so I shortened him up by making a tuck in the transfer, I laid the transfer out then played around with where the lines on the back and the belly would match up, and fit onto the surface I was decorating. then I stuck the transfer together to make a tuck and shorten the transfer. You can see it in the picture in the next step.
Step 1
Take the transfer and stick it onto whatever surface you will be using to decorate. For this tutorial, I am using a terra cotta plant tray that I will use as an outside decoration and also as a plate charger for my Table 3 ways post. I also put painters tape over anything that I don’t want to get this color paste on it. In this case there was grass around the feet that I didn’t want black.

Step 2
The next step is to open the chalk paste and give it a good stir. It should be the consistency of thick yogurt. If your paste seems too thick take a spray bottle and put just one squirt into the paste and stir again. A little water goes a long way. If you think it is still too thick do it again.
Now you are ready to paint the sheep. Dip your squeegee into the paste and begin pulling across the transfer. Work quickly. We will want to pull the transfer off while the paste is still wet.

Flip the little flap out of your way and put the chalk paste on the other side.

Step 4
Now just grab an edge of the transfer and pull it off . If you wait until the paste is dry it will pull off some of the paste with the transfer and ruin your project. Not a big deal if this happens to you. You can just wash everything off and start over.

This is what it should look like now:

I was satisfied with how this turned out, except for the feet. I let it dry and took my finger nail and cleaned then up by scratching off the paste. Here is the really beauty of this product. If I didn’t like it I could take it to my sink and just wash it off and start over.
After looking at it I decided it needed more color, so I put the transfer back on and taped over the legs so the ink would not get on them , then I used my green chalk paste and put the grass in. You can see the finished one at the bottom.
Care
The transfer and squeegee should be washed in cool water. A Mr. Clean magic eraser does a good job of removing the paste from the transfer. Let the transfer dry sticky side up on a towel. After it is dry you reactivate the stick by wiping the sticky side with a disinfecting wipe. DO NOT USE A BABY WIPE!! A baby wipe will remove the stick instead of reactivating it. Just put it back onto it’s original backer and it’s ready to be used again.
My finished project.
Here is what my finished project looks like in my Spring Porch, this one I did in yellow but its the same except for the color.

This is the place setting. I love the way these turned out as chargers. Have to give credit where it is due, I saw the original idea of using the terra cotta trays as chargers in Country Living in the April 2019 issue, but they just used the trays and put plain white dishes in them. Don’t you like the way these turned out better? As you can see in the picture I also made coasters from smaller transfers.


And on a flower pot:

I used this same technique on my flower pots and also on my pillow covers. On the pillow covers, I used ink instead of paste and put a piece of cardboard into the cover to keep the ink from bleeding through onto the back of the cover. To set the ink you need to hot iron over the design when it is dry.
Because the paste can be washed off I sprayed this with a clear matte sealer. I didn’t want to lose my sheep when I washed the chargers, or on the flower pots when I watered the plants. I hope you love making things with the Chalk Couture transfers as much as I do. It’s so much fun, and so easy.
Want to see how I did the chicken? Look here.
Till Next Time…