5 Cute Patriotic Decorations You Will Want

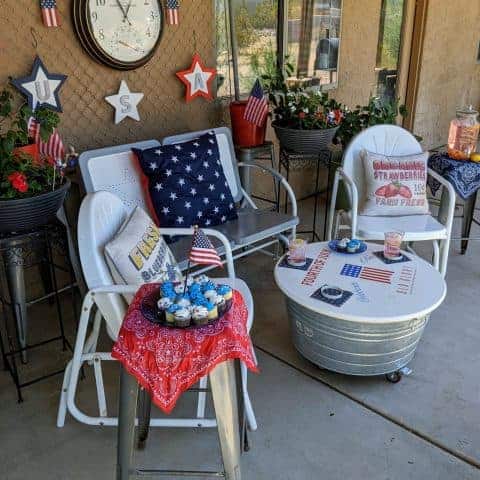
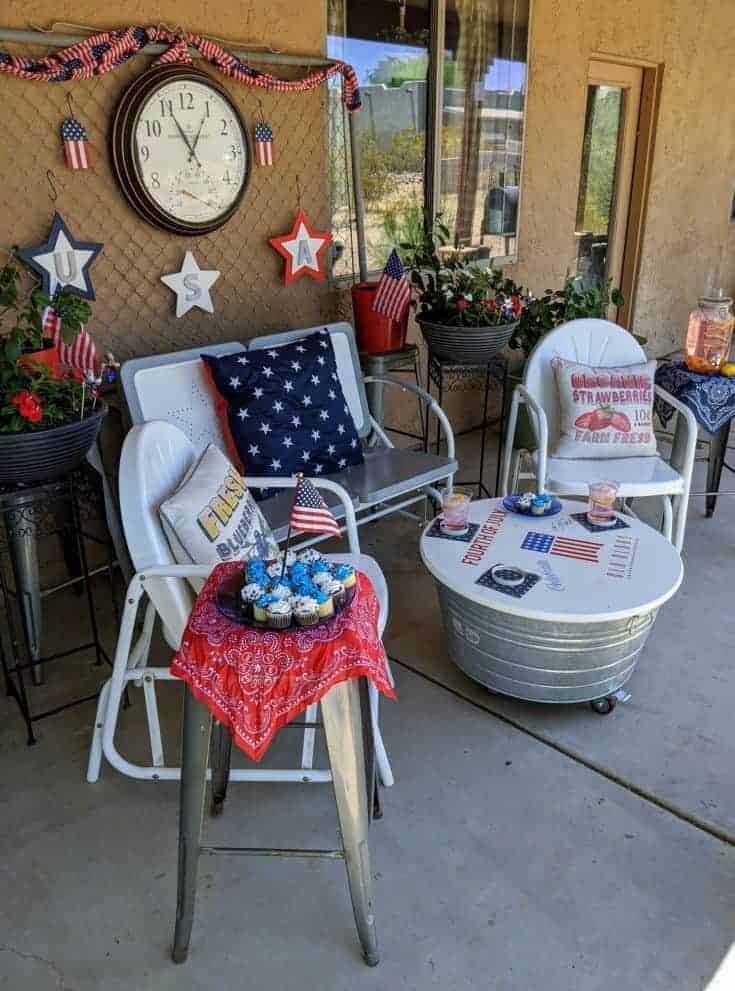
These patriotic decorations were fun and easy to make. They were really quick decorating wins. I used them outside on my porch, but they could be used inside.
Materials:
USA Stars
2 stars from Michaels
1 Star from Walmart
U,S, A letters from Walmart
Acrylic paint in Red, White, and Blue
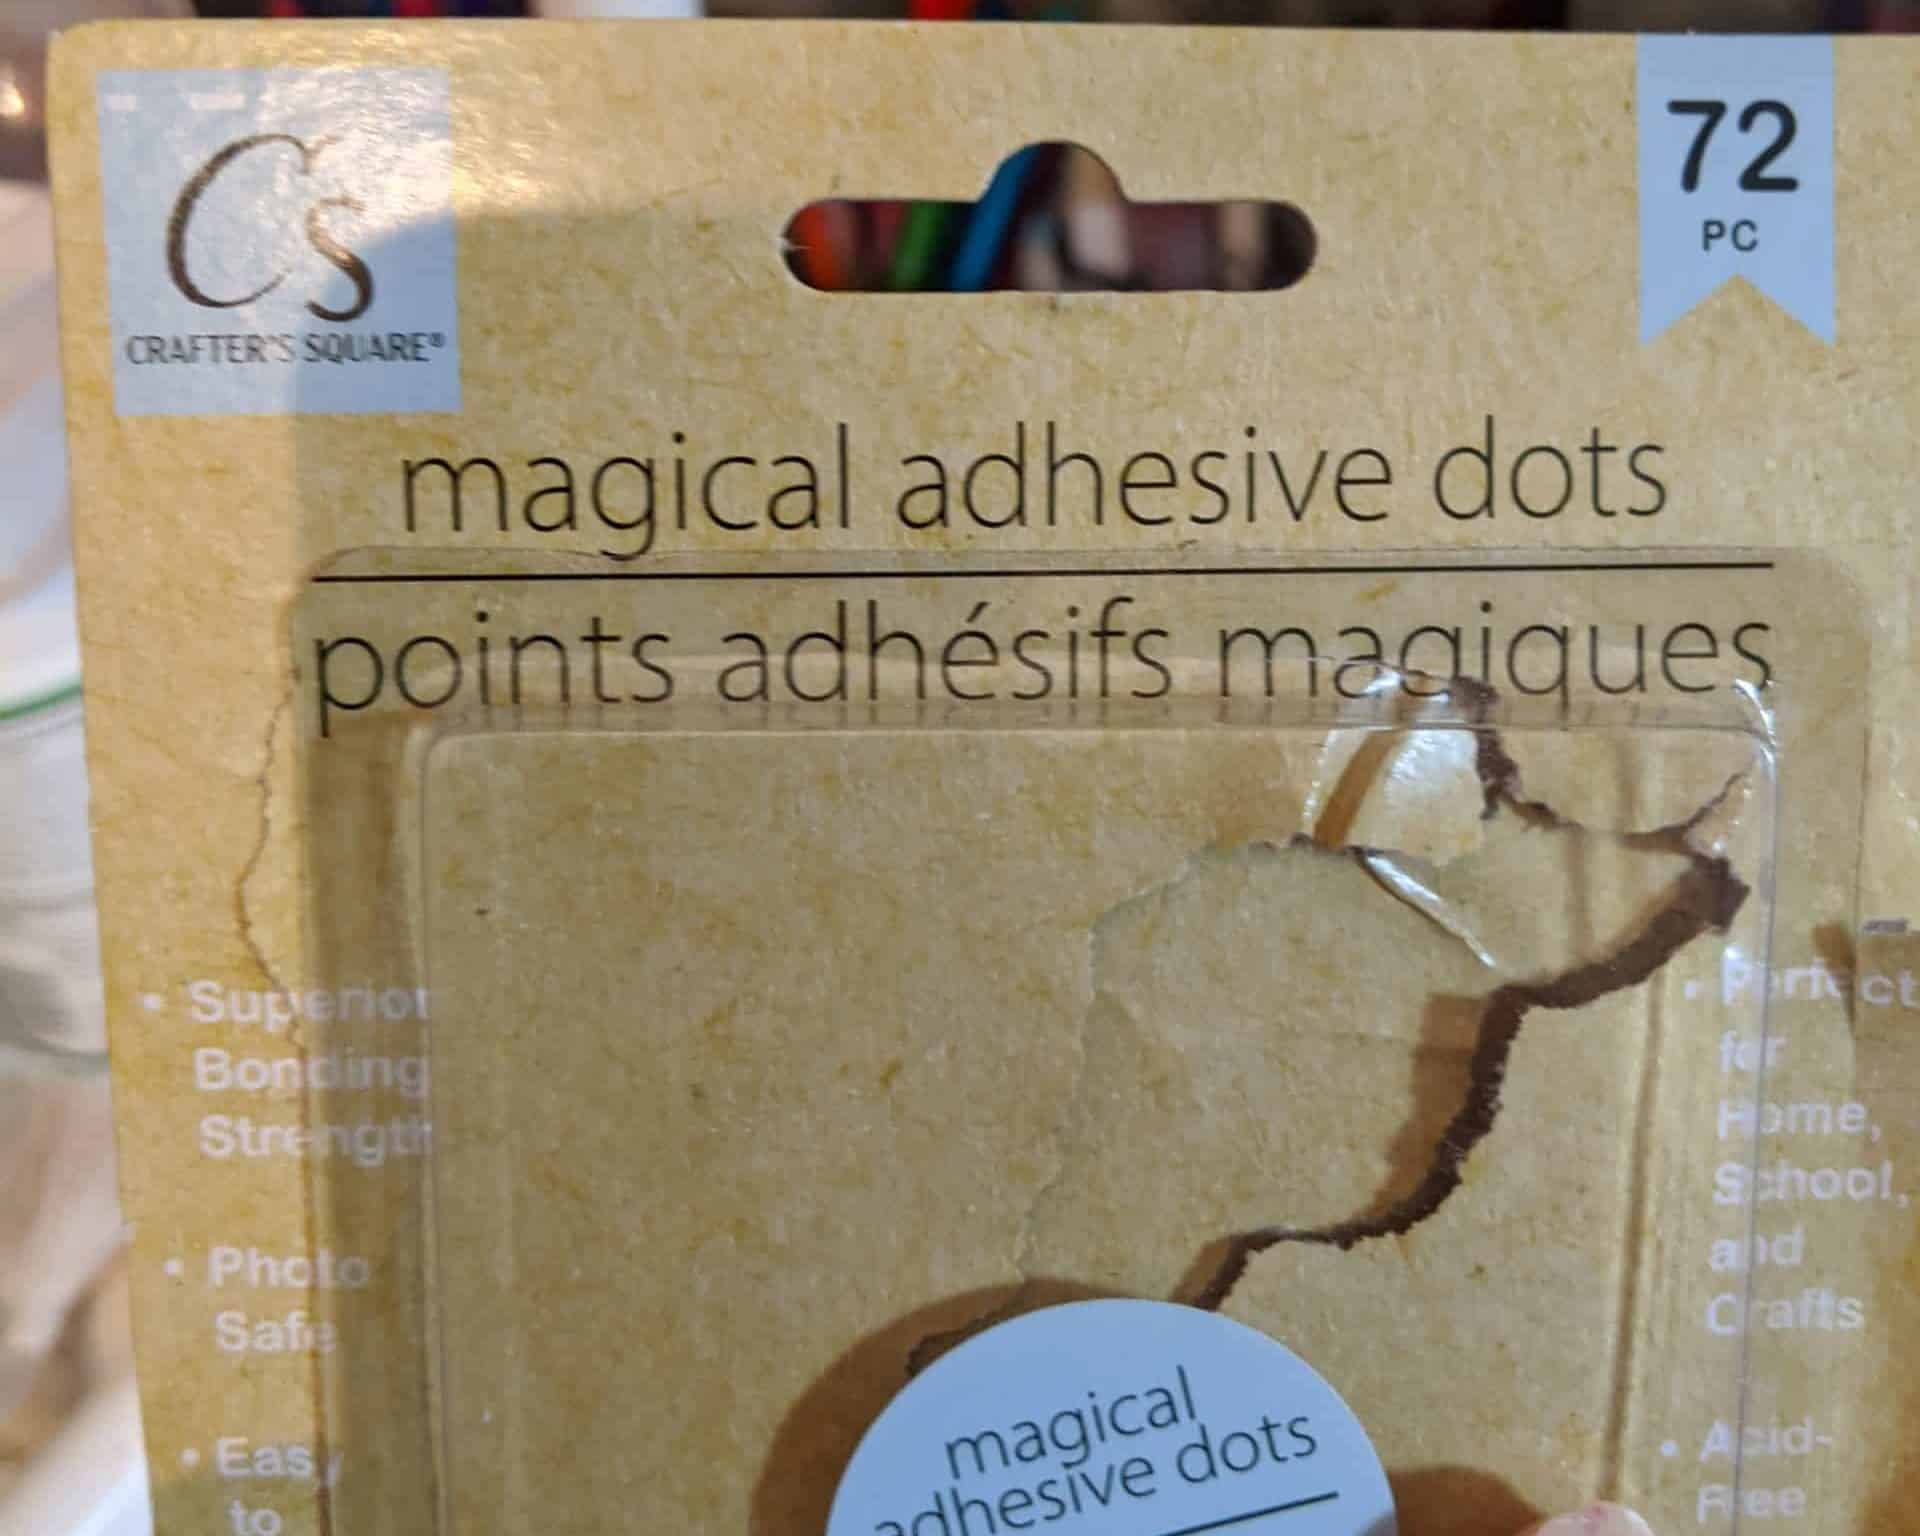
Adhesive dots from Dollar Tree
Tools
Flag Tags
Printed Flag Tags
Tools
Coasters
Burlap Fabric from Joann
Tools
Plants
Red and White Vinca
4 whirlygigs from Joann
American Flags from Dollar Tree
Pink Lemonade
Sugar
Water
Lemon Juice
Cranberry Juice
Lemons to garnish
Let’s Start with The USA Stars
My sister actually gave me the 2 larger stars. They were leftover from something she was making, and one already had blue paint on the bottom star. Sometimes I think she does this to me just to see what I can come up with to make. So here is what I did with them.
These originally came from Michaels and were raw wood.

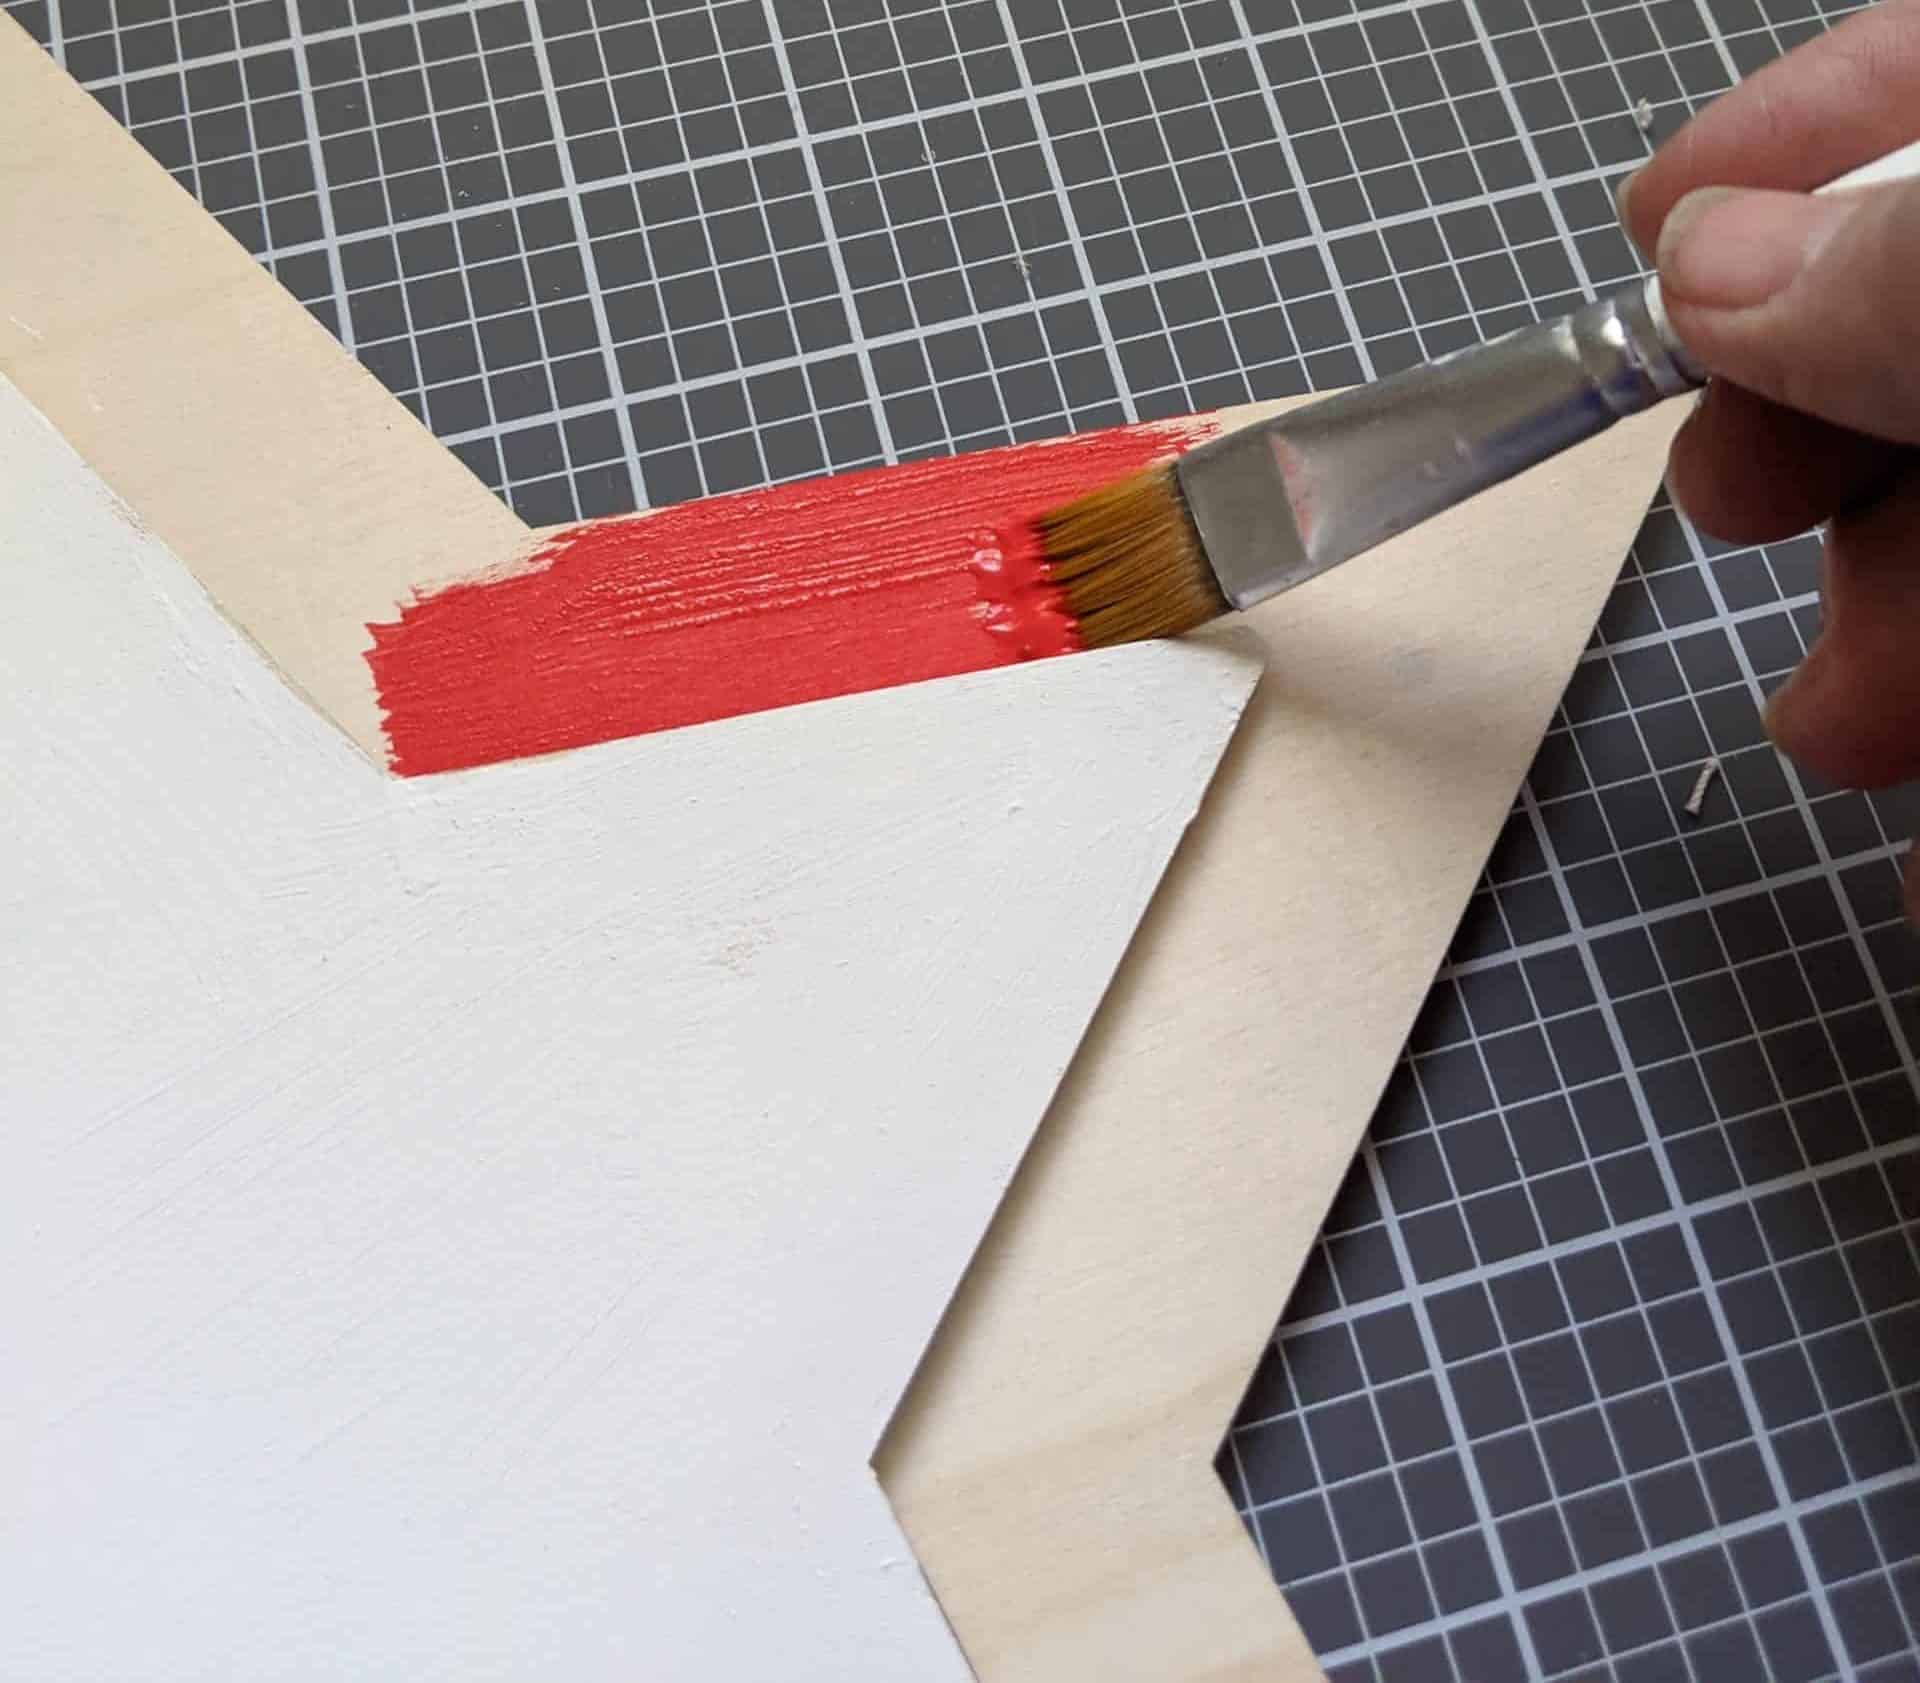
Since one was already painted blue on the bottom, I painted the other one red, and I painted the top stars white.
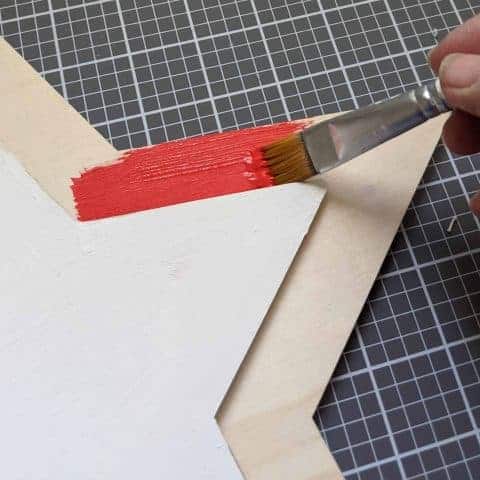
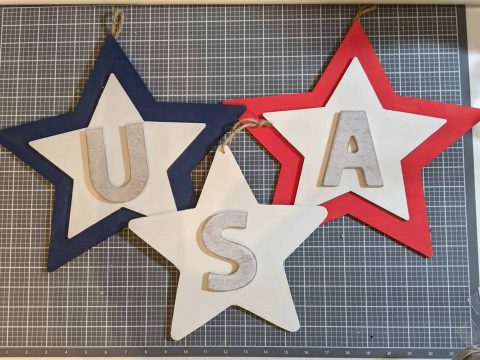
I just happened to find the 3rd star at Walmart in the craft aisle, along with the letters. The Walmart star was a little smaller than the other two, but I had a plan and it would be ok. I painted the Walmart star white and left the letters the kind of worn white they were already painted.
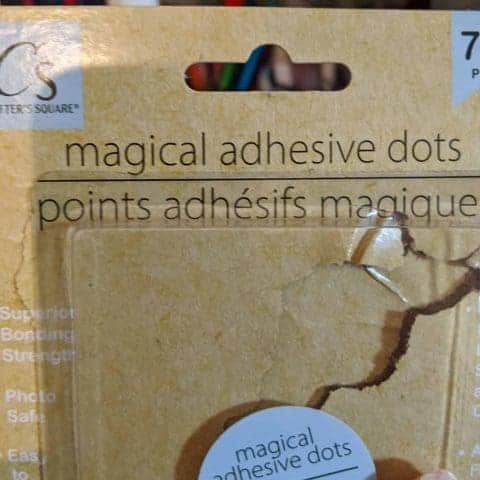
Next, I had to decide how I was going to attach the letters. I could have used spray adhesive or wood glue, but I had these adhesive dots laying on my desk so I decided to give them a try. I really didn’t expect much since they were from Dollar Tree, but boy was I wrong. They worked great, easy to apply, no odor, and cheap, I will be using them again, and going back for more. Sorry I had ripped open the package before I thought to take a picture so you would know what to get.
I just stuck them onto the back of the letters and pressed the letters into place.

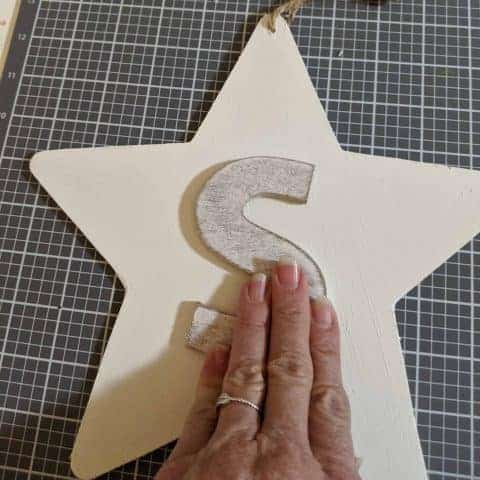
This took a couple of hours because of dry time, but it really only took about 30 minutes of active time. All done and such cute 4th of July decorations.
Next, I Made the Coasters
For these, you only need Mason Jar lids, Burlap printed fabric, and white spray paint. If I was doing this again I would use two different fabrics, one for inside and one for under.
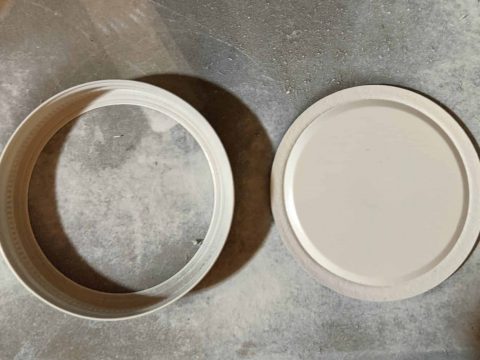
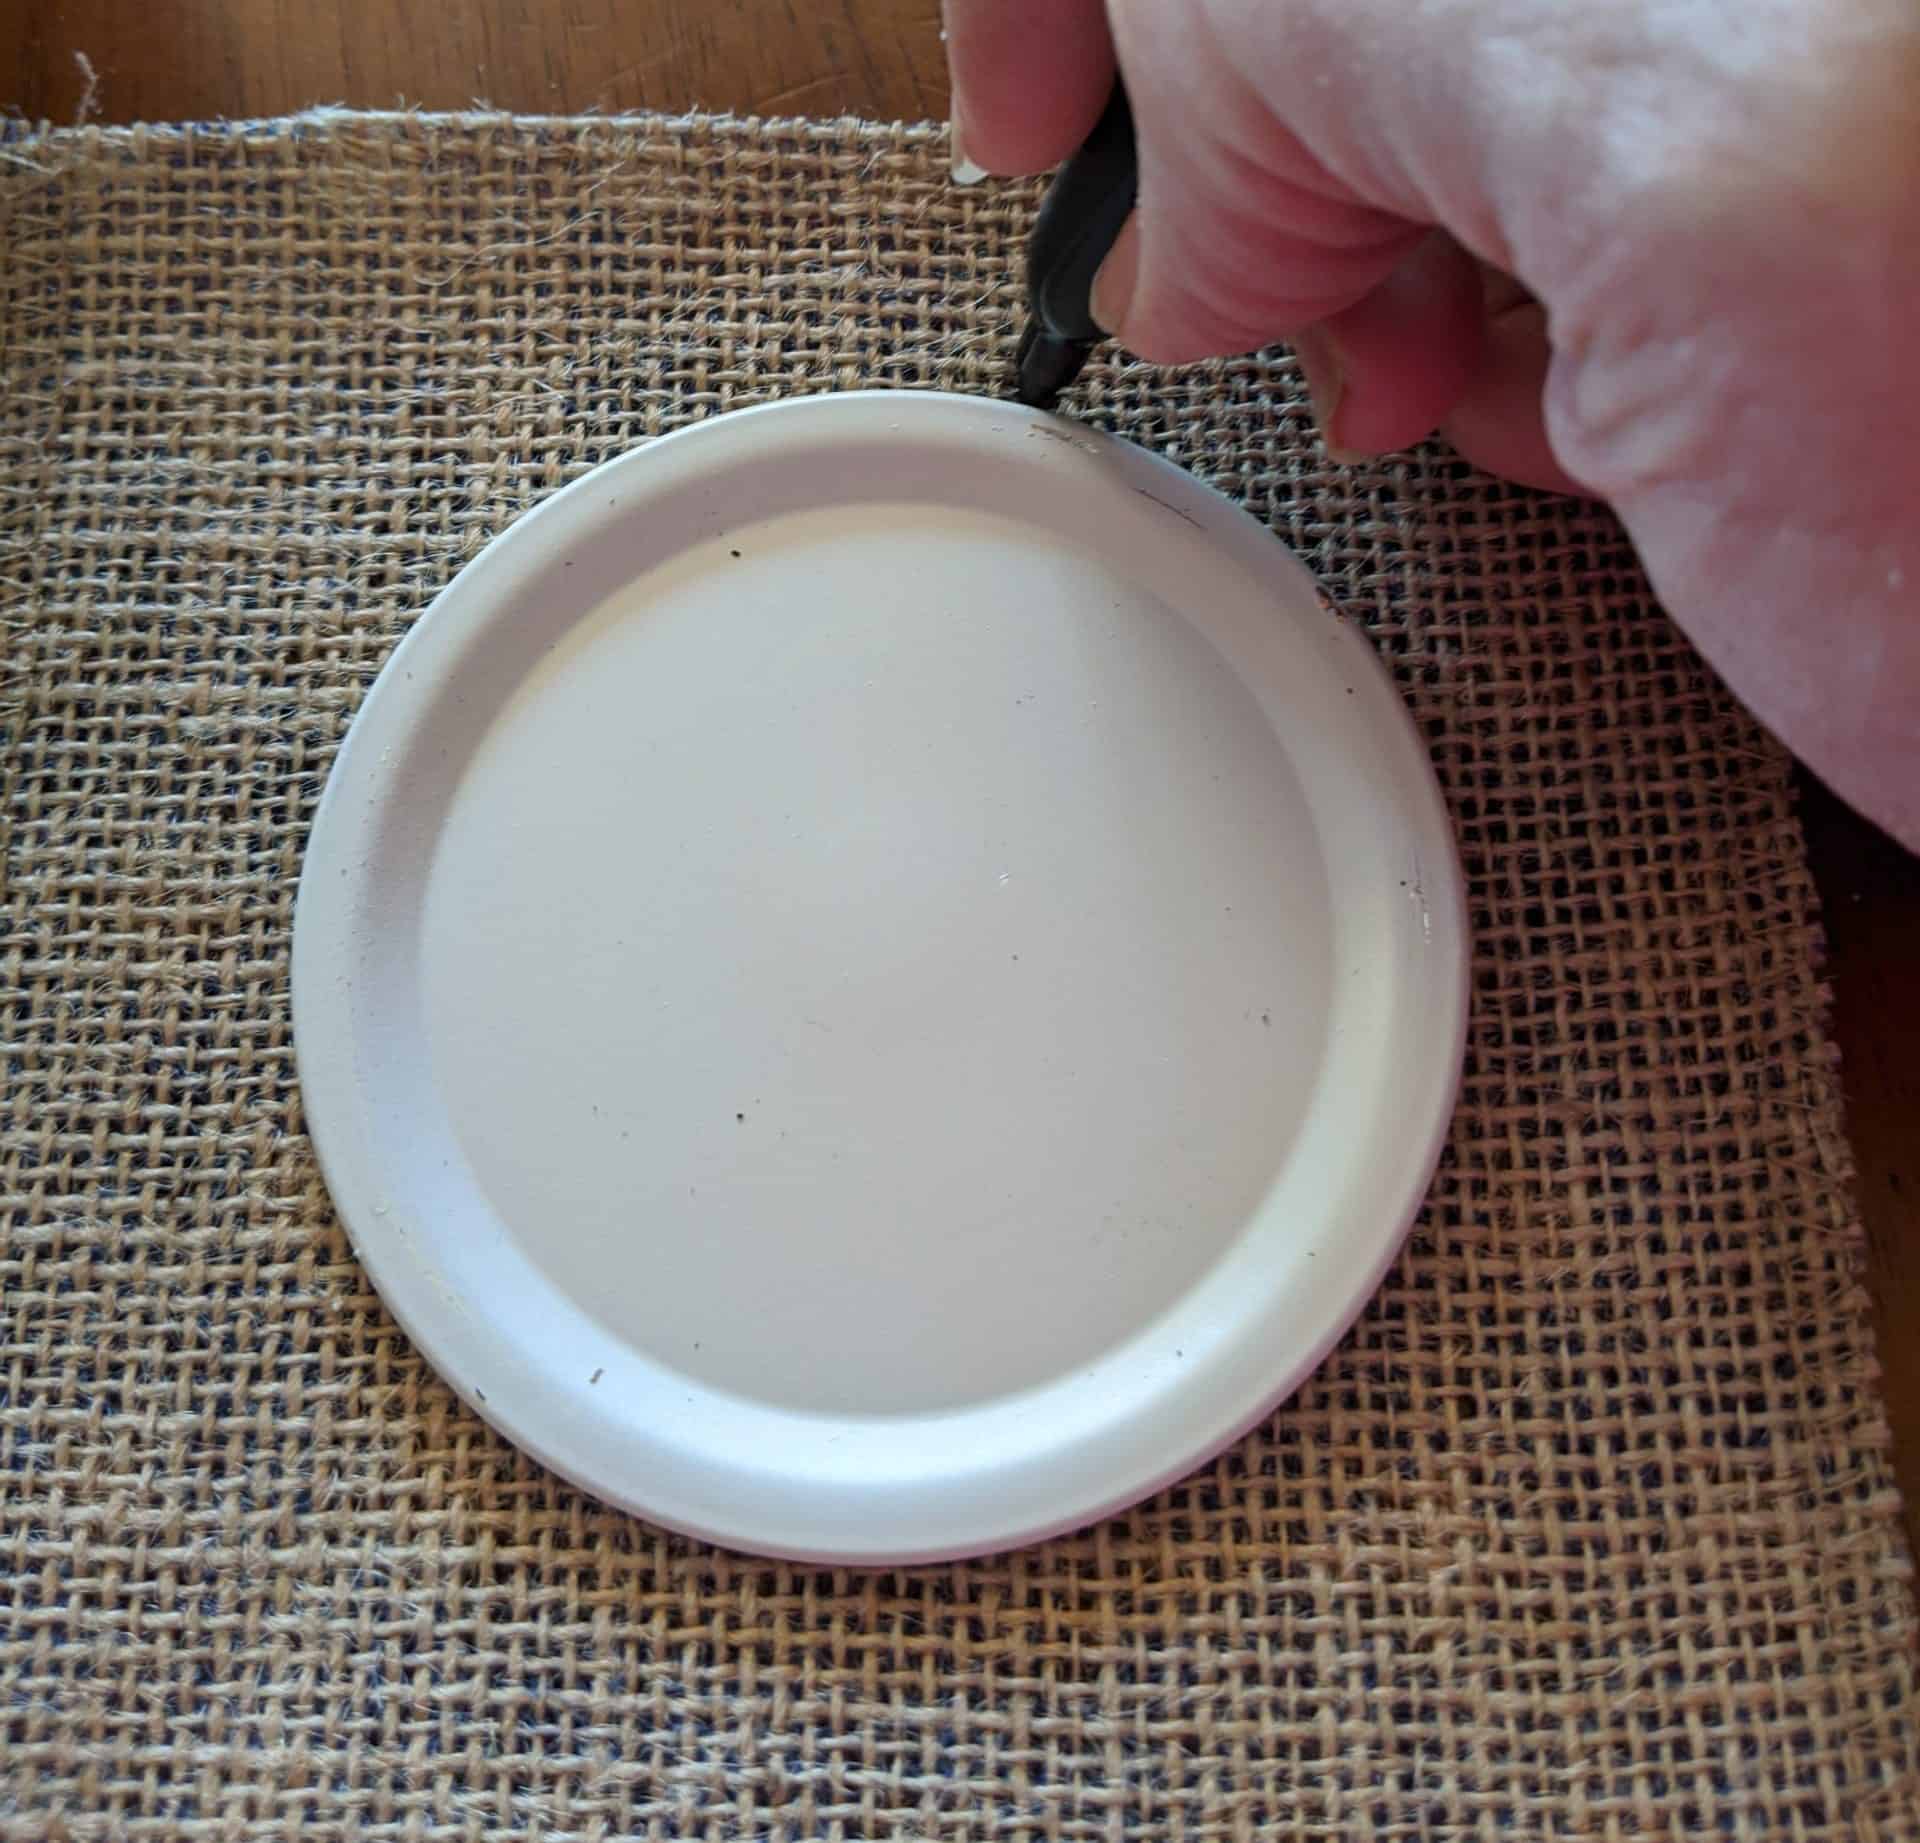
The first thing to do is to spray paint the Mason Jar Lids.
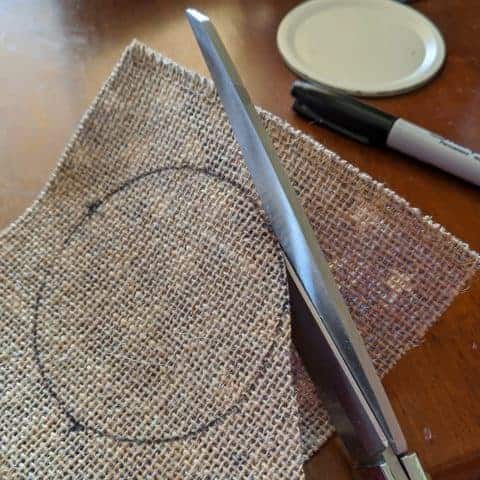
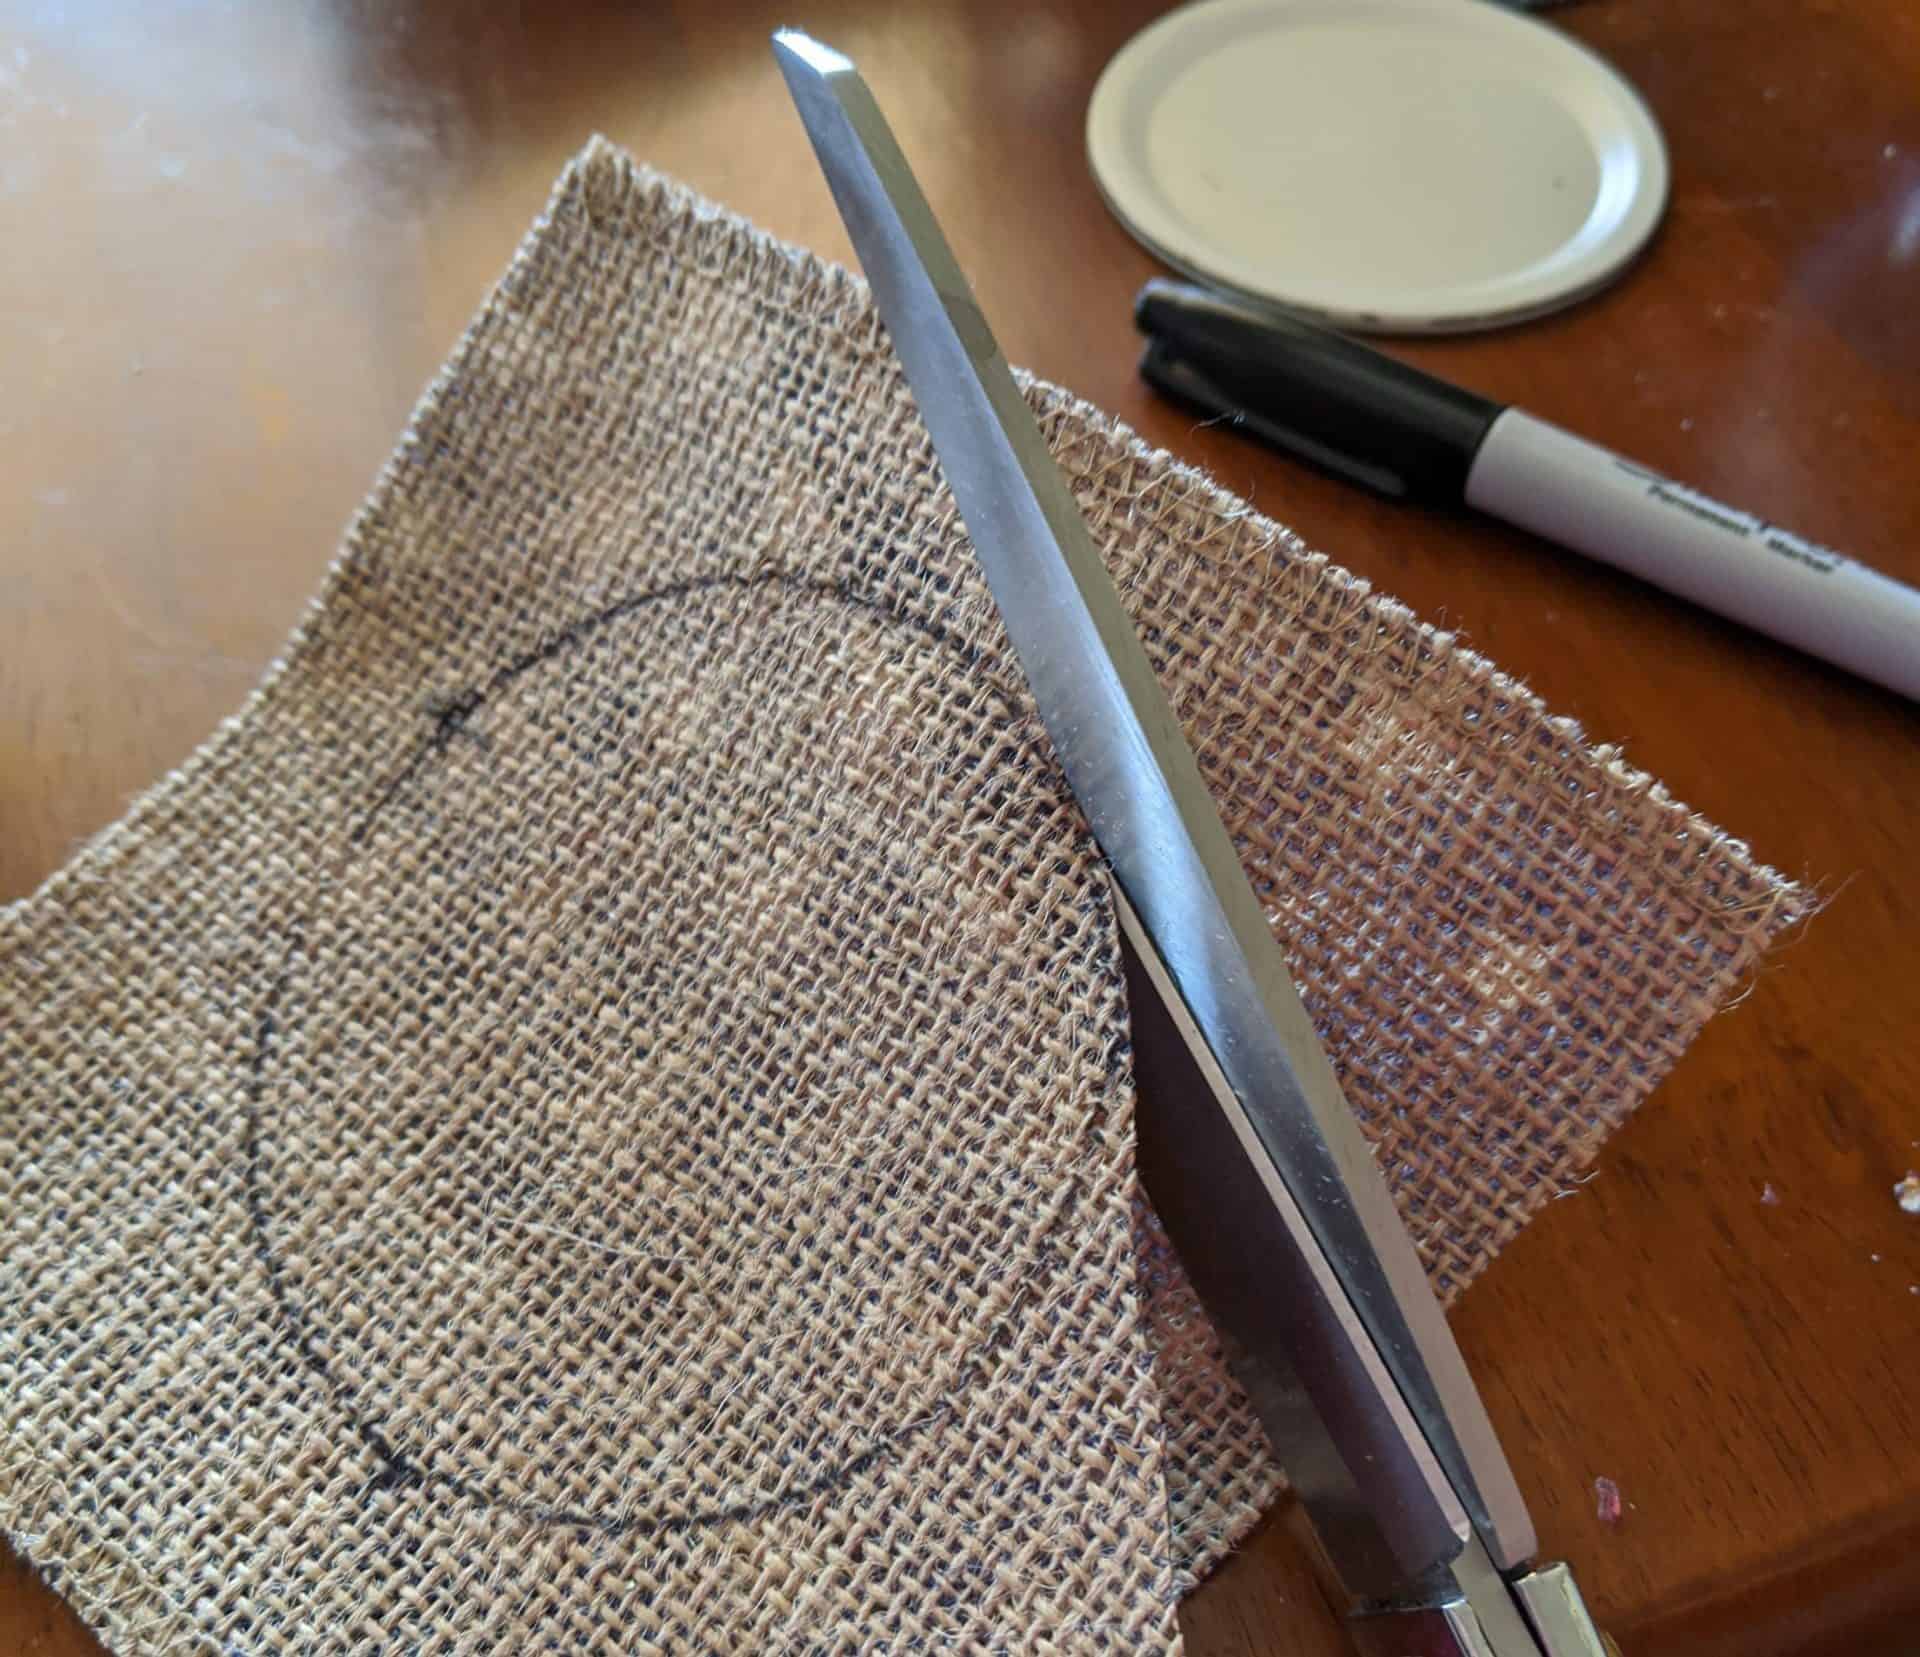
While they were drying I used an extra lid I had and traced around it on the back of the fabric with a Sharpie. I needed 3 so I did that many all at once. Then cut them out.

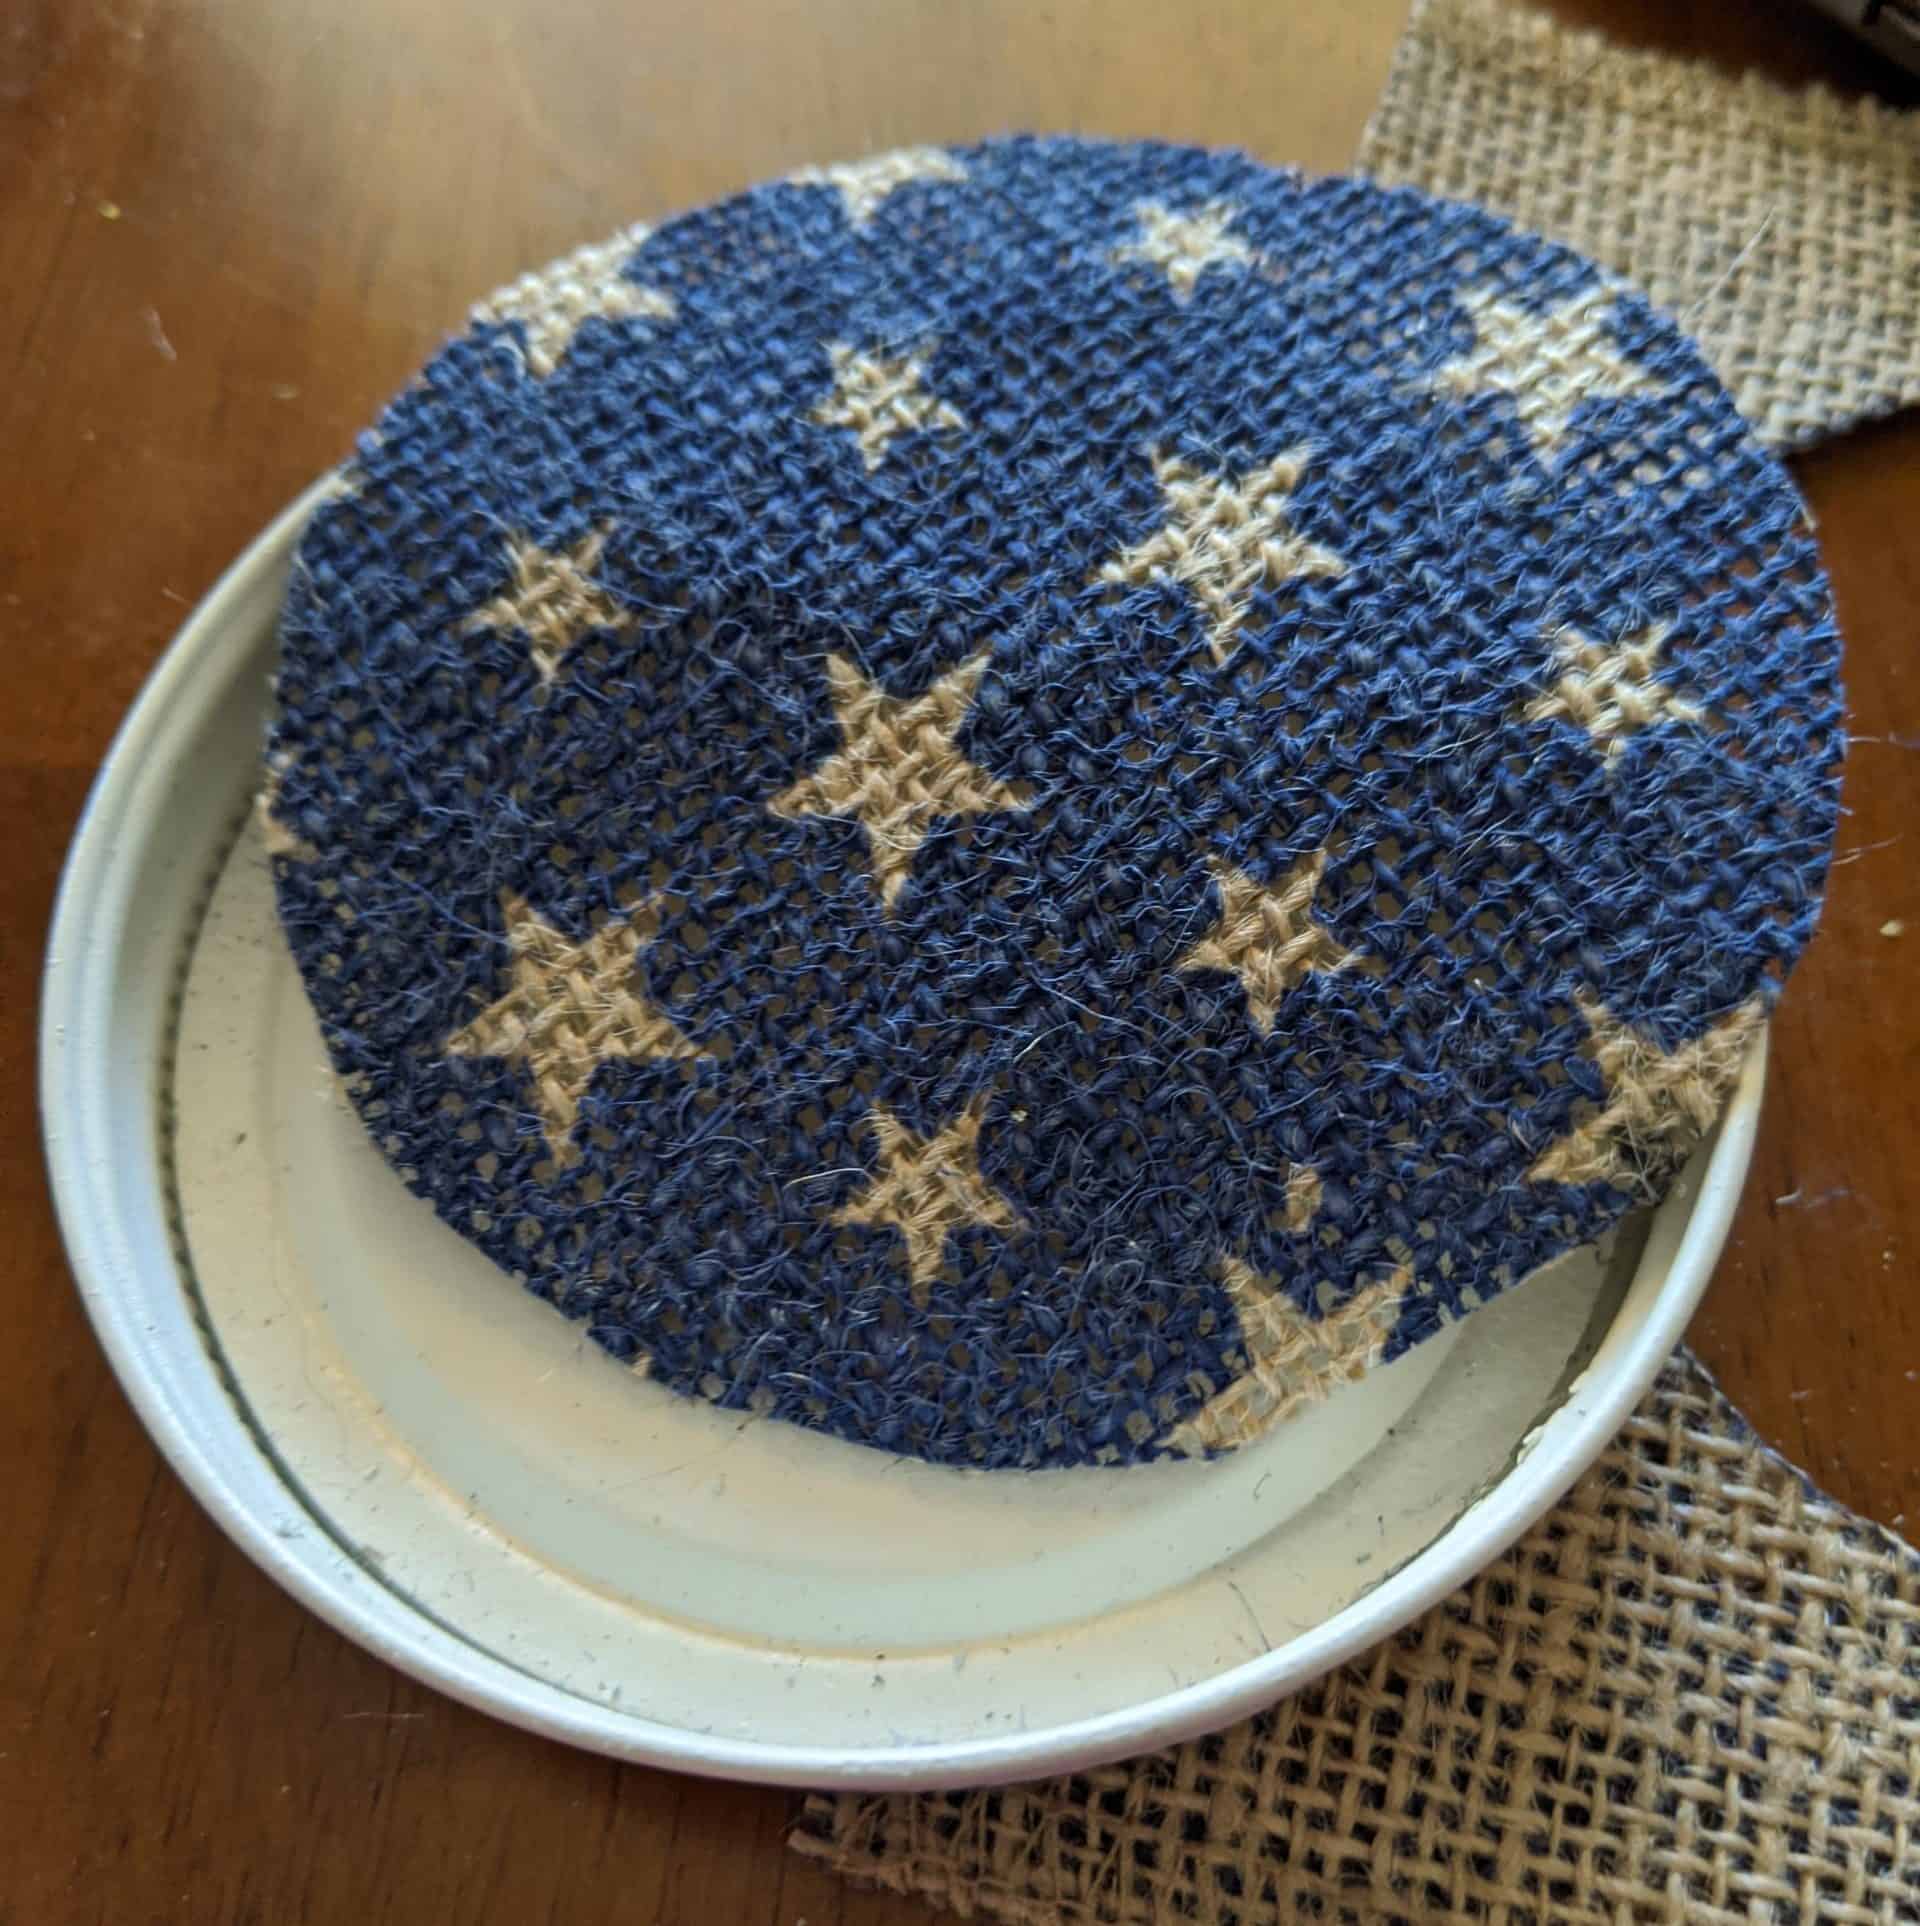
When the lids are dry, place the center back into the ring and place the burlap circle on top.

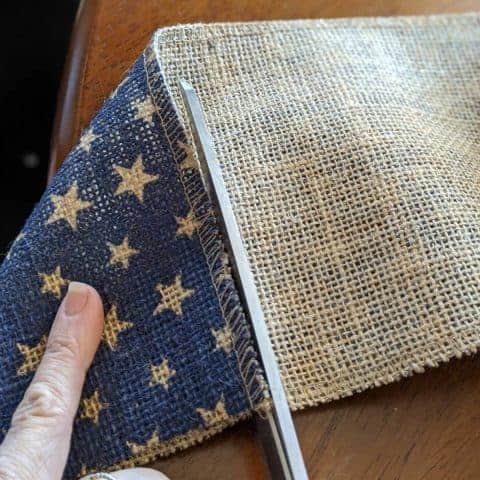
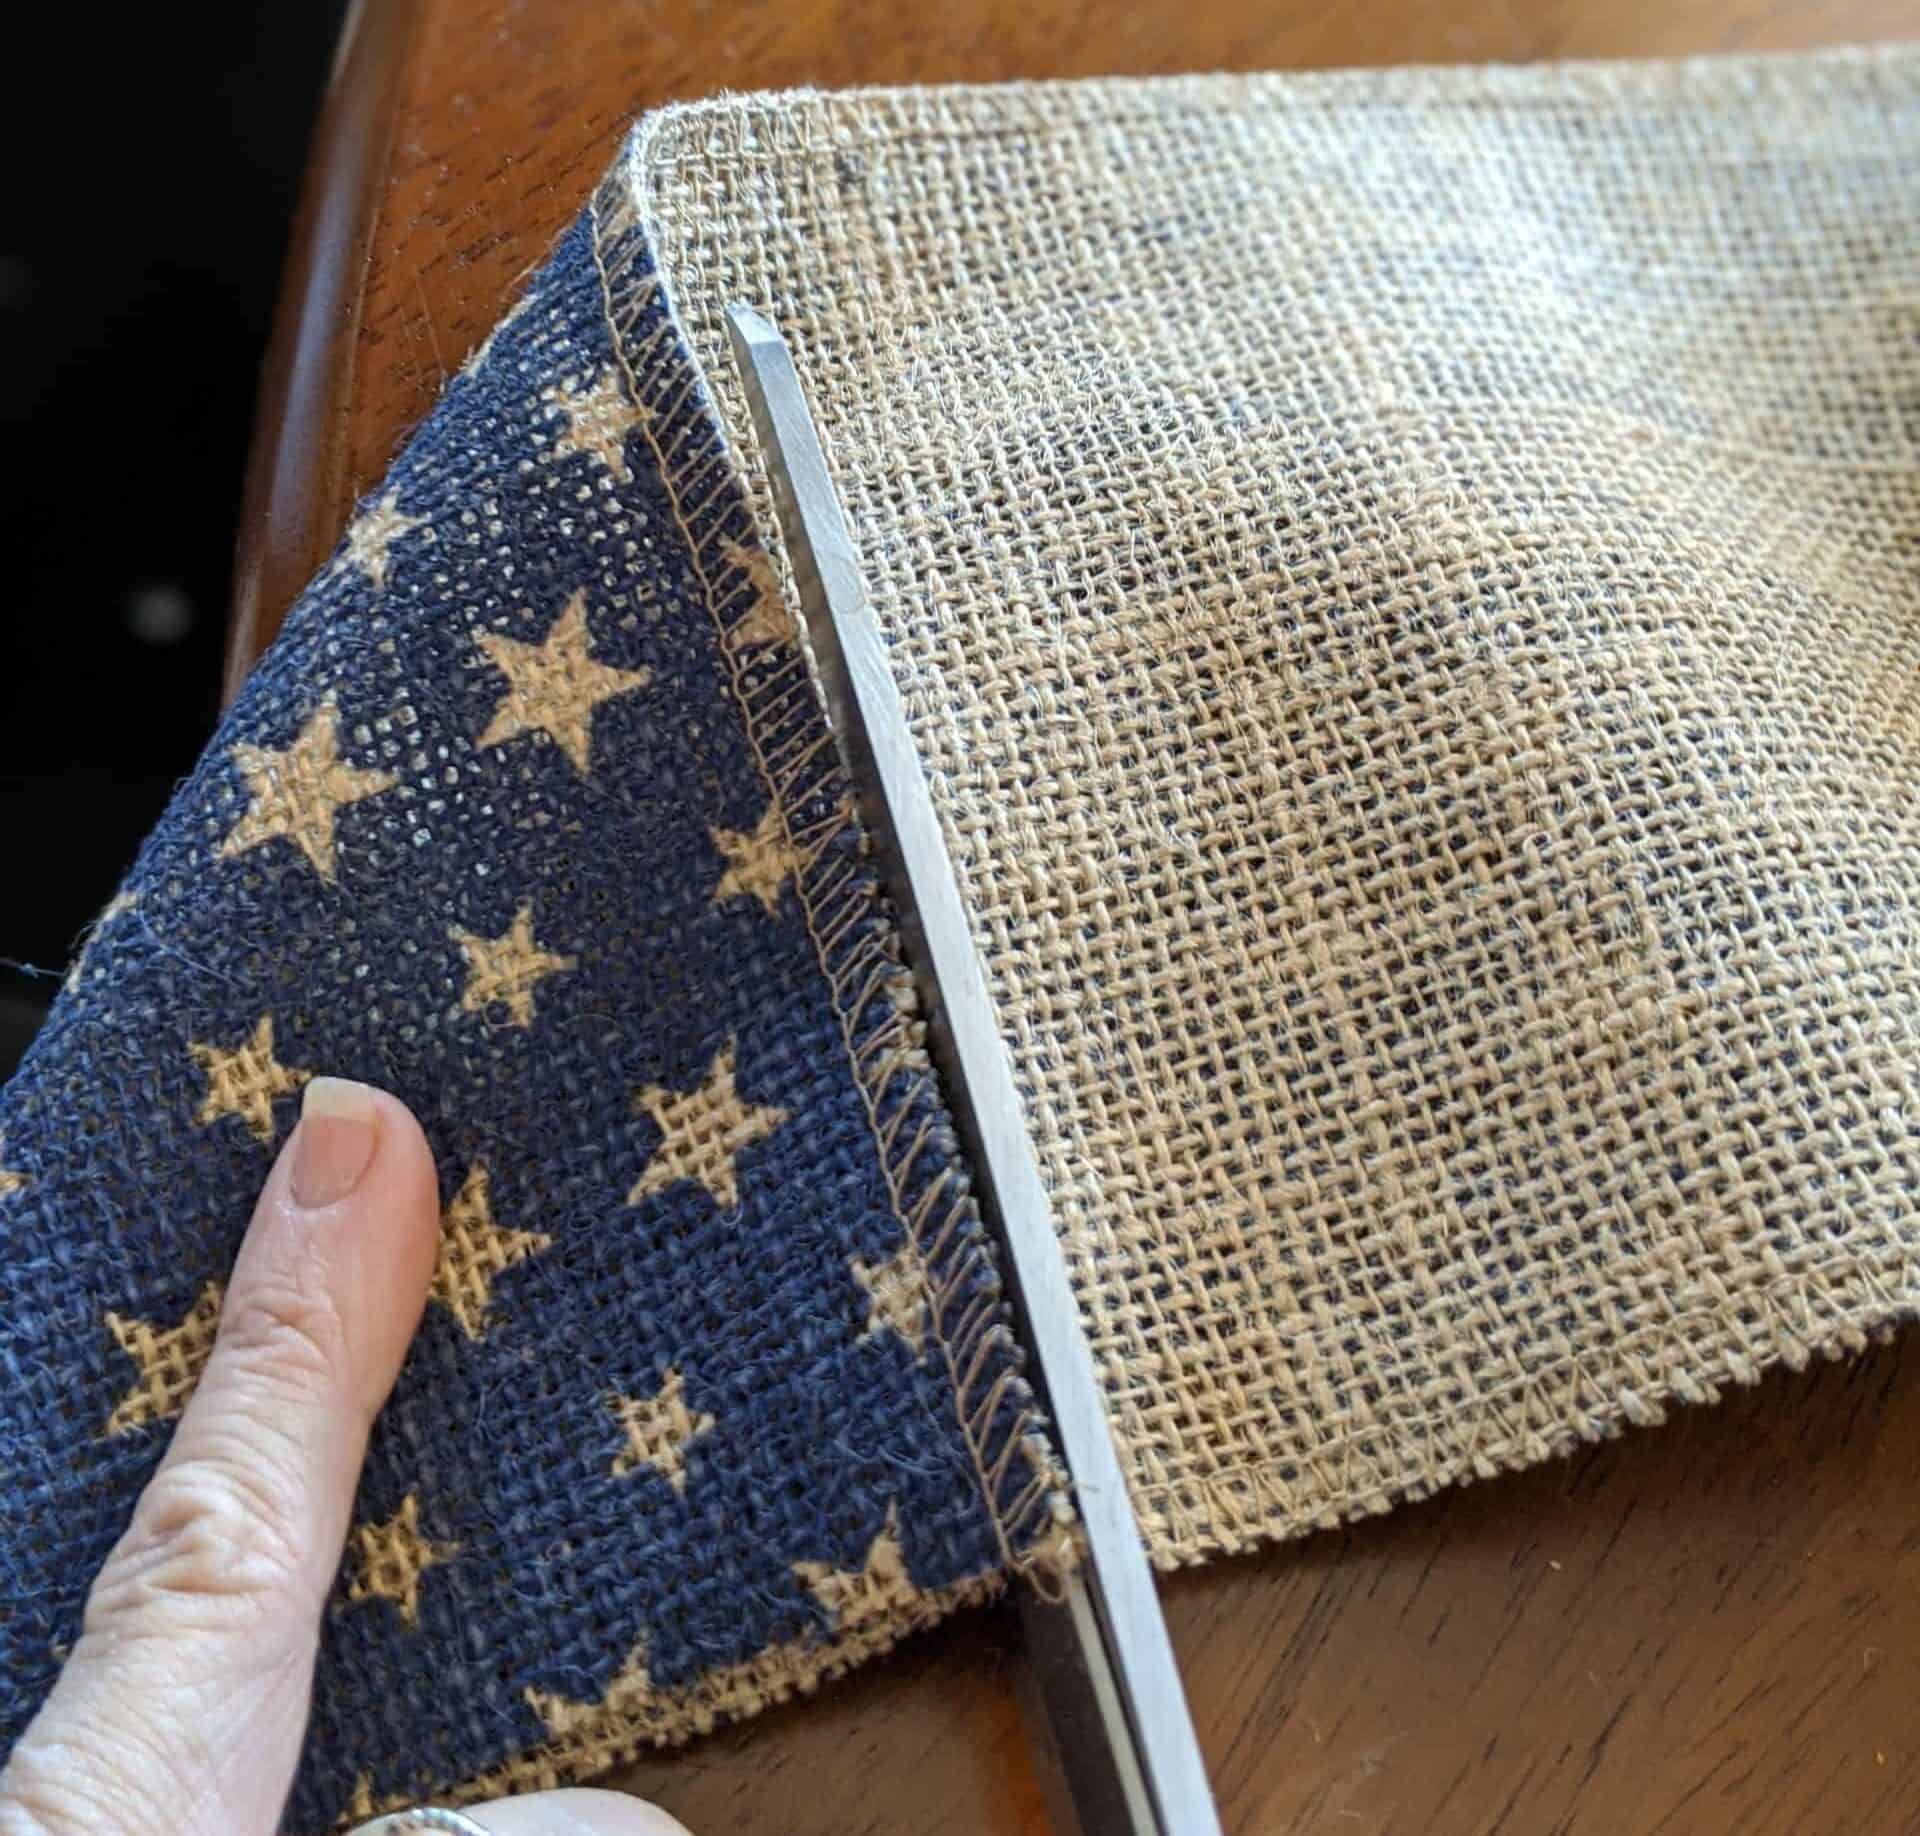
This is where I would use the second burlap, to make the lower part. You just cut a square and place the lid on it. Did you know you don’t have to measure to cut a square? Just fold it over like this and cut along the edge.
The only thing left to do is to put them out for your guests.
Make the Flag Tags
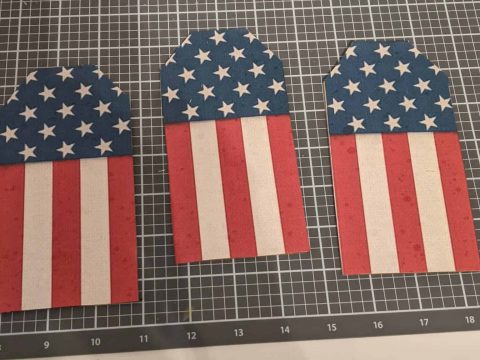
These cute tags could be used for so many things! I got the flag printables from Lilac and Lavender here.
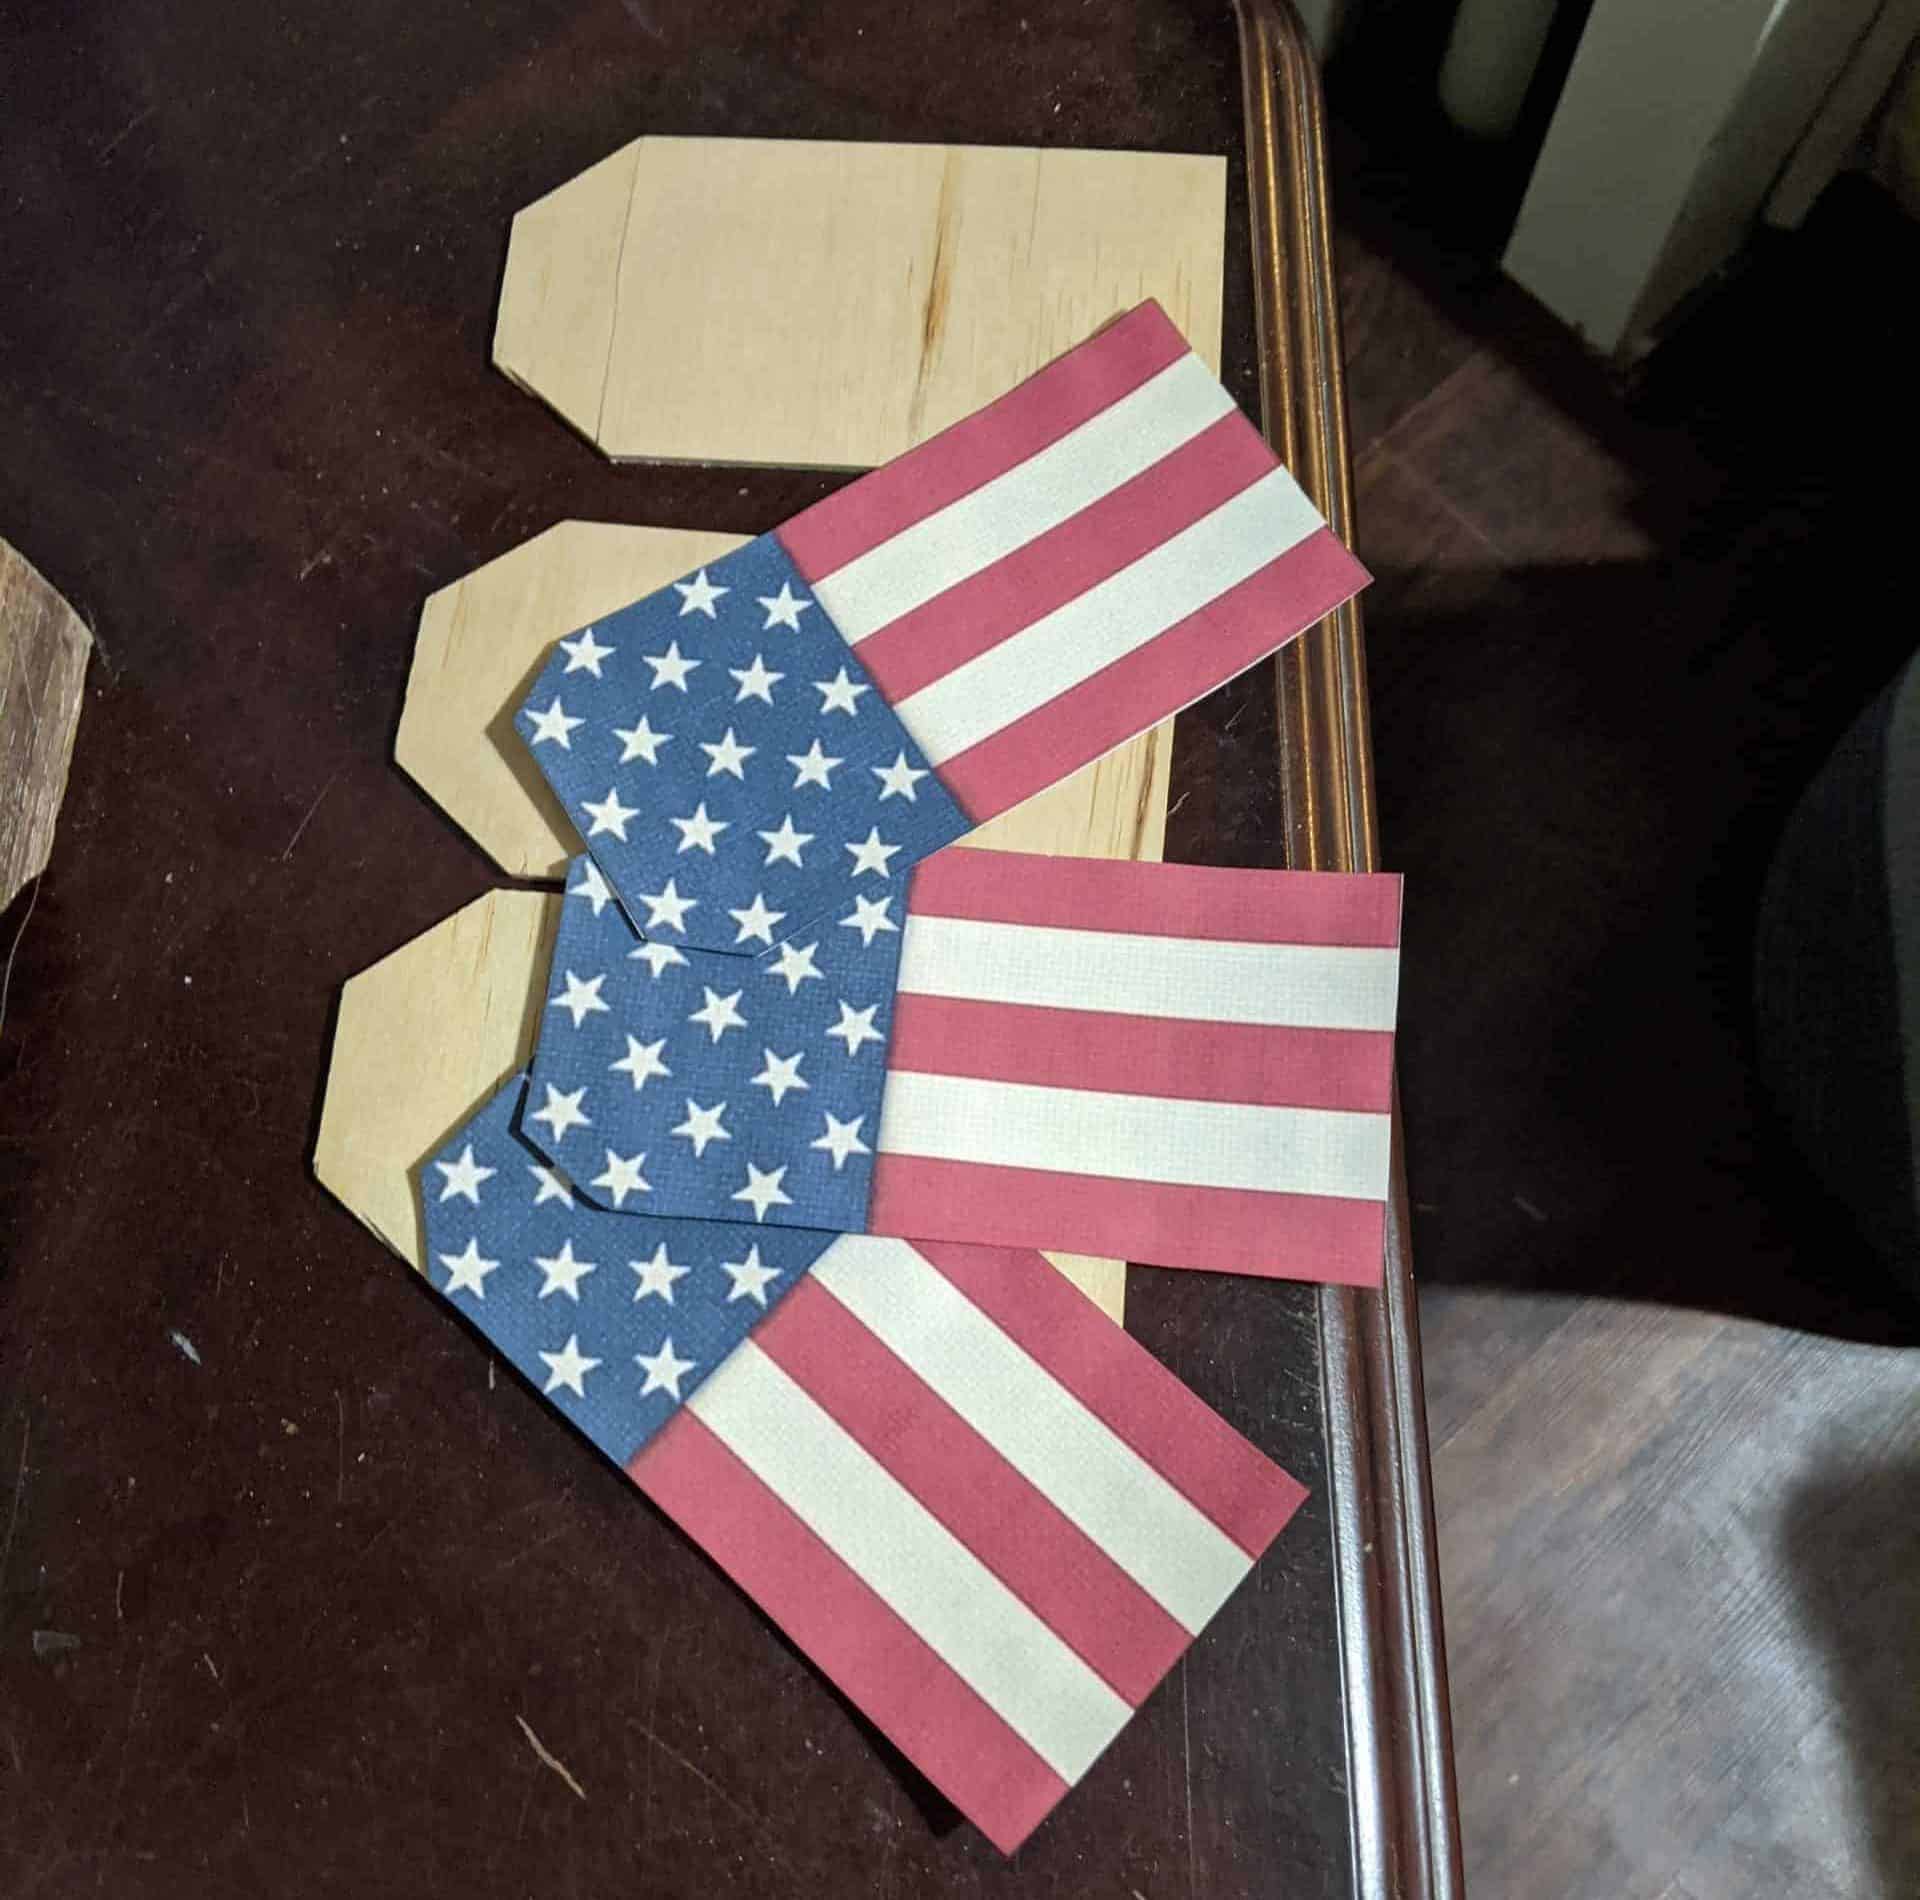
Use the one that has 3 across. I printed these and cut them out. Next, I took a piece of Luan Plywood from Home Depot and traced a tag onto it. I used my miter saw to cut the tags. These would be so cute made a little bigger as a hanger-on a wreath.

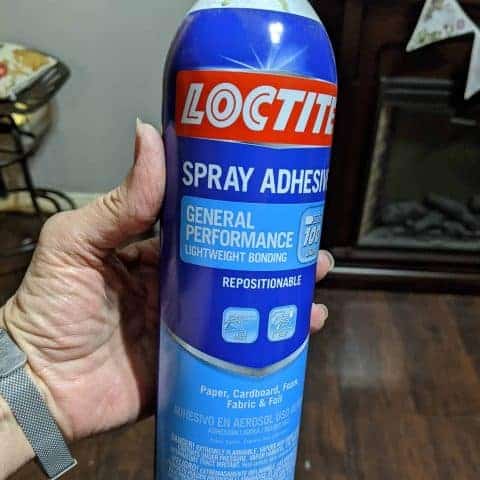
I used spray adhesive to glue the paper to the wood. I like the repositionable kind so if you need to you can pull it off to line it up again. The directions say to spray both sides you are gluing to make a permanent bond.
They are done except for drilling the holes to hang with. I didn’t take a picture of this, BUT make sure you drill from the front to avoid having the drill bit shred your paper. After the holes are drilled tie some twine on them if you need to for hanging,
Decorate the Plants
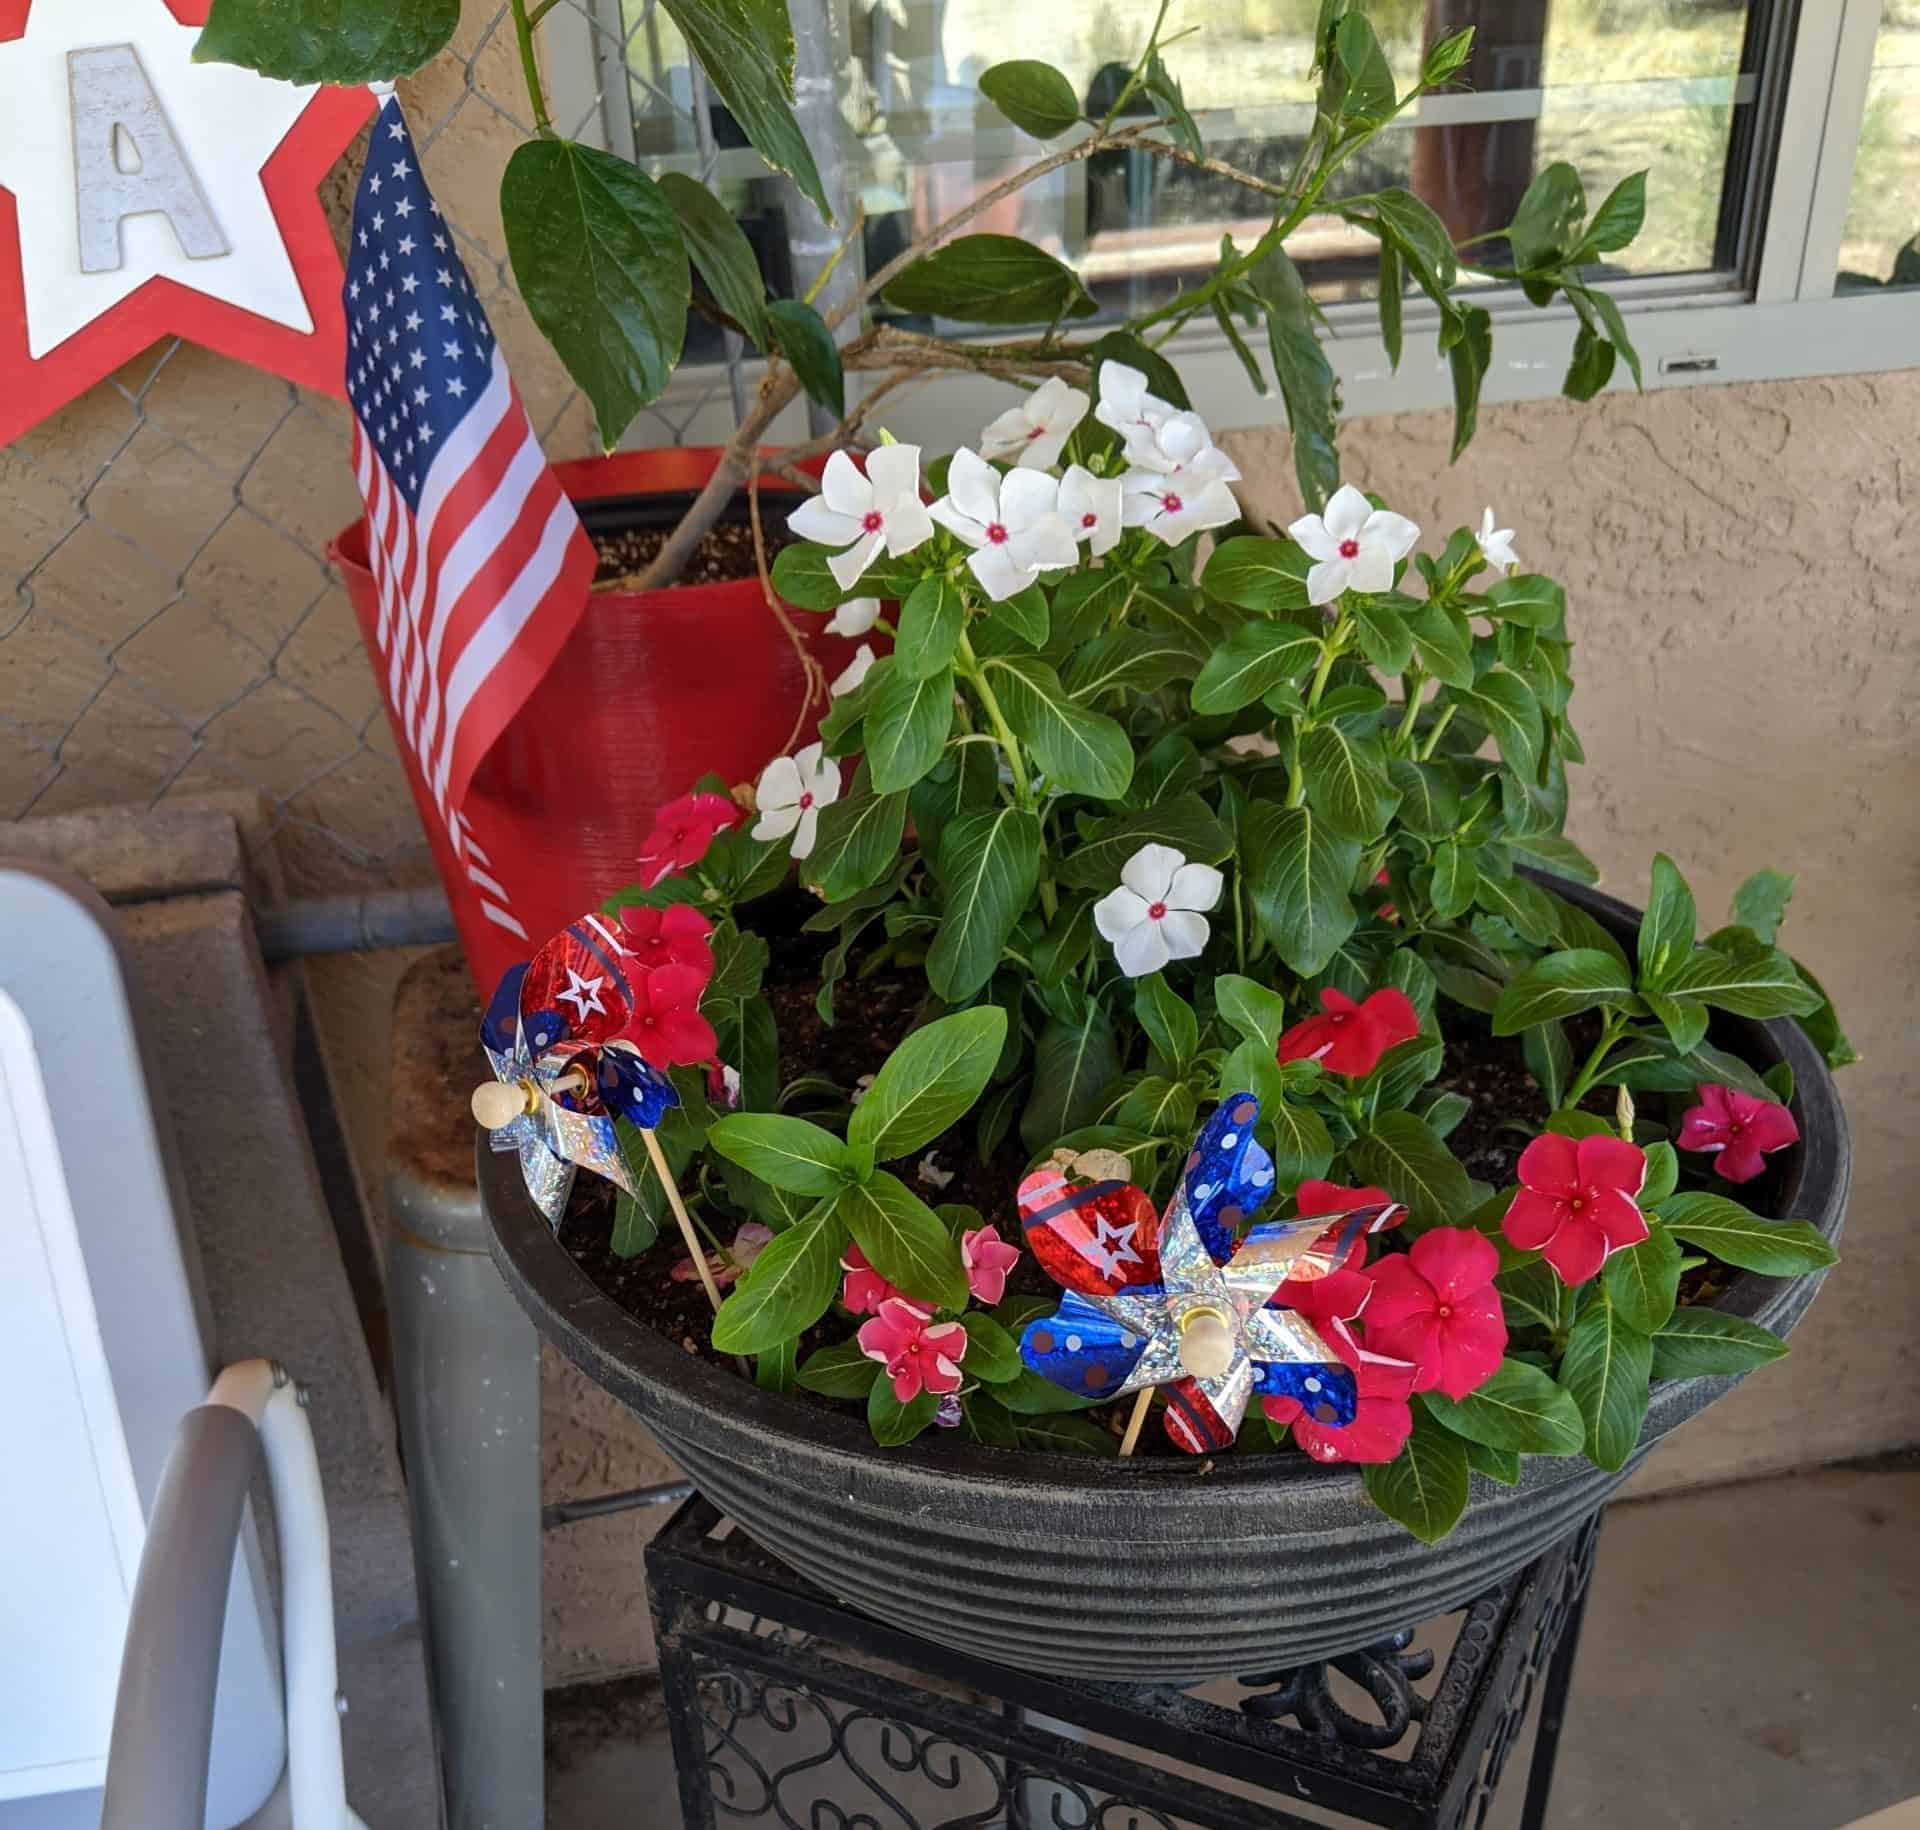
Even the plants got into the fun. I picked up the whirlygigs at Joann and the Flags at Dollar Tree, I had yellow plastic pots from my spring porch that I spray painted red. The flowers are Vinca in Red and White. They one of the few flowers that can take the Arizona summer heat.
I just stuck the flags and whirlygigs into the plants. I am hoping the whirlygigs will keep the birds from digging in my flowers.

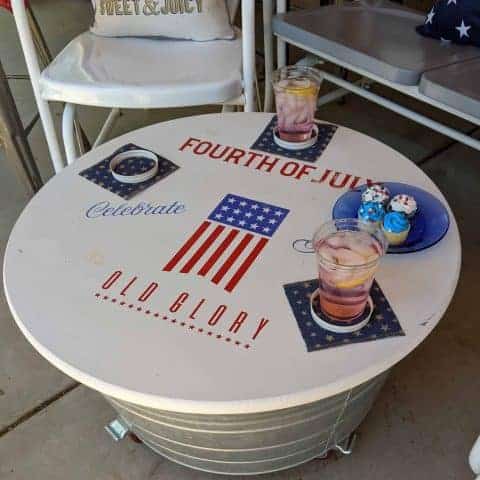
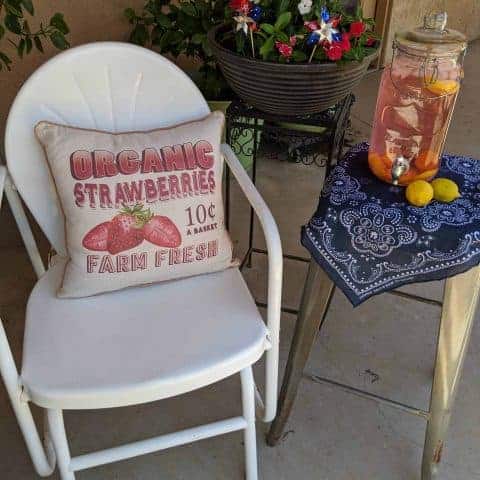
Finally, you have to have some Pink Lemonade. It looks so pretty, stagged with some lemons near the jar. Win, win, looks pretty and it’s the perfect cool yummy drink on a hot summer day. I like this recipe because the cranberry adds just a little tartness.
Want to see how to make this fun coffee table/ party beverage tub? It’s right here.
If you have enjoyed my 5 cute patriotic decorations, please share it on Pinterest. Don’t forget to subscribe to our Newsletter (the form is at the top of the page), like us on Facebook, and follow us on Instagram, or check out my YouTube Channel.
Till Next Time…
5 Cute 4th of July Decorations
These 5 cute Patriotic Decorations can be made in a day with time left over to sip the Lemonade. These are really quick decorating wins .Let the fun begin!
Materials
- 2 stars from Michaels
- 1 Star from Walmart
- U,S, A letters from Walmart
- Acrylic paint in Red, White, and Blue
- Adhesive dots from Dollar Tree
- Printed Flag Tags
- Luan Plywood
- twine
- Spray Adhesive
- Mason Jar Lids
- White Spray Paint
- Red and White Vinca
- Planting Bowls
- 4 whirlygigs from Joann
- American Flags from Dollar Tree
- Sugar
- Lemon Juice
- Cranberry Juice
- Lemons
Instructions
These patriotic decorations were fun and easy to make. They were really quick decorating wins. I used them outside on my porch, but they could be used inside.
Let’s Start with The USA Stars
My sister actually gave me the 2 larger stars. They were leftover from something she was making, and one already had blue paint on the bottom star. Sometimes I think she does this to me just to see what I can come up with to make. So here is what I did with them.
These originally came from Micheals and were raw wood.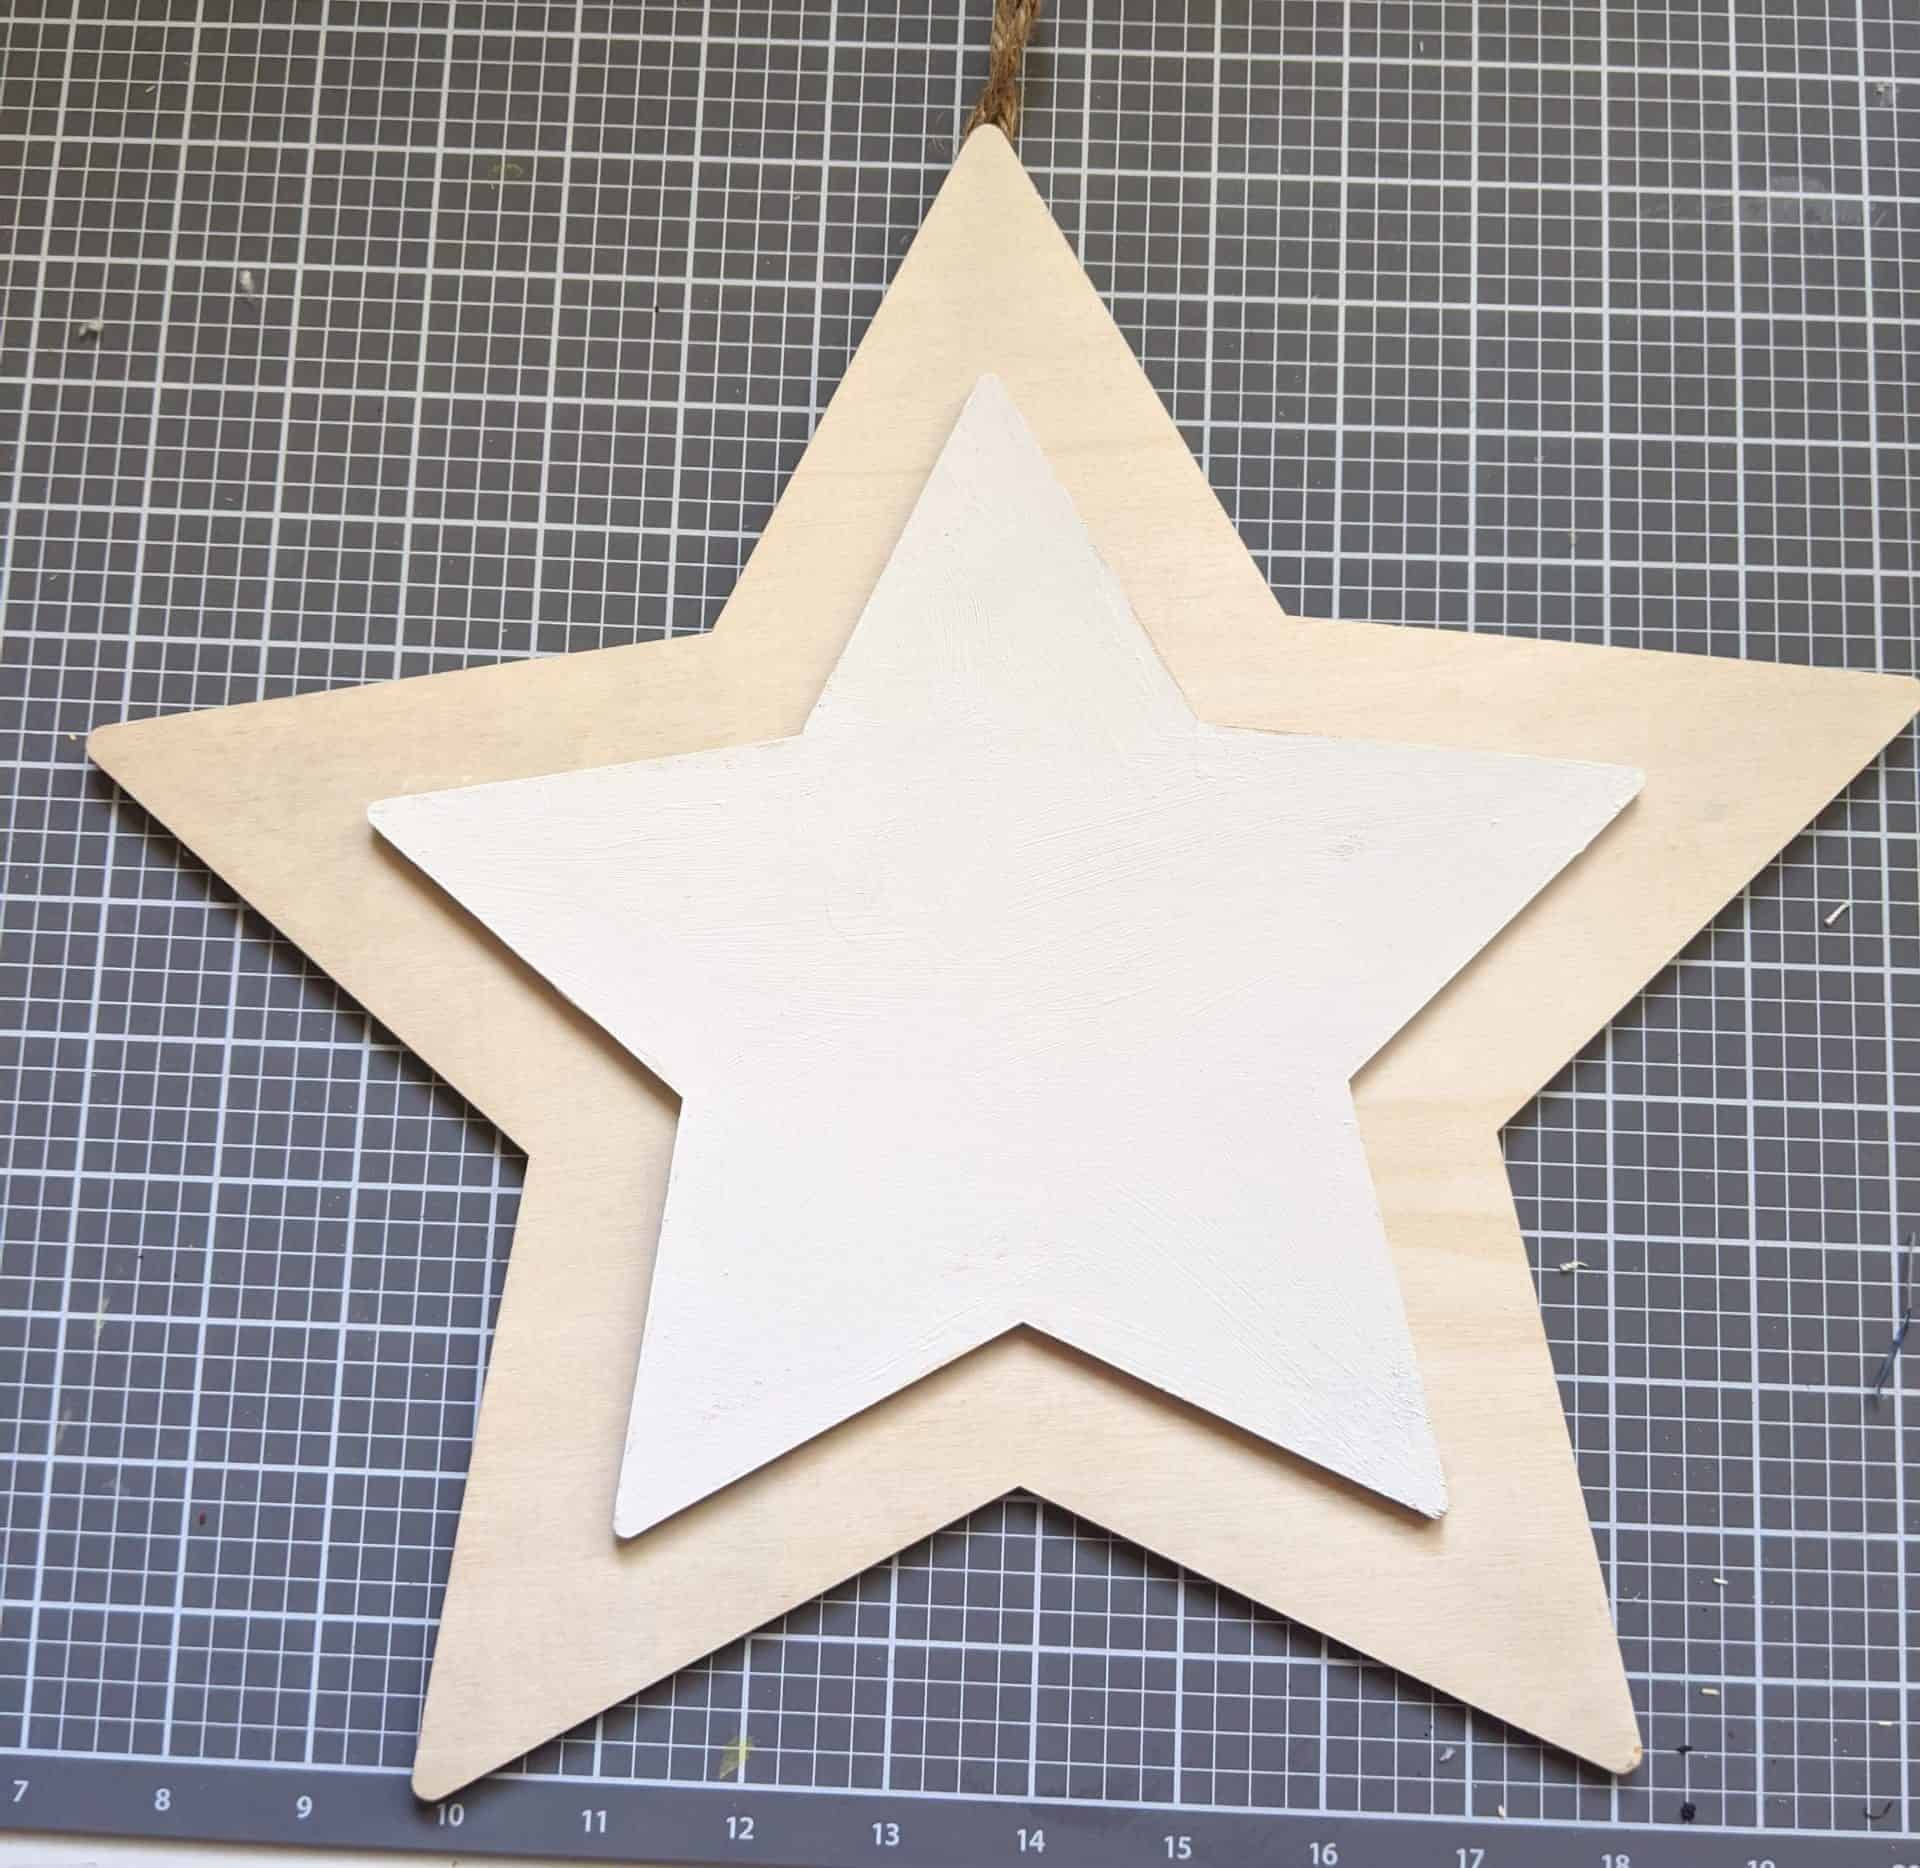
Since one was already painted blue on the bottom, I painted the other one red, and I painted the top stars white.
I just happened to find the 3rd star at Walmart in the craft aisle, along with the letters. The Walmart star was a little smaller than the other two, but I had a plan and it would be ok. I painted the Walmart star white and left the letters the kind of worn white they were already painted.
Next, I had to decide how I was going to attach the letters. I could have used spray adhesive or wood glue, but I had these adhesive dots laying on my desk so I decided to give them a try. I really didn’t expect much since they were from Dollar Tree, but boy was I wrong. They worked great, easy to apply, no odor, and cheap, I will be using them again, and going back for more. Sorry I had ripped open the package before I thought to take a picture so you would know what to get.
I just stuck them onto the back of the letters and pressed the letters into place. 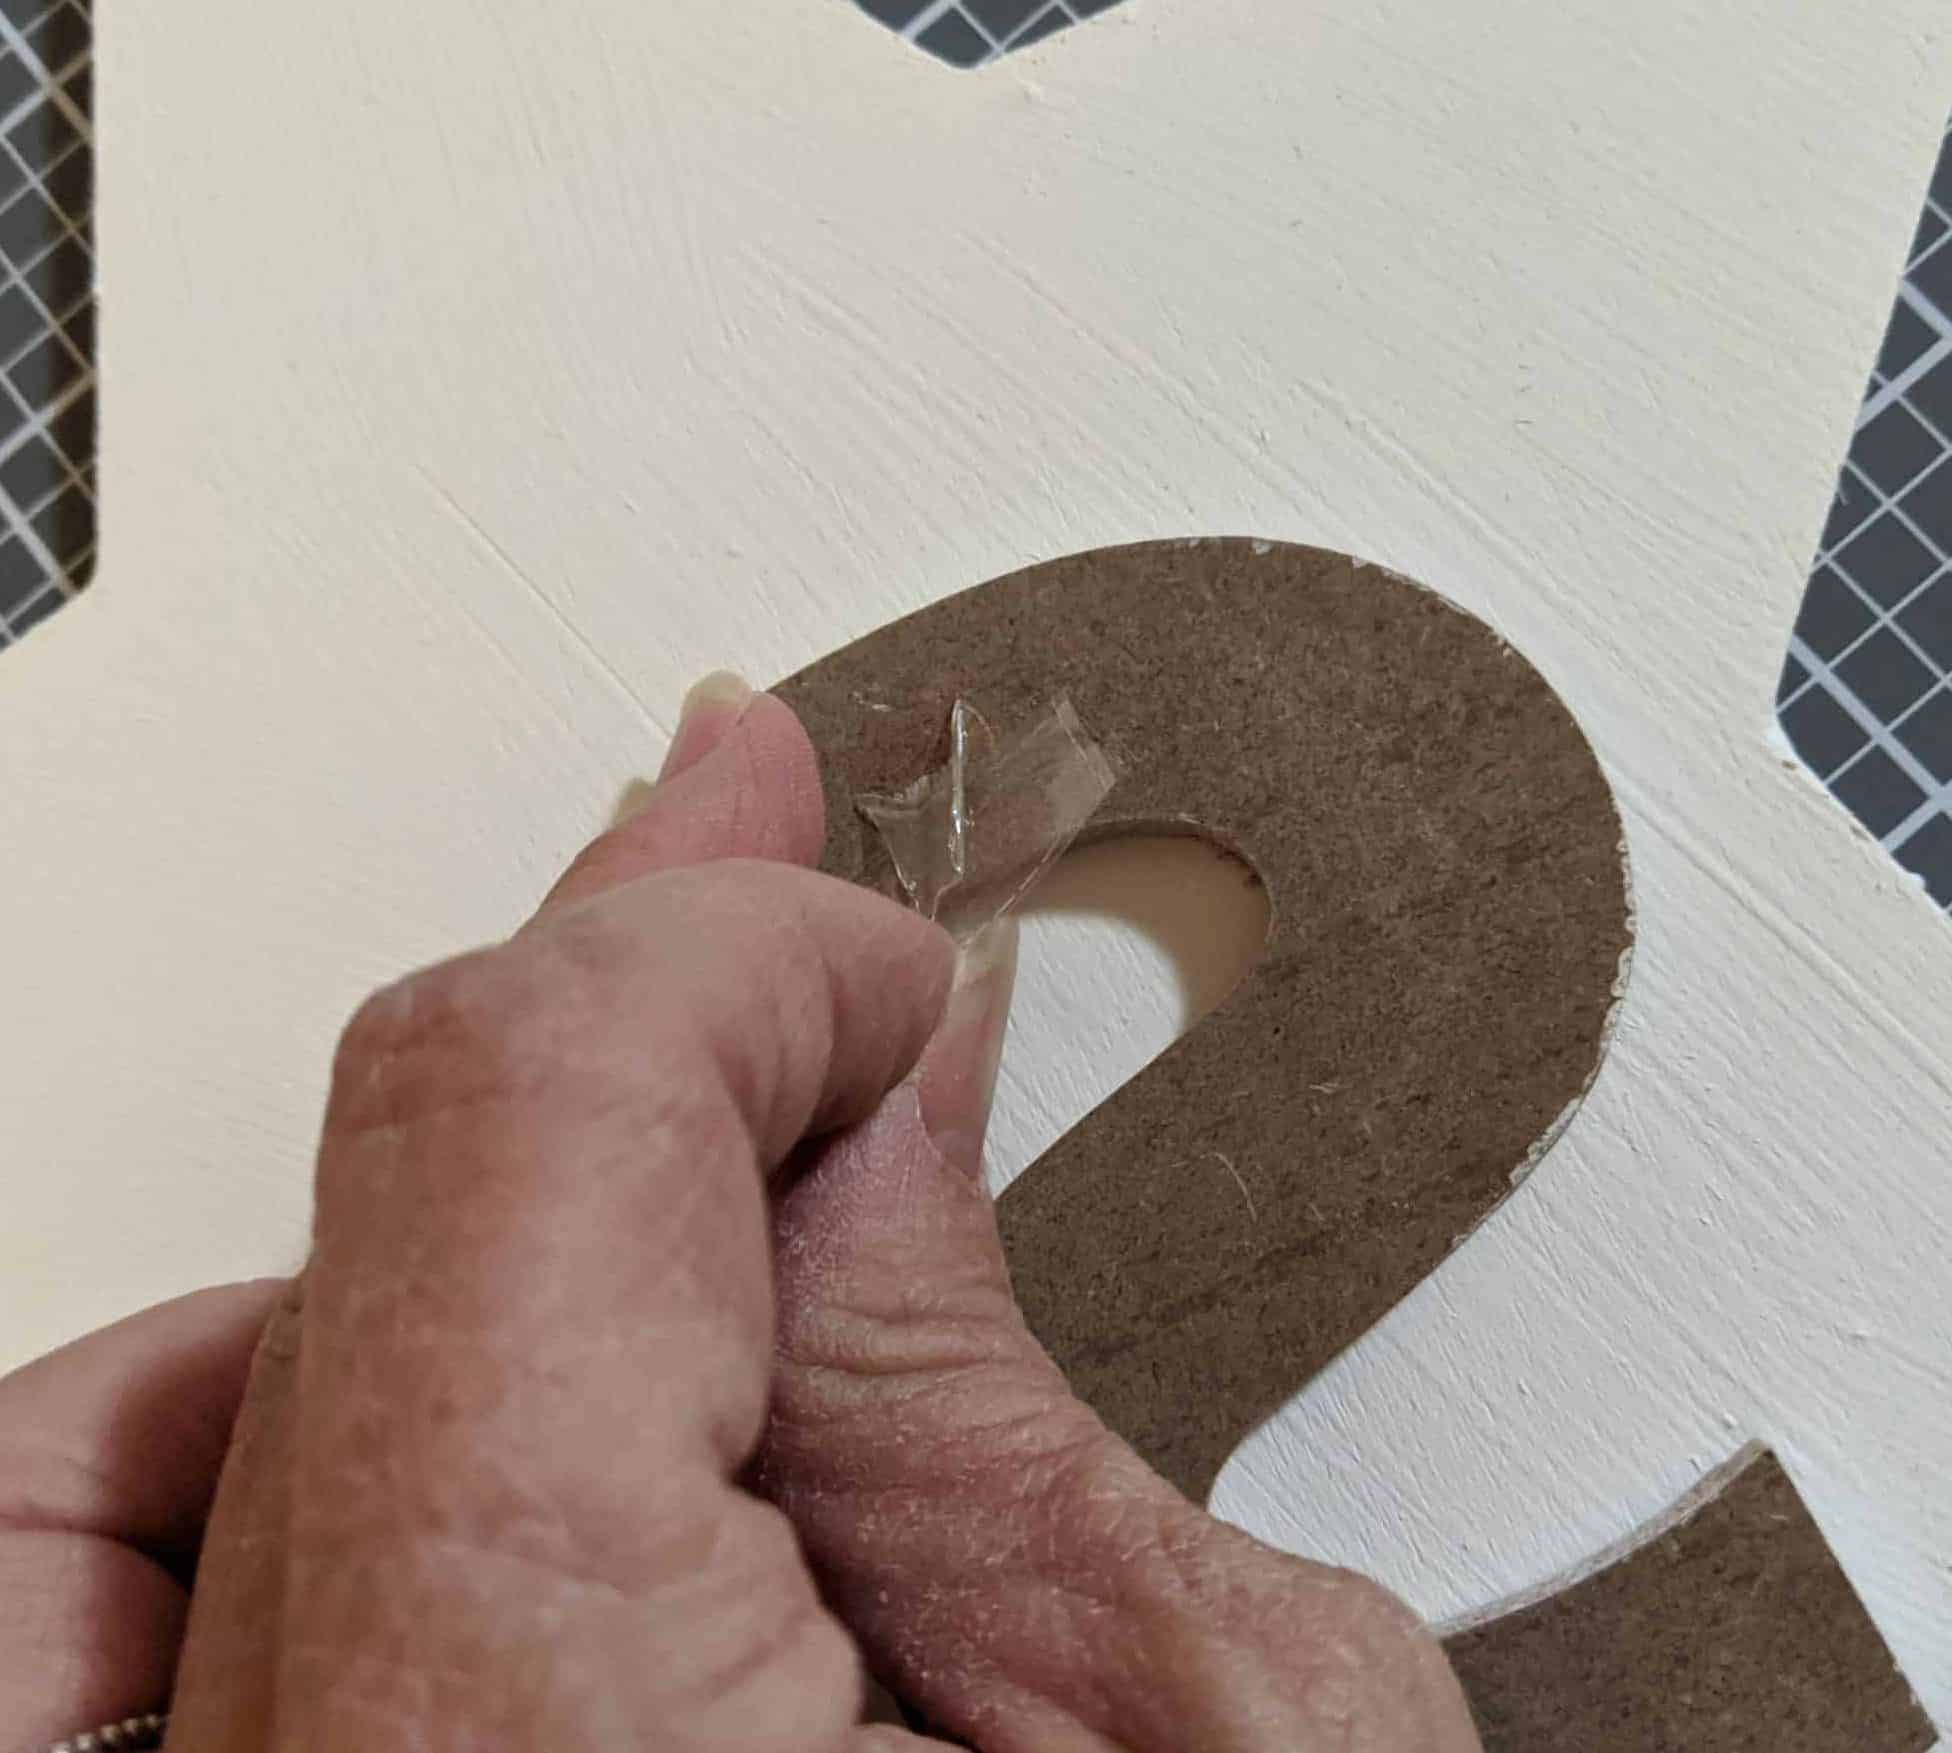

This took a couple of hours because of dry time, but it really only took about 30 minutes of active time. All done and such cute 4th of July decorations. 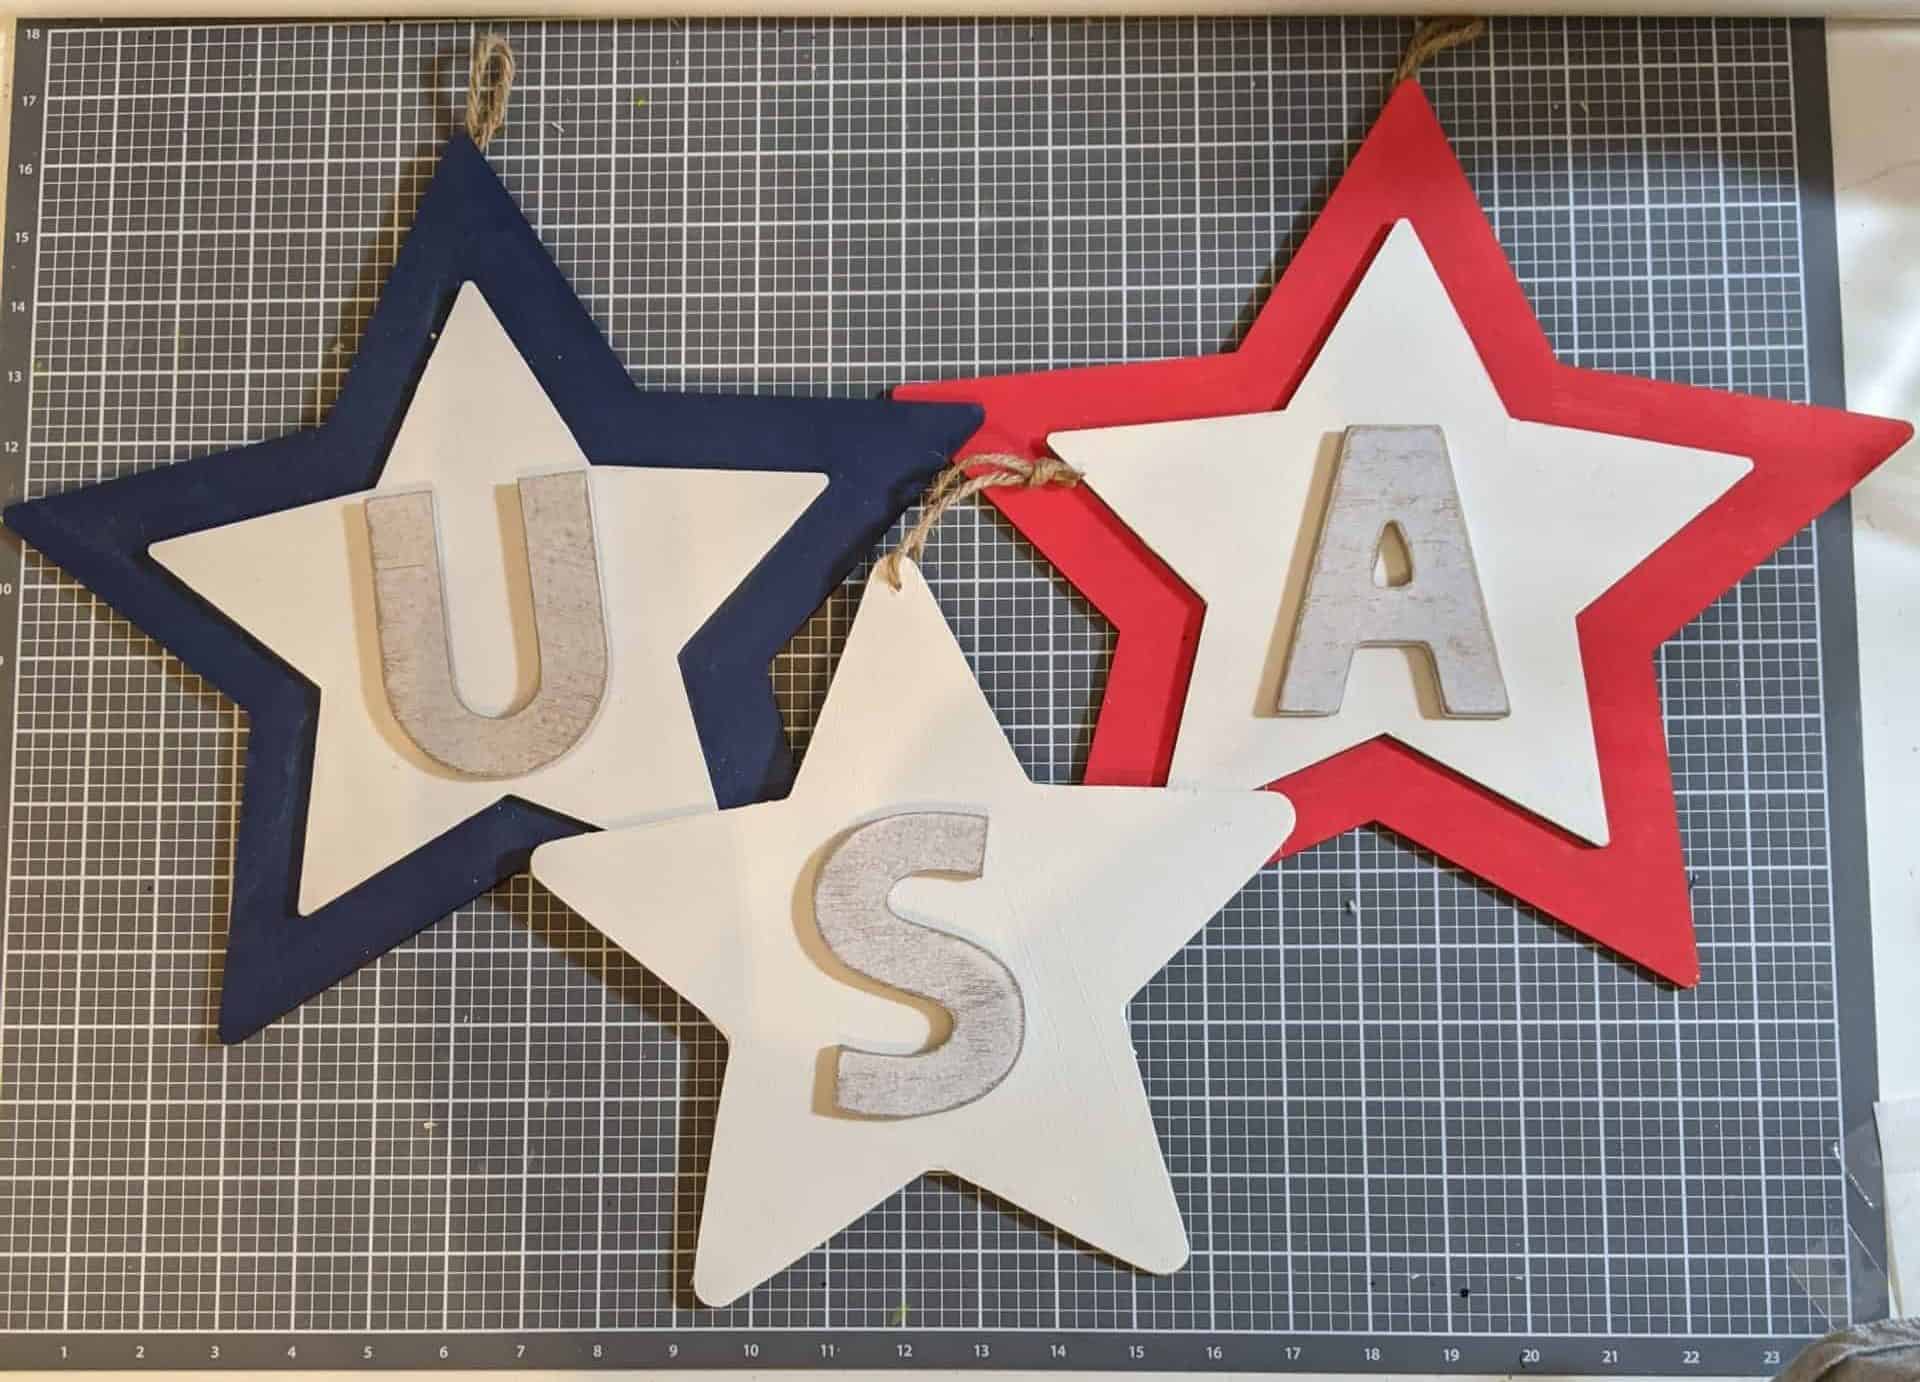
Next, I Made the Coasters
For these, you only need Mason Jar lids, Burlap printed fabric, and white spray paint. If I was doing this again I would use two different fabrics, one for inside and one for under.
The first thing to do is to spray paint the Mason Jar Lids.. 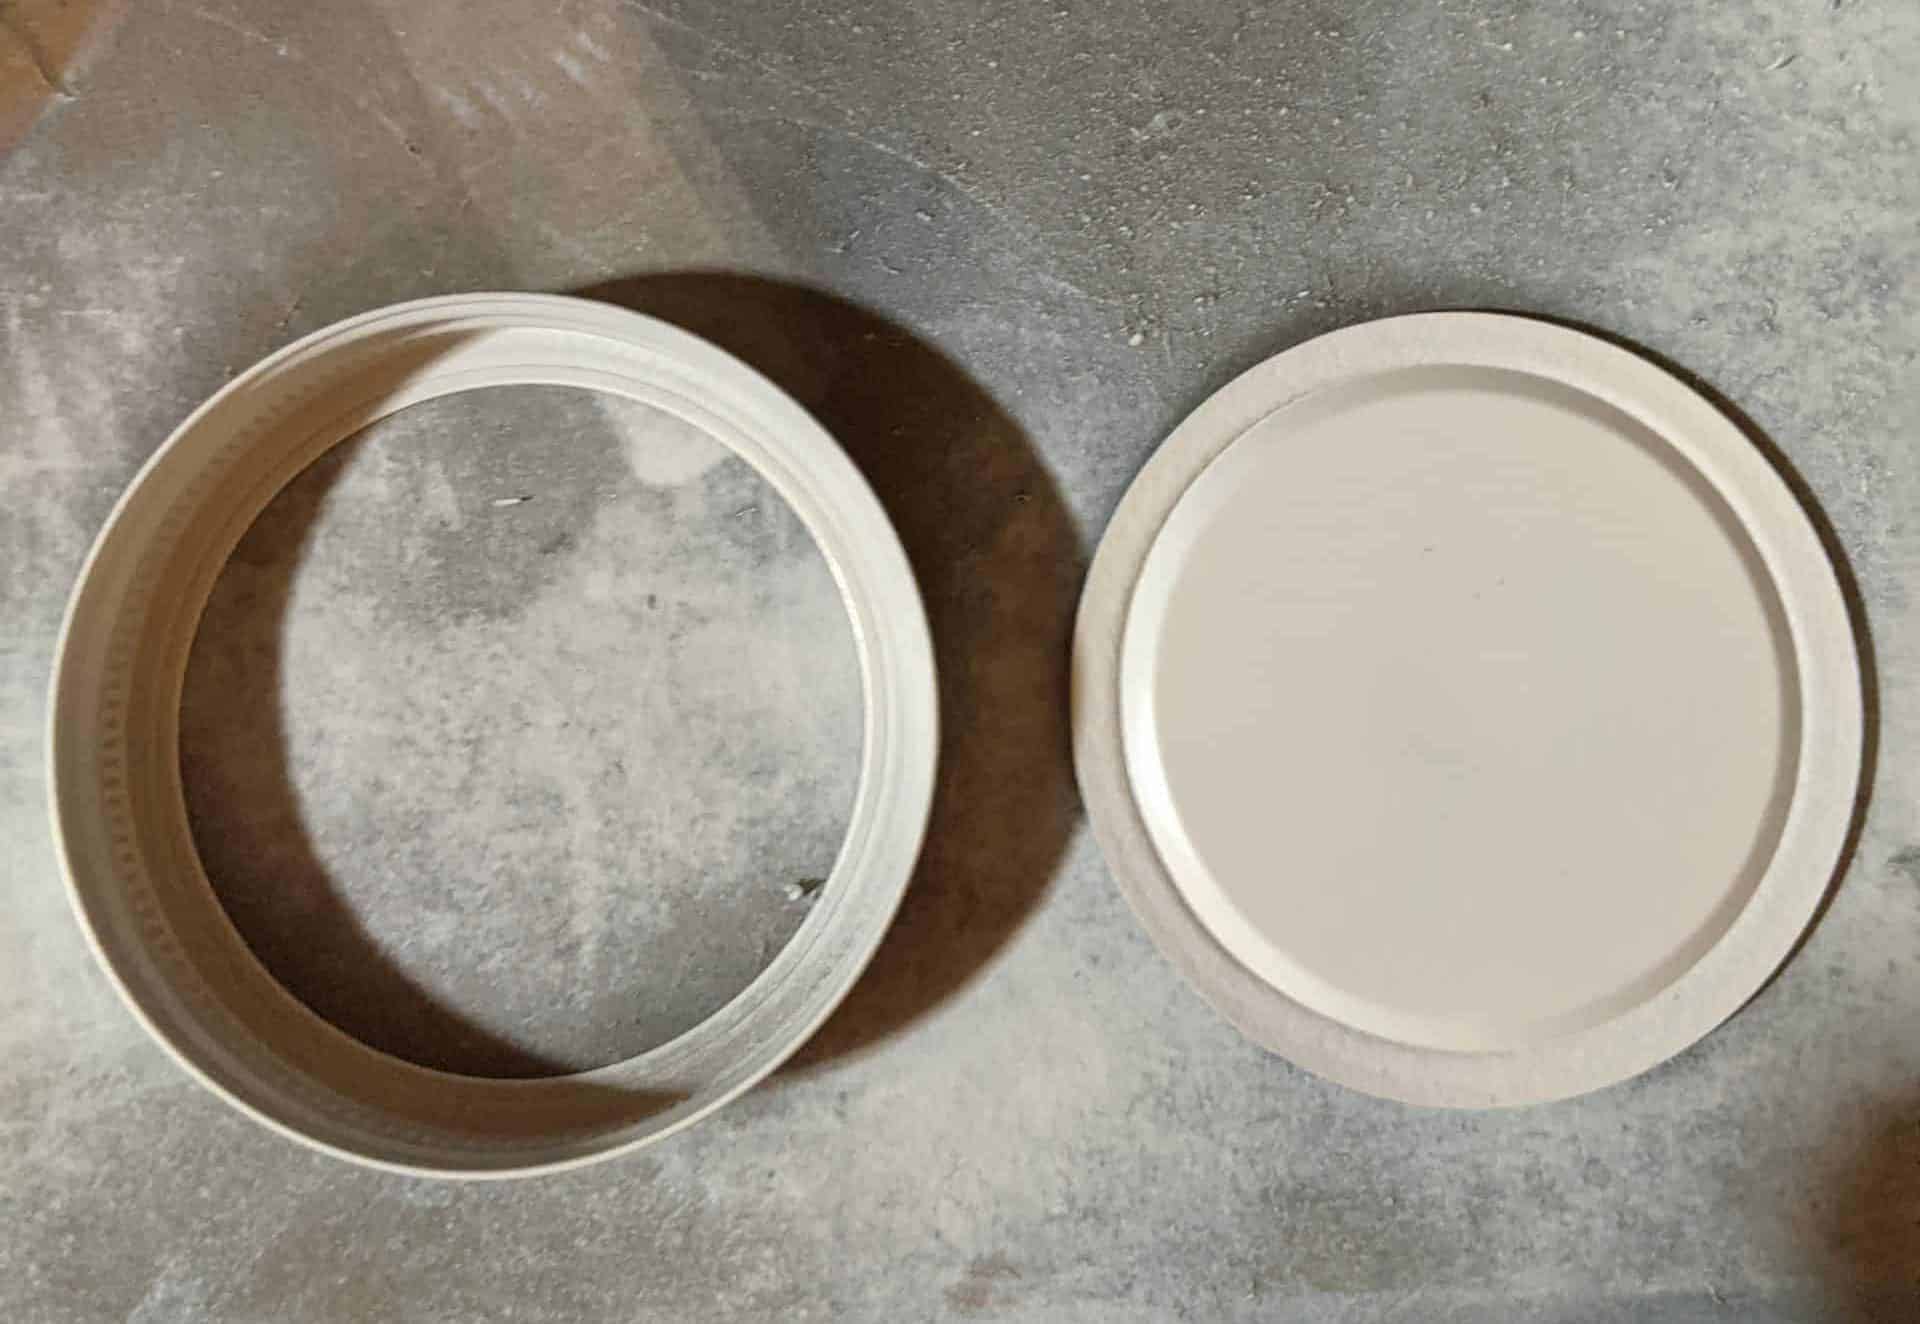
While they were drying I used an extra lid I had and traced around it on the back of the fabric with a Sharpie. I needed 3 so I did that many all at once.
]
When the lids are dry, place the center back into the ring and place the burlap circle on top.
This is where I would use the second burlap, to make the lower part. You just cut a square and place the lid on it. Did you know you don’t have to measure to cut a square? Just fold it over like this and cut along the edge.
The only thing left to do is to put them out for your guests.
Make the Flag Tags
These cute tags could be used for so many things! I got the flag printables from Lilac and Lavender here.
Use the one that has 3 across. I printed these and cut the4m out. Next I took a piece of Luan Plywood from Home Depot and traced a tag onto it. I used my miter saw to cut the tags. These would be so cute made a little bigger as a hanger-on a wreath.
I used spray adhesive to glue the paper to the wood. I like the repositionable kind so if you need to you can pull it off to line it up again. The directions say to spray both sides you are gluing to make a permanent bond.

They are done except for drilling the holes to hang with. I didn’t take a picture of this, BUT make sure you drill from the front to avoid having the drill bit shred your paper. After the holes are drilled tie some twine on them if you need to for hanging,

Decorate the Plants
Even the plants got into the fun. I picked up the whirlygigs at Joann and the Flags at Dollar Tree, I had yellow plastic pots from my spring porch that I spray painted red. The flowers are Vinca in Red and White. They one of the few flowers that can take the Arizona summer heat.
I just stuck the flags and whirlygigs into the plants. I am hoping the whirlygigs will keep the birds from digging in my flowers.
Finally, you have to have some Pink Lemonade. It looks so pretty, stagged with some lemons near the jar. Win, win, looks pretty and it’s the perfect cool yummy drink on a hot summer day. I like this recipe because the cranberry adds just a little tartness,