Mother’s Day Table Decoration Mom will Really Love in 7 Simple Steps


Mother’s Day Table Decoration Mom will Really Love in
7 Simple Steps

When you think of Dollar Tree do you think of a Mother’s Day table decoration that looks like it came from a high-end department store? No? I didn’t either until I started looking for inexpensive table decor ideas for parties. So my task was to make a centerpiece for Mothers Day, and I didn’t have a huge budget. I went looking for a simple dining table centerpiece idea It had to be easy, budget, and a DIY I could do in just a few hours. I saw something like this on a Dollar Tree craft site and decided to give it a shot with my very own special twists. You gotta have twists right? So let’s just take 7 Simple Steps to a Mother’s Day Table Decoration Mom will Really Love.
Materials
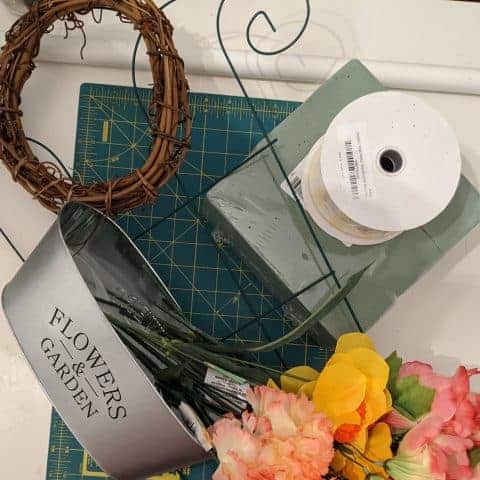
Pick all of this up from Dollar Tree :
The Flowers and Garden container
Floral Foam
10 stalks of flowers in Moms favorite colors
The trellis
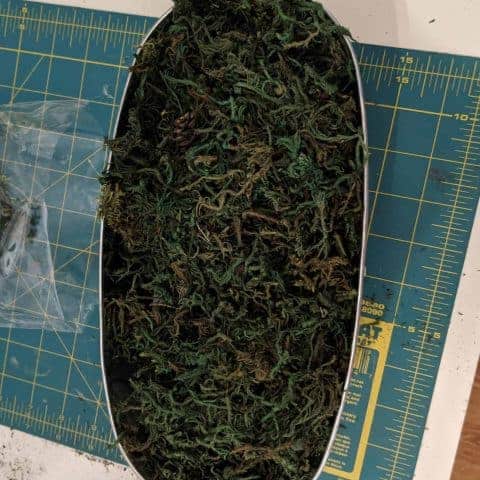
Moss
From Amazon:
Buffalo Plaid Ribbon 2.5inch wired edge
Yellow Polka Dot Ribbon 1.5inch wired edge
Twig Wreath This is for a 6 pack. I use these often so I don’t mind getting a 6 pack.
They probably also have the Amazon stuff at JoAnn, Micheals or Hobby Lobby.
Tools
Tin Snips, these are my favorite.
Scissors these have to cut the wire ribbon so don’t use your good ones. These from Amazon are fairly cheap but should be sturdy.
Glue Gun, this one is my good glue gun. Don’t use it on moss. For moss, I use an old cheap glue gun from Walmart.
Step 1
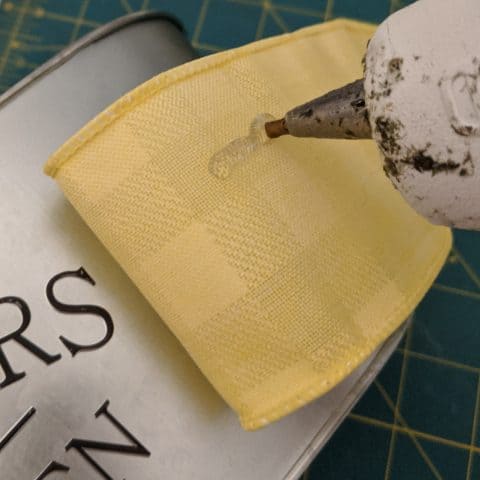
I did this in a funky order so if the pictures seem a little different than the steps it’s because I was making this at 1:00 am. Now that it’s a reasonable hour and after coffee, I figured out a better way. So Step one is to glue on the ribbon to the container. The container does not have straight sides, so just glue it tightly along the top. The bottom will be loose around the container. Glue this all the way around. I did tuck in the cut edge at the end and glued down the tuck. Yes, I am using my dirty glue gun from a moss project. This glue gun will not come clean and will never be the same. (sad face) Since there is some moss coming up I decided to just use it.
Step 2
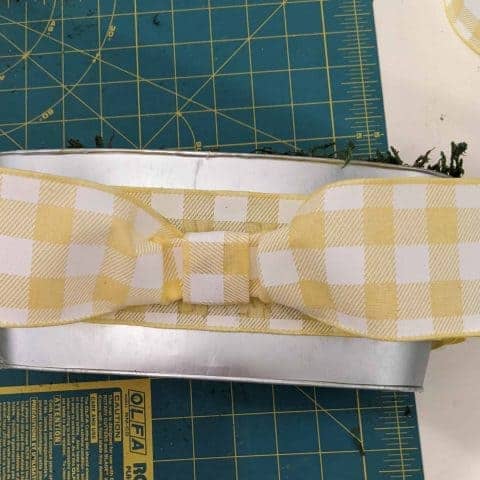
Make the bow and hot glue it to the front. A fast hack I found was to use a spring clamp to hold the bow while it dried. Worked great, the bow was secure and my fingers didn’t get burned. I have a tutorial on how to make the bow here. You will not need a tail, and my bow was about 8 inches across.
Step 3
Put the floral foam into the container. You can glue it down if you want to, but I didn’t. Then put some hot glue on top of the foam. take a handful of moss and gently press it into the glue, or press hard and burn the heck out of your hand. I also put moss down the sides so it looked full.
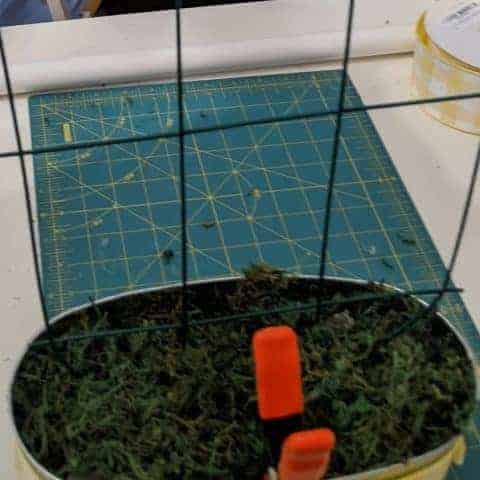
Step 4
Push the trellis into the floral foam as far as it will go. You can see my spring clamp holding the bow on in this picture. I am so proud of that little hack.
Step 5
Add the flowers. I started with the bottom row and had to cut off a good portion of the stem since I wanted it low. I used a total of 5 flowers in this row. Use Tin snips to cut these. They will damage your scissors pretty quickly.
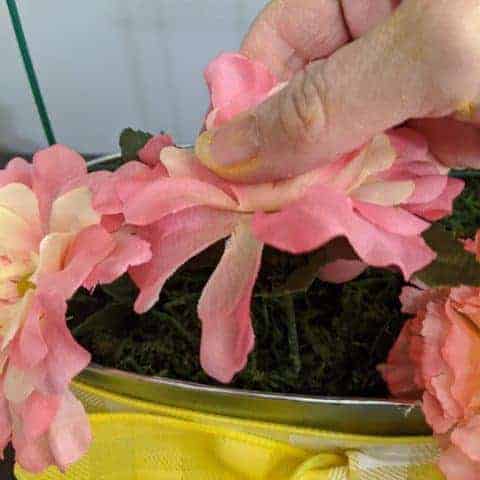
Then I added the next row, which was a different color family. I cut the stem on these so they would just touch the first row. I used 3 stems of this one.

And then the last row. I didn’t cut the stems on these at all. I also used 3 stems for this row. After you are done with this row, just fuss the flowers to where you want them. I just bend the stems to get them where I think they should go.

Step 6
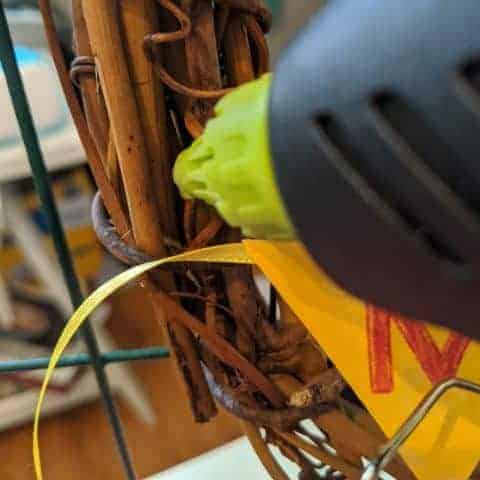
Make the banner for the wreath. The first thing I did was to cut out the banner. I used my Cricut machine for this, but if you don’t have a Cricut get the PDF here to cut it out. If you do have a Cricut the triangles are 2″ wide. Here is a tutorial on how to do it if you are new to Cricut. I didn’t unbox my first Cricut machine until I had owned it for a few months, it was scary people! You had to do so much in territory that was all new to me. You can have your kids help you set it up, LOL. Or not. I colored in my letters with a marker. You could also just use the template for the triangles and use press-on letters from the dollar store.
After you have the banners cut out just run a small bead of hot glue across the back at the top. Using something to save your fingers from the glue press the twine or ribbon you are using into the glue. I like to keep a popsicle stick handy for this. Now hot glue your Mom banner to the wreath.

Step 7
Now you have to make another bow. Just follow the same tutorial as you did for the first bow, but this time add a tail. Hot glue it to the wreath.
This is where I became undecided. I really, really, wanted a little bird or butterfly for the wreath, but I didn’t have one. Since I also didn’t want to make another trip to Dollar Tree (I know they have them there) I decided to just use flowers. I just cut the stems off and hot glued them on.
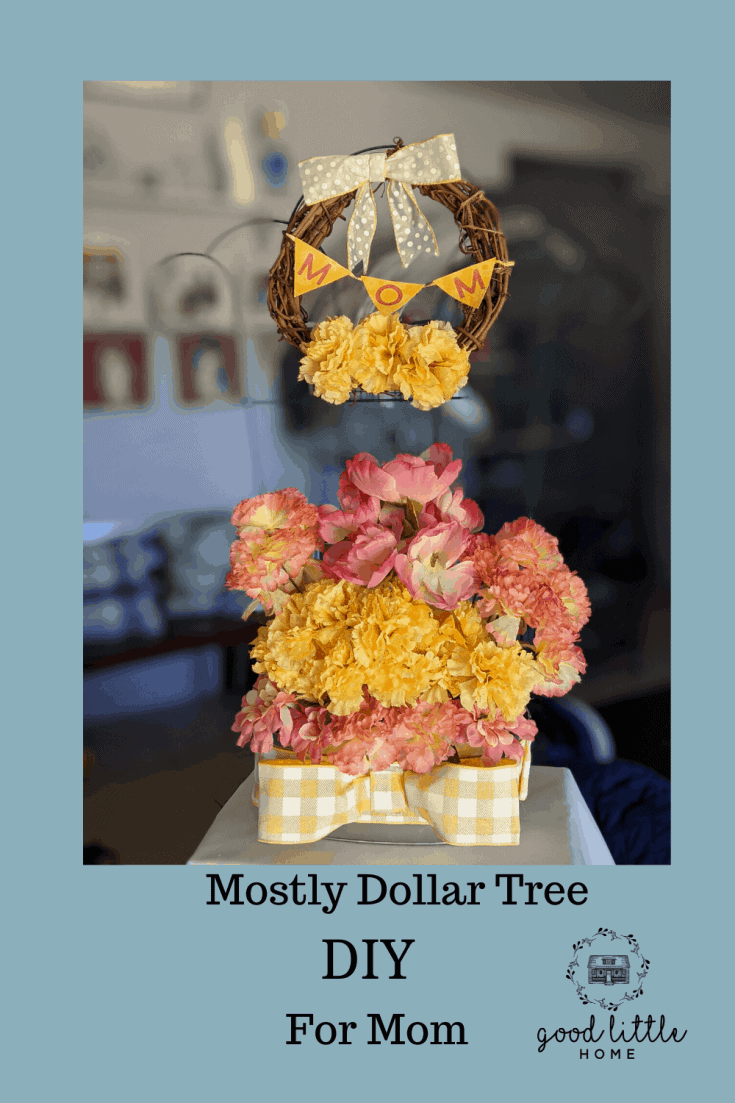
Now attach the wreath to the top of the trellis with whatever you have handy. I had a small ribbon from making the banner that I used to just tie the wreath to the trellis. This is what your wreath should look like.

And that’s all there is to it. Now just put it on a buffet table and wow your guests and impress your Mom, they will all enjoy this Mother’s Day table decoration. So now you know you can make Dollar Tree Table Decorations that look a little high end. If you are looking for Table decor ideas for functions this could be adapted to lots of different events. Use it for a Birthday, for a brunch. for a spring or summer party, or a Farmhouse party.
If you have enjoyed this post please share it on Pinterest. Don’t forget to subscribe to our Newsletter, like us on Facebook, and follow us on Instagram.
Till next Time..

Dollar Tree centerpiece that no one will believe was so cheap
Materials
- Pick all of this up from Dollar Tree :
- The Flowers and Garden container
- Floral Foam
- 10 stalks of flowers in Moms favorite colors
- The trellis
- Moss
- Ribbon or Twine for the banner
- From Amazon, JoAnn, Michaels
- 2.5 inch wired ribbon
- 1.5 inch wired ribbon
- Twig Wreath, this is a set of 6, and you only need one
Instructions
I did this in a funky order so if the pictures seem a little different than the steps it's because I was making this at 1:00 am. Now that it's a reasonable hour and after coffee, I figured out a better way.
Step 1
So Step one is to glue on the ribbon to the container. The container does not have straight sides, so just glue it tightly along the top. The bottom will be loose around the container. Glue this all the way around. I did tuck in the cut edge at the end and glued down the tuck. Yes, I am using my dirty glue gun from a moss project. This glue gun will not come clean and will never be the same. (sad face) Since there is some moss coming up I decided to just use it. 
Step 2
Make the bow and hot glue it to the front. A fast hack I found was to use a spring clamp to hold the bow while it dried. Worked great, the bow was secure and my fingers didn't get burned. I have a tutorial on how to make the bow here. You will not need a tail, and my bow was about 8 inches across. 
Step 3
Put the floral foam into the container. You can glue it down if you want to, but I didn't. Then put some hot glue on top of the foam. take a handful of moss and gently press it into the glue, or press hard and burn the heck out of your hand. I also put moss down the sides so it looked full 
Step 4
Push the trellis into the floral foam as far as it will go. You can see my spring clamp holding the bow on in this picture. I am so proud of that little hack 
Step 5
Add the flowers. I started with the bottom row and had to cut off a good portion of the stem since I wanted it low. I used a total of 5 flowers in this row. Use Tin snips to cut these. They will damage your scissors pretty quickly. 
Then I added the next row, which was a different color family. I cut the stem on these so they would just touch the first row. I used 3 stems of this one. 
And then the last row. I didn't cut the stems on these at all. I also used 3 stems for this row. After you are done with this row, just fuss the flowers to where you want them. I just bend the stems to get them where I think they should go. 
Step 6
Make the banner for the wreath. The first thing I did was to cut out the banner. I used my Cricut machine for this, but if you don't have a Cricut PDF here to cut it out If you do have a Cricut the triangles are 2" wide. Here is a tutorial on how to do it. I didn't unbox my first Cricut machine until I had owned it for a few months, it was scary people! You had to do so much in territory that was all new to me. You can have your kids help you set it up, LOL. Or not. I colored in my letters with a marker. You could also just use the template for the triangles and use press-on letters from the dollar store.
After you have the banners cut out just run a small bead of hot glue across the back at the top. Using something to save your fingers from the glue press the twine or ribbon you are using into the glue. I like to keep a popsicle stick handy for this. Now hot glue your Mom banner to the wreath 
That's it
And that's all there is to it. Now just put it on a buffet table and wow your guests and impress your Mom. So now you know you can make Dollar Tree Table Decorations that look a little high end. If you are looking for Table decor ideas for functions this could be adapted to lots of different events. Use it for a Birthday, for a brunch. for a spring or summer party, or a Farmhouse party.